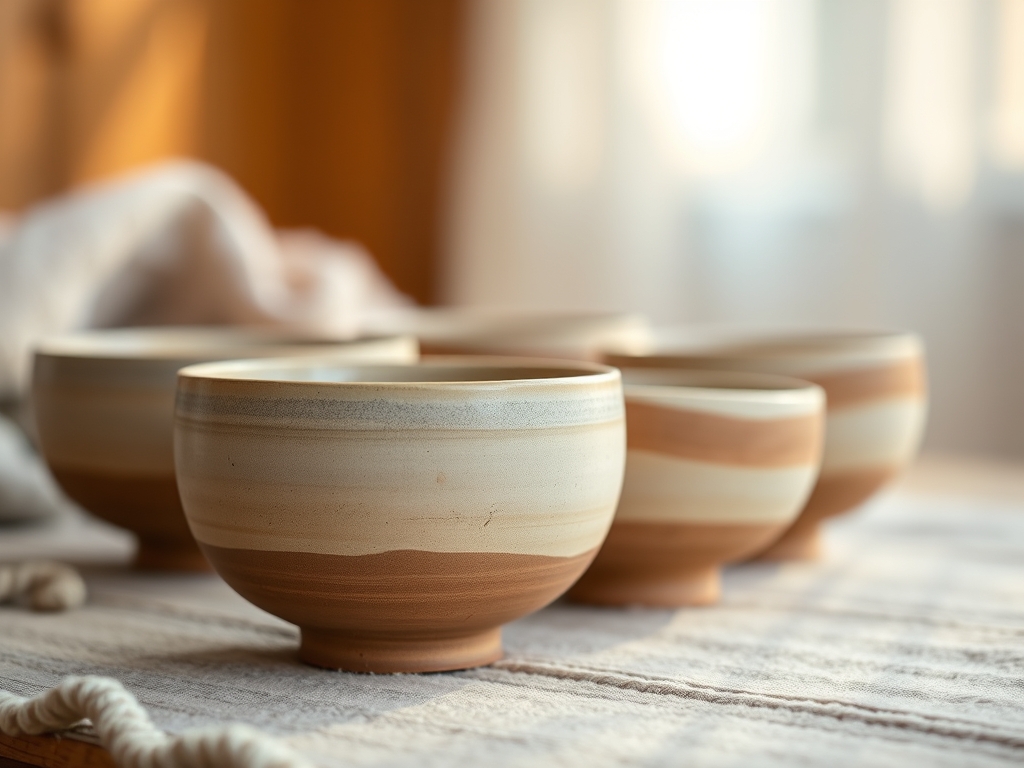
Wet earth has a scent that hits you right in the amygdala; it is the smell of potential and deep geological time. When you sit down at the wheel to create Hand Thrown Tea Bowls, you are not just playing with mud. You are engaging in a high stakes negotiation with centrifugal force and the tensile strength of hydrated alumina silicates. The clay feels cool, heavy, and deceptively stubborn against your palms until the friction of your movement generates just enough heat to make it yield. There is a specific, electric moment when the slurry becomes a lubricant and the mass begins to center. You can feel the vibrational frequency of the motor through your sit bones, but your focus is entirely on the tactile feedback at your fingertips. We are aiming for a vessel that balances the ritualistic weight of history with the ergonomic grace of a modern object. It is messy, it is scientific, and it is absolutely addictive.
THE STUDIO KIT
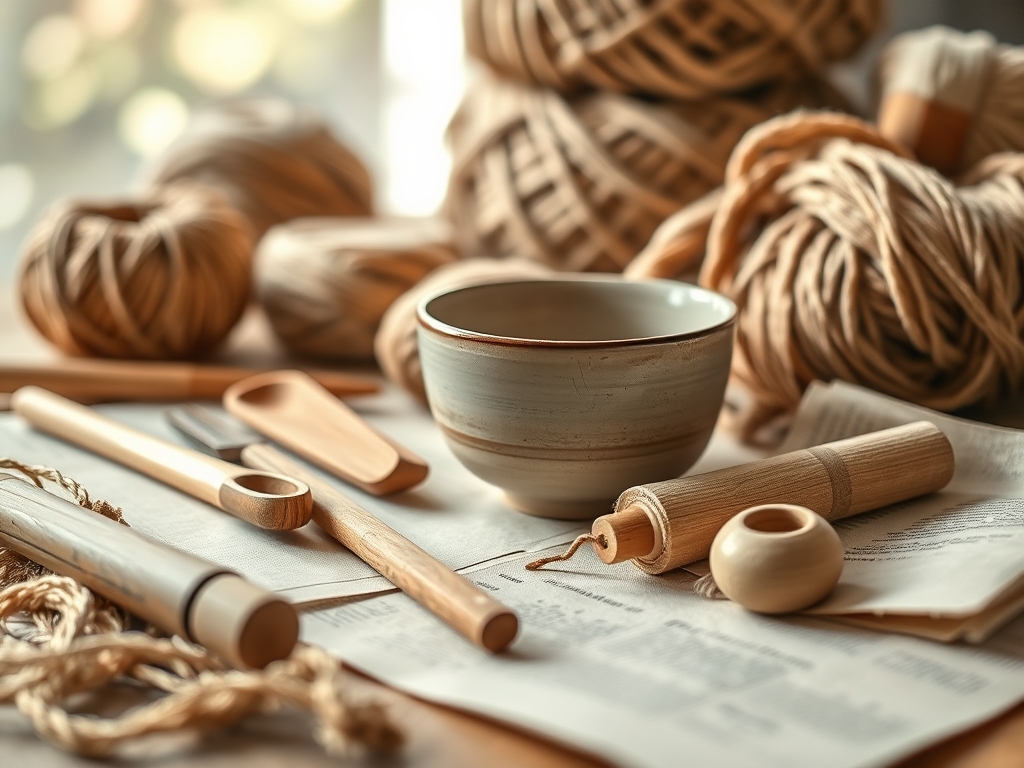
To master the architecture of a tea bowl, you need a kit that respects the porosity and structural limits of your medium. Start with a high quality stoneware or porcelain clay body. Stoneware offers a higher grit content (grog), which provides the structural integrity needed for taller, more aggressive profiles. You will need a pair of calipers to ensure consistent rim diameters, a sharp needle tool for trimming uneven lips, and a bamboo rib to burnish the exterior walls.
For the refining stage, a wire clay cutter with a high gauge ensures a clean release from the bat without distorting the base. You should also have a natural sea sponge; synthetic sponges often lack the capillary action required to manage water levels without oversaturating the clay. If you cannot find a traditional bamboo rib, a stainless steel scraper or even a sturdy credit card can serve as a material substitution, though the steel will not absorb excess moisture like wood does. Always keep a chamois cloth nearby to compress the rim; this increases the particle density at the edge, preventing cracks during the firing process.
THE TEMPO
The Maker's Rhythm is a dance between hydration and evaporation. You cannot rush the physics of drying. The initial throwing phase is high energy and fast, usually taking fifteen to twenty minutes per bowl as you fight the centrifugal force trying to collapse your walls. Once thrown, the bowls must enter the "leather hard" stage, which takes anywhere from twelve to twenty four hours depending on the humidity in your studio. This is the sweet spot where the clay has lost enough water to be handled but retains enough molecular plasticity to be trimmed.
Trimming the foot ring takes another ten minutes of precision work with a loop tool. Finally, the drying process for "bone dry" status (greenware) requires three to five days. If you force the moisture out too quickly, the differential shrinkage between the thick base and thin rim will cause a structural failure. Patience is your most important technical tool.
THE CORE METHOD
1. Centering and the Coning Technique
Before you can shape a profile, the clay must be perfectly on center. Use your body weight, not just your arm strength, to push the clay into a cone and then back down into a puck. This process aligns the platelet structure of the clay minerals. Mastery Tip: By coning the clay up and down three times, you ensure that the air pockets are expelled and the moisture is distributed evenly, which prevents "S-cracks" in the base during the final kiln firing.
2. Opening the Well
Press your thumbs into the center of the spinning puck to create a floor. Leave about half an inch of thickness at the bottom to allow for a recessed foot later. Mastery Tip: Use a wooden rib to compress the floor of the bowl. This mechanical compression increases the structural density of the clay particles, making the base less likely to warp under the intense thermal stress of the kiln.
3. Pulling the Walls
Using a "pinch and lift" motion, pull the clay upward to create the height. For tea bowls, you want the walls to be slightly thicker at the bottom to support the weight of the tea. Mastery Tip: Maintain a consistent rotational velocity. If you pull too fast for the wheel speed, you will create a spiral pattern that weakens the tensile strength of the wall, leading to a collapse known as "slumping."
4. Shaping the Profile
This is where you choose one of the seven classic profiles, such as the Wan-nari (bell shape) or Hanzutsu (half cylinder). Use your external rib to define the curve. Mastery Tip: The surface tension of the water on the clay acts as a temporary adhesive. If the clay becomes too dry during shaping, the friction will cause "chatter" marks; keep the surface slick but not soggy to maintain control.
5. Refining the Rim
The rim is the most important ergonomic feature. Use a damp chamois to round and compress the top edge. Mastery Tip: A compressed rim has a higher resistance to impact. By packing the clay particles tightly at the lip, you create a durable edge that feels soft against the mouth and resists chipping during daily use.
6. Trimming the Foot
Once leather hard, flip the bowl and use a loop tool to carve a foot ring. This reduces the overall mass and allows the bowl to heat up evenly. Mastery Tip: The foot ring acts as a thermal break. It prevents the heat of the tea from transferring directly to the table surface while providing a stable, aesthetic base that balances the vessel's center of gravity.
THE TECHNICAL LEDGER
Maintenance of your tools is non-negotiable. Steel tools must be dried immediately to prevent oxidation, while wooden ribs should be occasionally treated with mineral oil to maintain their hydrophobic properties.
Material Variations: For a premium experience, try a "Goryeo" style celadon clay, which has a high iron content that reacts beautifully with translucent glazes. If you are eco-conscious, you can recycle your "slop" (excess clay and water) by drying it on a plaster bat until it regains its plasticity.
The Correction:
- The Wobble: If the bowl goes off center, stop immediately. Use a needle tool to cut off the uneven top and re-compress the rim.
- The Thin Bottom: If you trimmed the floor too thin, you can "plug" it with a small disc of fresh clay, though this creates a stress point that may fail in the kiln.
- The Slump: If the walls collapse, you likely used too much water. Use a heat gun to briefly stiffen the clay before attempting to pull again.
Studio Organization: Store your leather hard bowls in a "damp box" (a plastic bin with a layer of wet plaster at the bottom). This creates a microclimate with 100% humidity, preventing the clay from drying out before you have a chance to trim the foot.
THE FINAL REVEAL
There is nothing quite like the feeling of holding a finished, fired tea bowl that you threw yourself. It has a tactile weight that feels intentional; it is a marriage of mineral, water, and fire. The glaze should break over the rim in a way that highlights the deliberate curves of your chosen profile. When you pour hot tea into it, the bowl should feel alive in your hands, radiating warmth without burning your palms. It is a masterpiece of personal engineering and ancient ritual.
STUDIO QUESTIONS
What is the best clay for beginners?
Stoneware with a medium grog content is ideal. The internal friction provided by the grog helps the clay hold its shape against gravity, making it much more forgiving than porcelain when you are first learning to pull walls.
Why did my tea bowl crack at the bottom?
This is usually an "S-crack" caused by poor compression. If the clay particles in the base are not tightly packed with a rib tool, the drying shrinkage occurs unevenly, pulling the floor apart at its weakest point.
How do I make the walls even?
Consistency comes from steady hand placement. Anchor your elbows against your hips to create a mechanical brace. This minimizes accidental movement, allowing you to maintain a precise gauge as you move your hands upward from the base.
Can I use a regular kitchen sponge?
You can, but it is not recommended. Kitchen sponges are designed for high absorption, which can pull too much moisture out of the clay too quickly, disrupting the surface tension and making the walls feel "grabby" or rough.