
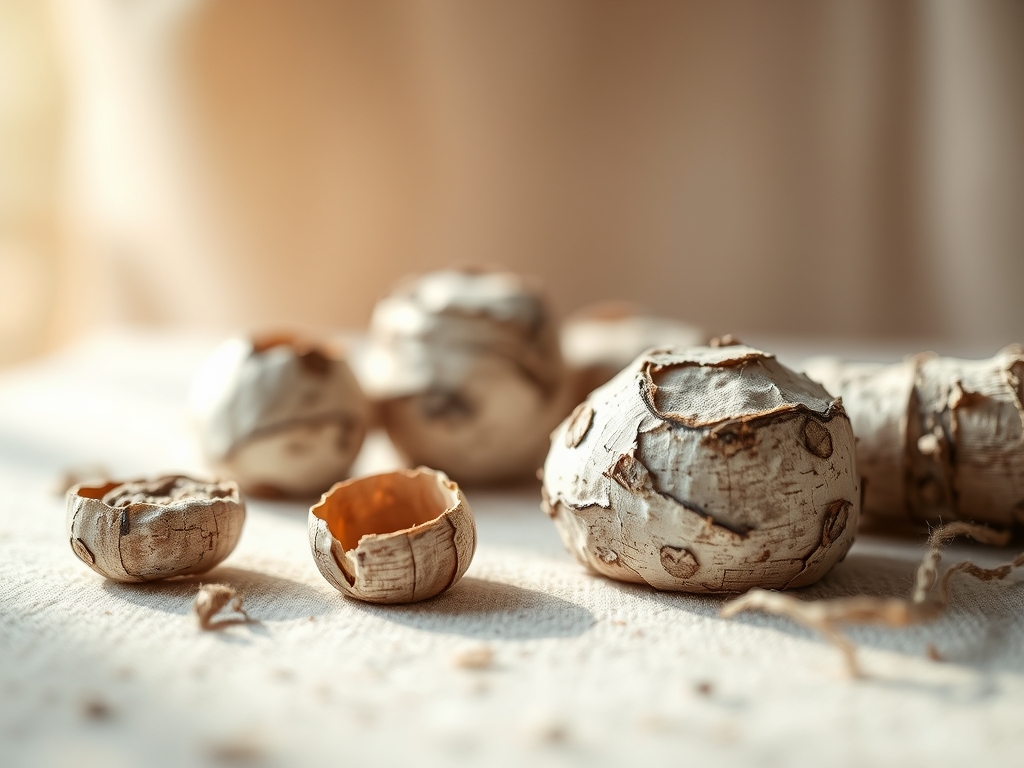
Peeling a fresh sheet of paper birch feels like unzipping the very skin of the forest. It is cool, slightly damp, and carries that intoxicating scent of damp earth and wintergreen. When you hold it, you are not just holding wood; you are holding a complex multilayered polymer structure. To master Natural Birch Bark Crafts, you must first respect the physics of the material. It is a biological laminate. The outer white layer reflects ultraviolet light to prevent the tree from overheating in winter, while the inner phellem layers provide the structural flexibility we crave. As you run your thumb over the lenticels, those tiny horizontal breathing pores, you can feel the grain direction. Unlike timber, birch bark grain runs horizontally around the circumference of the tree. This means its tensile strength is highest when you pull against those lines. If you try to fold it vertically without pre-treating the fibers, it will snap like a dry wafer. We are going to manipulate these cellular bonds to create pieces that are as durable as leather but as light as air.
THE STUDIO KIT
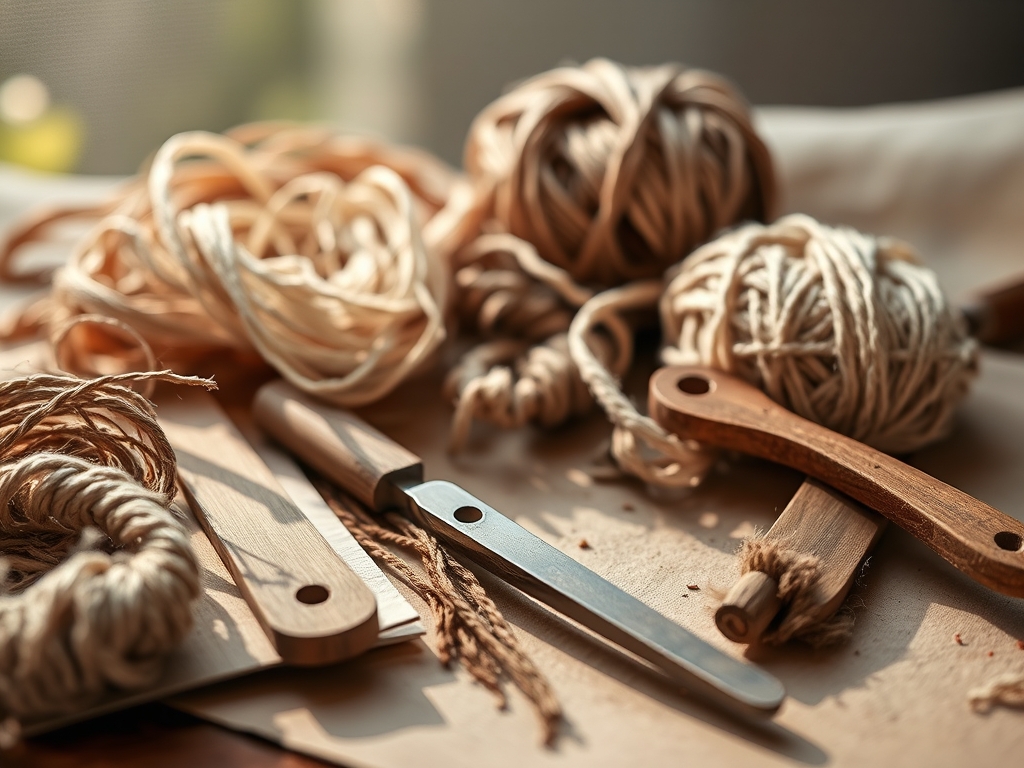
To transform raw bark into high-end containers, your workbench needs more than just a pair of scissors. We are looking for precision. You will need a high-carbon steel craft knife for clean incisions and a heavy-duty awl to pierce the dense fibers without tearing the surrounding matrix. A bone folder is non-negotiable for burnishing folds and ensuring the layers stay laminated. For measurements, use stainless steel calipers to check the thickness of your sheets; consistency is the secret to a professional finish.
You also need binding materials. Spruce root is the traditional choice due to its incredible tensile strength and resinous flexibility. If you cannot source roots, waxed linen thread or artificial sinew serve as excellent material substitutions. These synthetics offer a high "denier" count, meaning they can withstand the tension required to pull a seam tight without snapping. For the base of your containers, source some cedar or pine slats to provide a rigid structural foundation that prevents the bark from warping as it dries.
THE TEMPO
The "Maker's Rhythm" for working with birch is dictated by hydration. You cannot rush the physics of cell wall saturation. The Preparation Phase takes about 24 hours; this involves soaking your bark in warm water to restore its elasticity. Attempting to bend dry bark results in catastrophic fracture. Once the material is pliable, the Execution Phase for a standard container takes roughly three to five hours of focused, tactile labor.
Finally, the Curing Phase requires patience. As the water evaporates, the bark wants to shrink. You must keep your project "under tension" or clamped for at least 48 hours. This allows the fibers to set in their new geometry. If you ignore the curing tempo, your beautiful cylindrical container will turn into an oval mess the moment you walk away. Respect the dry time, and the bark will reward you with a lifetime of structural integrity.
THE CORE METHOD
1. Harvesting and Delaminating
Start by selecting bark that is free from deep fungal scarring. Use your knife to gently separate the thick, corky outer layers from the thin, papery inner layers. You want a "ply" that is roughly two to three millimeters thick for maximum durability.
Mastery Tip: This process relies on interlayer adhesion. By removing the brittle outer "paper," you expose the more flexible phellem cells, which allows for a tighter bending radius without the material splintering.
2. The Hydration Soak
Submerge your prepared sheets in a bath of warm water mixed with a tablespoon of glycerin. The glycerin acts as a humectant, drawing moisture deep into the porous fibers and keeping them supple even after the water evaporates.
Mastery Tip: This utilizes capillary action. The water travels through the lenticels to soften the lignin, which is the natural "glue" holding the wood fibers together. Soft lignin equals a moldable medium.
3. Scribing the Pattern
Lay your bark flat on a self-healing cutting mat. Use your calipers to mark your dimensions, then use a bone folder to scribe your fold lines. Do not cut through the bark; you are merely compressing the fibers to create a "hinge."
Mastery Tip: Scribing creates a stress concentrator. By pre-compressing a specific line, you ensure that when force is applied, the bark deforms exactly where you want it to, preventing random cracks.
4. Piercing the Stitch Holes
Using your awl, punch holes at half-inch intervals along the edges you intend to join. Always punch from the "show side" to the "inside" to ensure the exit burr is hidden.
Mastery Tip: To maintain structural integrity, keep your holes at least five millimeters from the edge. This prevents the tension of the thread from "zippering" through the grain of the bark.
5. Threading the Spruce Root
Thread your soaked spruce root through the holes using a simple whip stitch or a decorative cross-stitch. Keep the tension high. The root will shrink slightly as it dries, locking the joint into place like a natural clamp.
Mastery Tip: This is a lesson in friction coefficients. The rough surface of the root grabs the bark, creating a mechanical bond that does not require chemical adhesives.
6. Inserting the Base
Cut a piece of cedar to fit the bottom of your container. It should be a "friction fit," meaning it stays in place without glue. Slide it into the bottom and secure it by folding the bottom edge of the bark over the wood and stitching it down.
Mastery Tip: The wood base provides lateral stability. It resists the bark's natural tendency to curl inward, ensuring the container maintains its volumetric capacity.
7. Creating the Rim Reinforcement
Wrap a thin strip of willow or a double-layer of bark around the top edge. Stitch this "hoop" to the main body. This prevents the top of the container from fraying or splitting over time.
Mastery Tip: This acts as a tension ring. It distributes the stress of handling across the entire circumference of the vessel, much like the hoop on a wooden barrel.
8. The Final Burnish
Once the piece is assembled but still slightly damp, take your bone folder and rub the entire surface. This smooths down any raised fibers and gives the bark a soft, leather-like sheen.
Mastery Tip: Burnishing uses frictional heat to realign surface micro-fibers. It seals the pores and makes the bark more water-resistant by creating a compacted outer "skin."
THE TECHNICAL LEDGER
Maintenance & Longevity: Birch bark is naturally rot-resistant due to high concentrations of betulin. However, to keep it from becoming brittle over decades, apply a light coat of pure walnut oil or beeswax every two years. This replenishes the lipid barrier and keeps the "leather" of the woods supple.
Material Variations: For a premium look, seek out "winter bark," which is harvested in early spring. It has a dark, chocolate-colored inner layer that provides a stunning contrast. For sustainable options, always harvest from "downed" trees after a storm to ensure no living ecosystems are harmed.
The Correction:
- The Snap: If the bark cracks during a fold, you did not soak it long enough. Fix: Patch the back with a thin strip of bark and "liquid skin" adhesive, then re-soak the whole piece.
- The Gap: If your seams are loose, your thread tension was too low. Fix: Use a needle to pull the slack through each individual stitch until the seam closes.
- The Warp: If the container goes wonky while drying, it lacks internal support. Fix: Insert a temporary "form" (like a glass jar) inside the container until it is fully cured.
Studio Organization: Store your raw bark flat under weights in a cool, dark place. Never store it near a heater, as forced air will suck the essential oils out of the fibers, rendering them useless for Natural Birch Bark Crafts.
THE FINAL REVEAL
Look at that! You have successfully turned a piece of a tree into a functional work of art. The way the light catches the golden hues of the inner bark is absolutely stunning. It feels substantial in your hand, doesn't it? That is the beauty of working with natural polymers; you have created something that is both ancient and modern. Your container is ready to hold anything from gathered berries to your favorite studio pens. Go ahead, give it a sniff. That is the smell of a job well done.
STUDIO QUESTIONS
How do I make the bark more flexible?
Soak the bark in warm water for at least 24 hours. Adding a small amount of glycerin to the bath helps penetrate the lignin, making the fibers significantly more pliable for complex folds and tight radii without cracking.
Can I use glue on birch bark?
While traditional methods rely on stitching, modern wood glue or contact cement works well. However, because the bark is non-porous and resinous, you must lightly sand the surface first to create a mechanical "key" for the adhesive to grab.
Is it okay to harvest bark from living trees?
Never "girdle" a living tree by removing a full circle of bark, as this kills the specimen. Only harvest small panels from healthy trees or, preferably, source your material from recently fallen logs to ensure your crafting remains environmentally sustainable.
How do I prevent the bark from curling?
Bark naturally curls toward the inner side as it dries. To prevent this, always cure your finished projects under tension or with internal forms. Storing raw sheets flat under heavy boards will also keep your material ready for use.

