
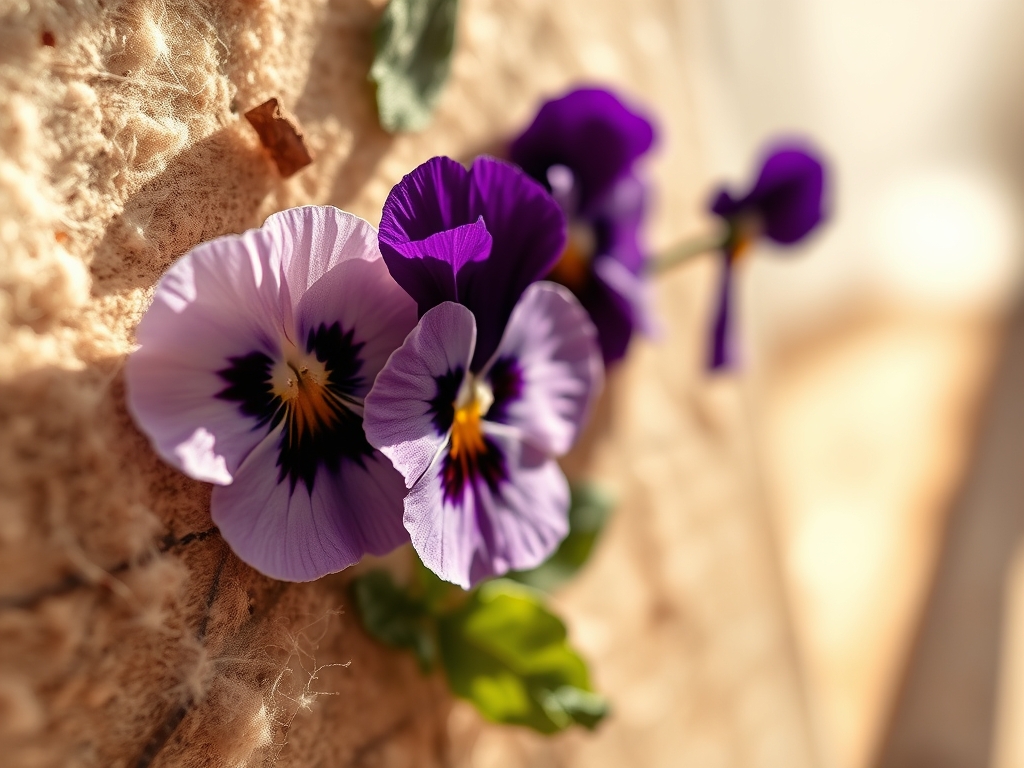
Grab your tweezers and clear the workbench because we are about to dive into the molecular magic of Pressed Pansy Art. There is a specific, electric thrill that comes from handling a blossom that has been stripped of its moisture but none of its soul. When you touch a dried pansy, you are feeling the structural remains of cellulose walls that have been perfectly preserved under pressure. The texture is reminiscent of high-gauge tissue paper; it is delicate yet surprisingly resilient if you respect the grain. We are not just making pretty pictures today. We are capturing the fleeting geometry of spring and locking it behind vintage glass. The goal is to create seven distinct faces, or compositions, that highlight the velvet-like pile of the petals and the intricate, dark "faces" that give pansies their name. By the time we are done, you will understand exactly how to balance the tensile strength of organic fibers with the unforgiving rigidity of antique glazing.
THE STUDIO KIT
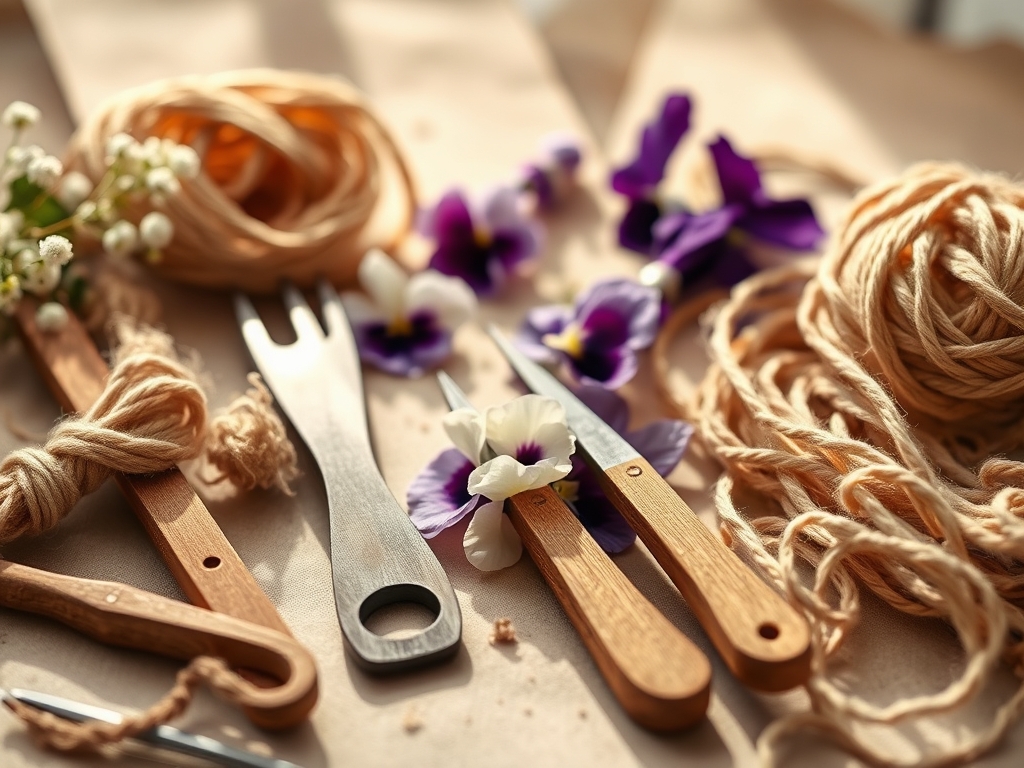
To master Pressed Pansy Art, your toolkit needs to be as precise as a surgeon's tray. We are dealing with organic matter that has undergone a phase change from turgid to desiccated. You will need a pair of fine-tipped stainless steel tweezers to prevent the oils from your skin from degrading the floral pigments. A bone folder is essential for burnishing the edges of your mounting paper, ensuring a flat surface that prevents air pockets. For the glass, source vintage frames with original "wavy" glass; the slight imperfections in the lead-silica mix create a beautiful refraction that enhances the flower's natural depth.
You will also need archival-grade pH-neutral adhesive. Using standard glue will cause the petals to oxidize and turn brown over time due to acidic reactions. For the substrate, choose a heavyweight 300gsm cold-press watercolor paper. The high cotton content provides a porous surface that allows the adhesive to grip without warping. If you cannot find vintage glass, a high-quality borosilicate glass is a functional substitution, though it lacks the historical character of salvaged panes. If you find yourself without a bone folder, the smooth edge of a polished agate burnisher or even a heavy metal ruler can serve to flatten your mounting surface.
THE TEMPO
The Maker's Rhythm for this project is divided into two distinct velocities: the slow cure and the rapid assembly. The pressing phase is a lesson in patience, requiring at least two to three weeks for the moisture to fully exit the plant cells via capillary action into your blotting paper. You cannot rush the physics of evaporation without risking "cooking" the enzymes and losing color vibrancy.
Once the specimens are dry, the assembly phase moves quickly. You should allocate approximately forty-five minutes per "face" or composition. This includes the time needed for the adhesive to tackify (reach its optimal stickiness) and the final alignment within the glass panes. Working in a low-humidity environment is crucial during this stage; if the ambient moisture is too high, the dried petals will absorb water vapor, losing their crispness and potentially inviting fungal growth once sealed.
THE CORE METHOD
1. The Anatomical Selection
Before you even touch the glue, you must analyze the structural integrity of your pansies. Select specimens that have a flat profile and minimal overlapping of the primary petals. Mastery Tip: Look for flowers with a high density of anthocyanins, the pigments responsible for deep purples and blues, as these tend to remain the most stable during the desiccation process.
2. Substrate Preparation and Caliper Alignment
Measure your vintage glass using a digital caliper to ensure your paper backing is cut exactly 1.5mm smaller than the frame's interior. This allows for the natural expansion and contraction of the wood or metal frame without buckling the art. Mastery Tip: Use a rotary cutter and a self-healing mat for the cleanest edges; a dull blade will crush the paper fibers rather than slicing them, leading to unsightly fraying.
3. The Adhesive Map
Apply minute dots of pH-neutral glue to the thickest part of the flower, usually the receptacle where the petals meet the stem. Avoid putting glue on the thin edges of the petals, as the moisture can cause the cellulose to pucker. Mastery Tip: This technique utilizes surface tension to hold the flower in place while allowing the delicate edges to "float" slightly, creating a more realistic, three-dimensional shadow once framed.
4. Layering the Seven Faces
Create your seven compositions by varying the "mood" of each pane. Use a single, centered bloom for a minimalist look, or a cluster of three to demonstrate radial symmetry. Mastery Tip: When layering petals, remember that the opacity of the dried material is low. Overlapping two dark petals will create a new, denser visual weight that can be used to lead the eye through the composition.
5. The Glass Compression
Carefully lower the vintage glass onto the mounted pansy. You must apply even, vertical pressure to avoid "shearing" the delicate petals. Mastery Tip: This is where static electricity becomes your enemy. Wipe the glass with an anti-static cloth beforehand to prevent the lightweight petals from jumping or shifting as the glass descends.
6. Sealing the Micro-Environment
Use a thin bead of archival tape or a specialized metal foil to seal the edges of the glass sandwich. This creates a barrier against oxygen and pollutants. Mastery Tip: By sealing the edges, you are creating a micro-climate that stabilizes the internal humidity, which is the single most important factor in preventing the "browning" of organic art.
7. Final Burnishing and Inspection
Use your bone folder to press the sealing tape firmly against the glass. Inspect the piece under a magnifying lamp for any stray fibers or dust particles trapped inside. Mastery Tip: Light refraction through vintage glass can hide small errors, but a high-intensity light source will reveal if the tensile bond between the flower and the paper is secure.
THE TECHNICAL LEDGER
Maintenance & Longevity: To keep your Pressed Pansy Art from fading, never hang it in direct UV light. Photochemical degradation will break down the molecular bonds of the pigments. Clean the vintage glass with a dry microfiber cloth; liquid cleaners can seep into the edges and ruin the specimen.
Material Variations: For a premium version, use handmade washi paper with visible silk fibers. For a sustainable approach, salvage glass from broken 19th-century windows and use a jeweler's saw to cut them to size.
The Correction:
- The Petal Tear: If a petal rips, use a tiny amount of adhesive and a "patch" from a sacrificial flower. The seam will be invisible under glass.
- The Air Bubble: If the paper warps, it means your glue had too much water. Use a heated palette knife to gently flatten the area.
- The Foggy Glass: If condensation appears inside, your specimen wasn't fully dry. You must reopen the frame and place it in a desiccant chamber (like a box of silica gel) for 48 hours.
Studio Organization: Store your completed panes vertically in a slotted wooden rack. Horizontal stacking can lead to excessive pressure on the vintage glass, which is often more brittle than modern float glass.
THE FINAL REVEAL
There is nothing quite like the moment you hold a finished pane up to the light. The "faces" of the pansies seem to glow, their colors suspended in a crystalline void. The contrast between the rugged, historical texture of the vintage glass and the ethereal, papery lightness of the Pressed Pansy Art is a triumph of material science and aesthetic intuition. You have successfully taken a living thing and, through the application of pressure and chemistry, turned it into a permanent relic. These seven faces are not just decorations; they are a masterclass in preservation.
STUDIO QUESTIONS
How do I prevent the pansies from turning brown?
Use pH-neutral, acid-free materials and ensure the flowers are 100% desiccated before sealing. Avoid UV exposure, as light triggers the breakdown of pigments. Maintaining a stable, low-humidity environment is the key to preserving the original molecular color structure.
Can I use a microwave press for faster results?
Yes, but use caution. Microwave pressing uses rapid heat to evaporate moisture, which can sometimes "cook" the delicate cellulose. It is faster than traditional methods but may result in slightly more brittle petals compared to the slow, natural capillary action.
What is the best way to clean vintage glass?
Use a dry microfiber cloth or a specialized glass polishing cloth. Avoid liquid solvents, which can penetrate the seal of your Pressed Pansy Art and cause the organic matter to rehydrate or rot. For stubborn spots, use a tiny amount of isopropyl alcohol.
Why is my paper buckling after I apply the glue?
This happens when the adhesive has a high water content and the paper's GSM is too low. Switch to a heavier, 300gsm cotton-based paper and use the smallest amount of glue possible to maintain the substrate's structural integrity.
How do I cut vintage glass without breaking it?
Use a high-quality carbide wheel glass cutter and plenty of cutting oil. Score the glass firmly but only once. Vintage glass often has internal stresses, so use running pliers to apply even pressure along the score line for a clean break.

