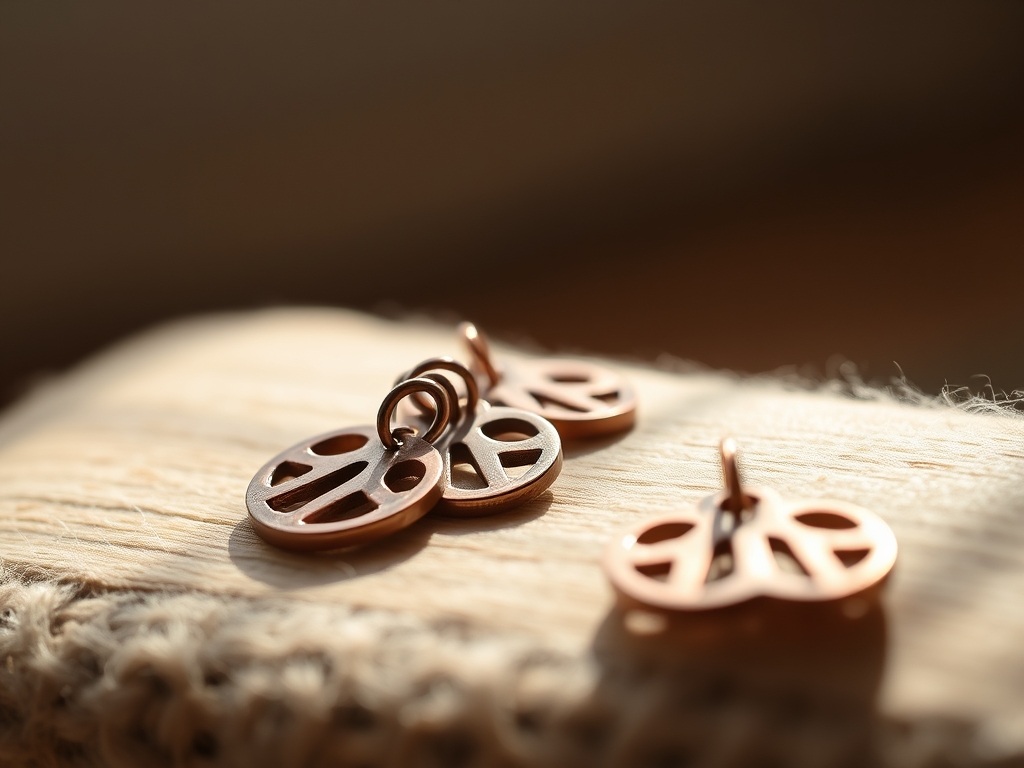
Grab your safety glasses and clear some bench space because we are about to dive into the visceral, satisfying world of metal manipulation. There is a specific, addictive resistance when your steel stylus first bites into a fresh sheet of metal; it is a tactile conversation between your hand and the atomic lattice of the material. When you start crafting Hand Tooled Copper Charms, you are not just making jewelry. You are literally rearranging the crystalline structure of the copper to hold a permanent memory of your design. The smell of the sulfur in the patina and the cool, heavy weight of the blanks in your palm create a sensory experience that plastic or resin simply cannot replicate. We are looking for that perfect balance of ductility and strength. You want a material that yields to your pressure like butter but holds its edge with the stubbornness of an heirloom. It is time to stop dreaming about those intricate botanical patterns and start pushing some molecules around.
THE STUDIO KIT
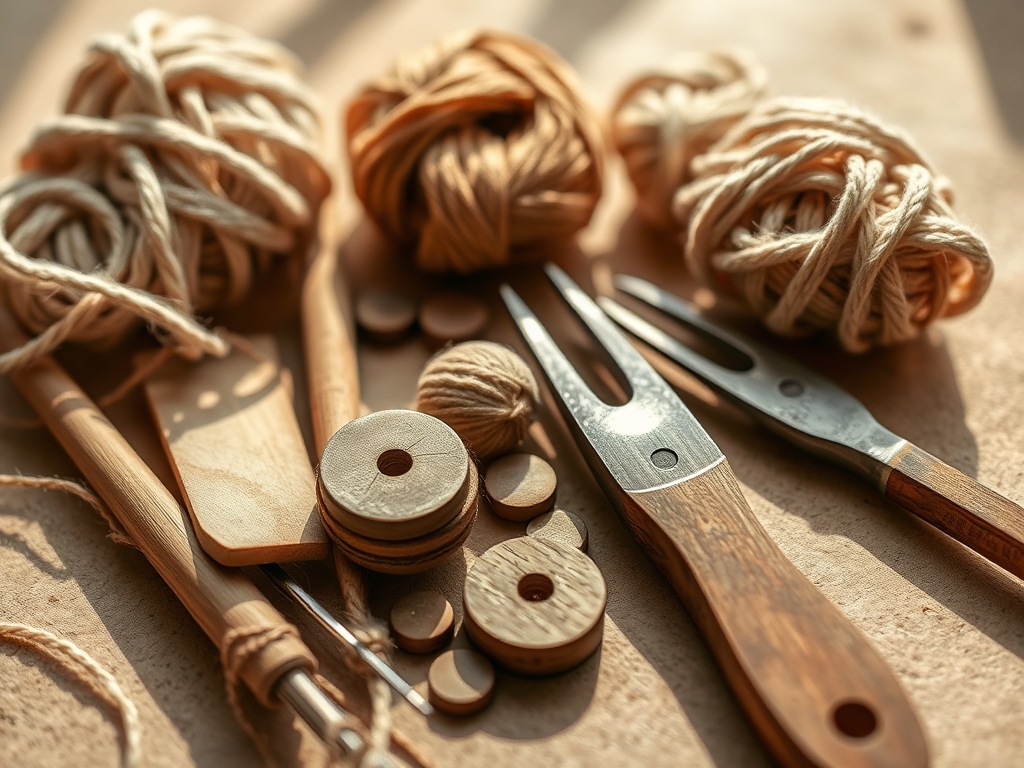
To master the art of the botanical charm, your toolkit must prioritize precision and leverage. We start with the foundation: 24-gauge to 26-gauge copper sheeting. This specific tensile strength allows for deep embossing without accidental piercing. You will need a set of stainless steel ball styluses in varying diameters to create depth, and a high-density rubber mat to serve as your "give" surface. For the fine details of a leaf vein or a petal edge, a hardened steel awl or a fine-point burnisher is non-negotiable.
You also need a pair of precision metal shears or a jeweler's saw for the initial cutout. If you want to scale up, an oscillating tool with a polishing attachment will save your wrists during the finishing stage. For material substitutions, if copper is unavailable, you can pivot to aluminum (dead soft), pewter foil, brass (28-gauge), sterling silver (annealed), or zinc. Note that brass has a higher zinc content, making it springier and more prone to "work hardening" than the buttery copper we prefer.
THE TEMPO
The "Maker's Rhythm" is a three-act play governed by the physical properties of the metal. First is the Preparation Phase (20 minutes), where you degrease the metal and transfer your botanical template. The metal must be chemically clean so your scribe lines do not slip. Second is the Embossing Phase (40 to 60 minutes), which is the heart of the process. This is a meditative, slow-burn stage where you gradually increase pressure to avoid over-stressing the grain of the metal.
Finally, we enter the Refining Phase (30 minutes). This includes the "finesse" work: sanding the edges with a high-grit abrasive and applying a liver of sulfur patina to highlight the lowlights. Total project time sits around two hours per set of charms. Do not rush the cooling or drying times; metal is a thermal conductor, and working it while it is too warm from friction can lead to unintended warping.
THE CORE METHOD
1. Template Transfer and Scribing
Place your botanical sketch over the copper sheet and use a fine-point stylus to trace the outline. This creates a "path of least resistance" in the metal's surface. You are not trying to cut through yet; you are merely establishing the topographic boundaries of your charm.
Mastery Tip: This step relies on displacement physics. By creating a shallow groove, you are compressing the molecules in a specific line, which guides the metal's movement during the heavy embossing phase.
2. Deep Relief Embossing
Flip the copper over onto your rubber mat. Using a medium ball stylus, press firmly into the centers of your leaves or petals. This is called "working from the back" to create a high-relief "repousse" effect on the front.
Mastery Tip: Monitor the work hardening of the piece. As you compress the copper, it becomes more brittle. If the metal starts to feel "springy" or resistant, it has reached its limit of plastic deformation.
3. Defining the Veins
Flip the piece back to the front side. Use your finest awl to press down the edges around your raised sections. This "chasing" technique flattens the background and makes the botanical elements pop.
Mastery Tip: This utilizes surface tension and structural integrity. By flattening the surrounding area, you are "locking" the raised design in place, preventing the charm from bending or warping during wear.
4. Edge Refinement and Piercing
Cut the charm out using your shears, staying 1mm outside your scribed line. Use a hand punch or a small drill bit to create the jump ring hole. Finish by sanding the edges with 400-grit then 800-grit sandpaper until the edge feels like silk.
Mastery Tip: Use calipers to ensure your hole is centered. Placing the hole too close to the edge compromises the shear strength of the metal, meaning the jump ring could eventually tear through the copper.
THE TECHNICAL LEDGER
Maintenance & Longevity: Copper is a reactive metal. To prevent unwanted oxidation, coat your finished charms with a microcrystalline wax or a professional-grade jeweler's lacquer. This creates a hydrophobic barrier that stops oxygen and skin oils from dulling the shine.
Material Variations:
- Sustainable: Source "dead soft" recycled copper flashing from roofing suppliers.
- Premium: Use gold-filled or argentium silver for pieces that require higher tarnish resistance.
- Industrial: Use 24-gauge galvanized steel if you want a brutalist, matte grey aesthetic, though it requires significantly more hand pressure.
The Correction:
- The Pierced Leaf: If you press too hard and poke a hole, you cannot "fill" it. Instead, incorporate the hole into the design as a "bug bite" or natural decay in the leaf.
- The Warped Blank: If the charm curls, place it between two blocks of hardwood and tap with a rubber mallet to redistribute the internal stress.
- The Dull Patina: If your patina looks muddy, you likely didn't degrease the metal. Strip it with fine steel wool and start the chemical bath again.
Studio Organization: Store your copper sheets in acid-free glassine paper. Copper is porous at a microscopic level; storing it in a humid environment or against "sweaty" plastics will cause premature "bronzing" or "verdigris" before you even start your project.
THE FINAL REVEAL
Look at that glow! There is nothing quite like the way a hand-tooled copper charm catches the light. Because you worked the metal by hand, the surface has a faceted, organic quality that a machine-stamped piece could never replicate. Your botanical jewelry now carries the weight of professional craftsmanship and the intricate detail of the natural world. These pieces feel substantial, expensive, and deeply personal. Whether you are hanging them from a delicate gold chain or adding them to a rugged leather wrap, they are a testament to your mastery over the elements.
STUDIO QUESTIONS
What is the best gauge for hand tooling?
For beginners, 24-gauge or 26-gauge is the "sweet spot." It is thin enough to manipulate with hand tools but thick enough to maintain its structural integrity without tearing during deep relief work.
How do I stop my copper from turning green?
Apply a thin layer of Renaissance Wax or a specialized jewelry sealer. This creates a permanent barrier against moisture and skin acidity, preserving the warm glow of the copper indefinitely.
Can I use a regular hammer for embossing?
No, a regular steel hammer will mar the surface. Use a nylon or rawhide mallet for flattening, and specialized embossing styluses for the detail work to avoid leaving unwanted "chatter" marks on the metal.
Why did my copper get so hard to bend?
This is called work hardening. As you tool the metal, the internal grains compress and lock together. To soften it again, you must "anneal" it by heating it with a torch until it glows dull red.
What is the best way to clean copper before tooling?
Use a mixture of distilled white vinegar and salt, or a dedicated jewelry "pickle" solution. This removes the "fire scale" and oils, ensuring your scribe lines are precise and your patina adheres perfectly.