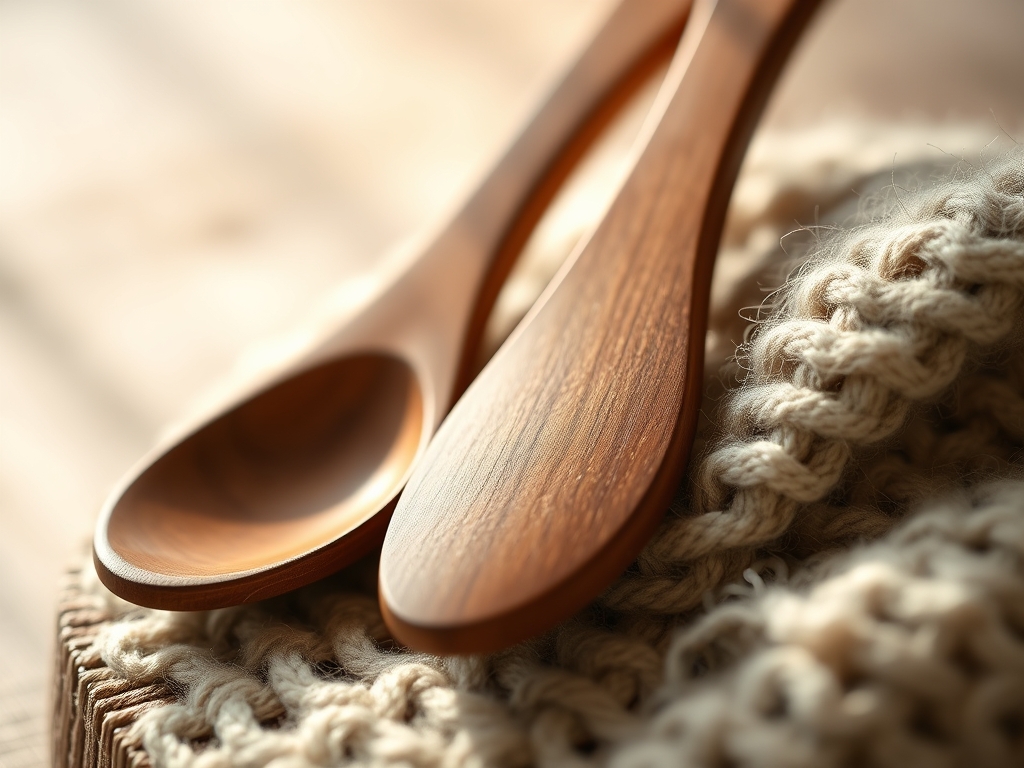
Grab a seat at the workbench and ignore the sawdust in your hair because we are diving deep into the cellular architecture of timber today. There is a specific, electric thrill that comes from holding a raw billet of Prunus serotina. You can feel the potential energy stored in those tight, reddish fibers. We are not just making kitchenware; we are engineering functional art. Creating Hand Carved Spoons is a masterclass in understanding how organic polymers behave under tension. When you run your thumb over the grain, you are reading a history of sunlight and soil density. Cherry is the undisputed queen of the workshop because it offers a perfect balance of tensile strength and workable softness. It is forgiving enough for a sharp gouge but dense enough to hold a crisp edge that will not fray when it meets a hot soup. This process is slow, deliberate, and incredibly rewarding. We are going to strip away everything that is not a spoon, one shaving at a time, until we reveal the elegant geometry hidden inside that wood block.
THE STUDIO KIT
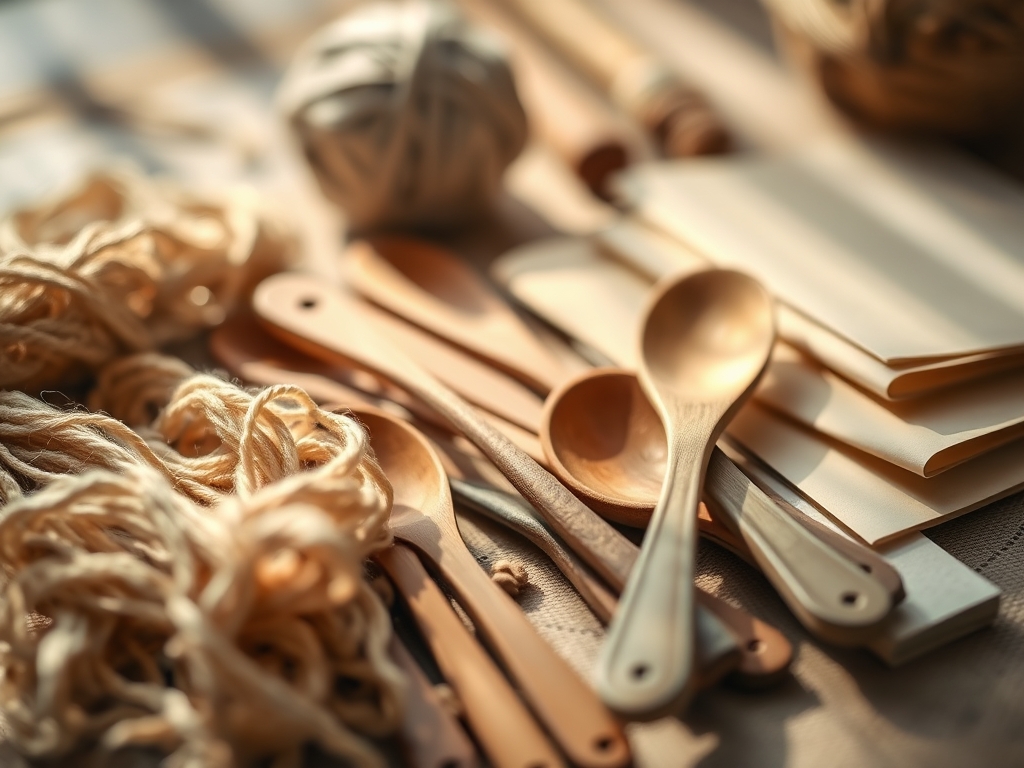
To execute this project with professional precision, your toolkit must be an extension of your own biomechanics. We start with a sloyd knife, which features a high carbon steel blade capable of maintaining an atomic level of sharpness. For the concavity of the bowl, a hook knife (or spoon mule) is non-negotiable; its curved radius allows you to scoop across the grain without causing intercellular shear. You will also need calipers to monitor wall thickness, ensuring the bowl does not become too thin to withstand thermal expansion. For the initial shaping, a small carving hatchet provides the necessary leverage to remove bulk material quickly.
Our primary material is green cherry wood. Green wood still contains its natural sap, which acts as a lubricant for your blade, reducing friction and preventing the wood from splitting. If cherry is unavailable, you can substitute with black walnut for a darker, more porous aesthetic, or hard maple if you want a high-density, nearly indestructible finish. Avoid softwoods like pine; their tracheid cells are too large and brittle for the fine detail required in utensil necks.
THE TEMPO
The "Maker's Rhythm" is less about the clock and more about the moisture content of your timber. Expect to spend approximately four to six hours of active carving time, spread across three days. The first phase, the rough out, takes about an hour of high-energy exertion. The second phase involves the precision carving, which requires a slower, meditative pace of two hours to ensure structural integrity. Finally, the curing and finishing phase takes place over forty-eight hours. You must allow the wood to reach equilibrium moisture content slowly; if you rush the drying process, the internal stresses will cause the spoon to check or warp.
THE CORE METHOD
1. Mapping the Grain Geometry
Before the first cut, use a pencil to map the longitudinal axis of the spoon on your wood billet. Align the handle with the straightest grain lines to maximize longitudinal stability. If the grain runs off the side of the handle, that point becomes a structural failure waiting to happen.
Mastery Tip: Observe the "v" patterns in the wood. Carving with the grain (downhill) prevents tear-out, a phenomenon where the blade lifts and snaps wood fibers instead of slicing them.
2. The Axial Rough-Out
Using your hatchet, remove the corners of the billet to create a hexagonal profile. This is about managing mass. You are aiming for a "blank" that resembles the silhouette of a spoon but remains chunky enough to be clamped or held firmly.
Mastery Tip: Use the weight of the hatchet head rather than raw muscle. This utilizes kinetic momentum to shear through the lignified cell walls without straining your wrist tendons.
3. Hollowing the Basin
Switch to the hook knife. Start from the center of the bowl and work outward in a circular motion. You are creating a concave hemisphere that must be deep enough for utility but shallow enough to remain ergonomic.
Mastery Tip: This step relies on radial compression. By carving from the edges toward the center, you support the fibers against one another, preventing the wood from splintering at the rim.
4. Refining the Profile
With the sloyd knife, begin thinning the handle. Move from the bowl toward the end of the handle. Use "thumb-push" cuts for maximum control. Aim for a thickness of about 8mm for the handle to ensure it can withstand the leverage forces of stirring heavy stews.
Mastery Tip: Constantly check the symmetry of the cross-section. An asymmetrical handle creates uneven stress distribution, which can lead to warping during the drying phase.
5. The Transition Neck
The point where the bowl meets the handle is the most vulnerable area. Carve a smooth, sweeping curve rather than a sharp angle. This distributes mechanical stress across a larger surface area, preventing a "snap point."
Mastery Tip: This is the structural fulcrum of your spoon. Keeping the fibers continuous through this curve ensures the highest possible tensile strength.
6. Smoothing and Burnishing
Once the shape is finalized, use a piece of smooth bone or a polished stone to burnish the surface. This compresses the surface fibers, closing the pores and creating a natural luster without the need for heavy sanding.
Mastery Tip: Burnishing utilizes friction-induced heat to realign the cellulose microfibrils, making the surface more resistant to water absorption and bacterial growth.
7. The Polymerization Finish
Apply a food-safe drying oil, such as raw linseed or tung oil. Submerge the spoon or rub it vigorously until the wood stops drinking. The oil will penetrate the pores and undergo oxidative polymerization, hardening into a protective barrier.
Mastery Tip: The oil fills the capillary voids within the wood, preventing water from entering and causing the cells to swell and eventually rot.
THE TECHNICAL LEDGER
Maintenance & Longevity
To keep your Hand Carved Spoons in peak condition, never subject them to the dishwasher. The high heat and harsh detergents will strip the protective oils and cause the lignin to degrade. Re-oil the wood every six months or whenever the surface feels "thirsty" or parched.
Material Variations
For a sustainable approach, source "storm-fall" timber from local arborists. This recycled material often has unique figure and spalting, which adds character to the finished piece. Premium burls can be used for the bowl to create a marbled effect, though they require advanced sharpening techniques due to their erratic grain direction.
The Correction
- The Deep Gouge: If you slip and take too much off the rim, do not panic. Use a rasp to reshape the entire bowl circumference to a new, lower baseline.
- The Hairline Crack: If the wood checks during drying, fill the void with a mixture of fine sawdust and food-safe wood glue. This restores structural continuity.
- The Fuzzy Surface: If the grain "raises" after getting wet, use 400-grit sandpaper to knock down the fibers, then re-burnish. This is caused by hydroscopic expansion.
Studio Organization
Store your unfinished spoons in a paper bag filled with their own shavings. This creates a micro-climate that slows down the evaporation of moisture, preventing the rapid shrinkage that leads to cracking.
THE FINAL REVEAL
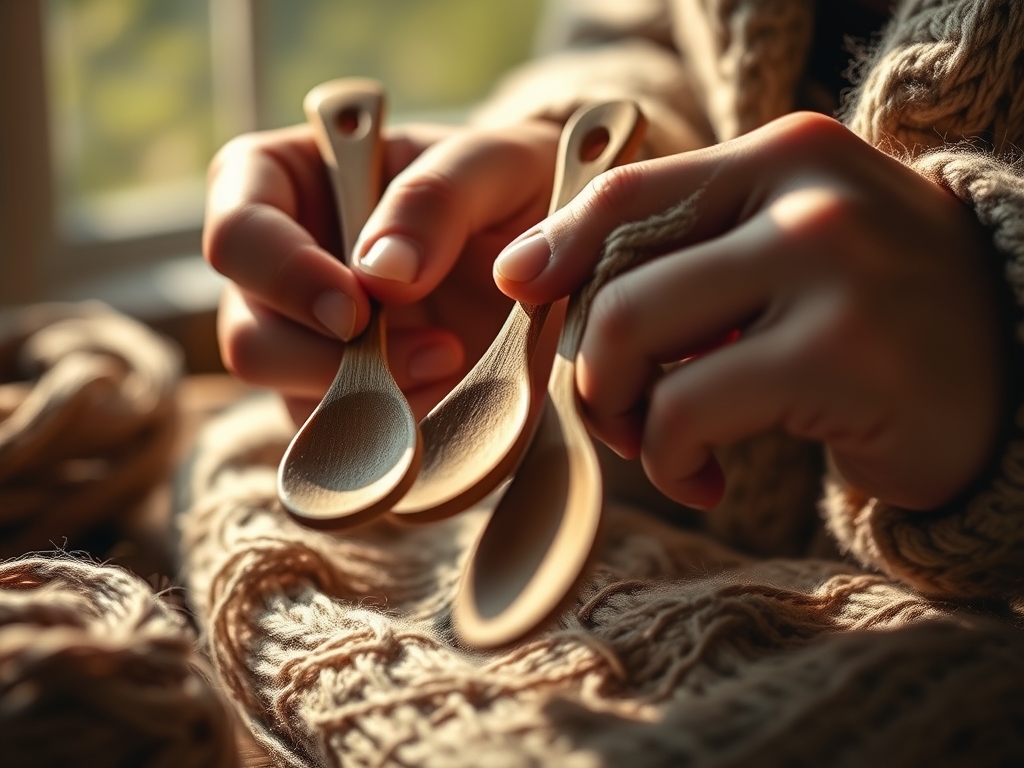
Look at that! You have successfully transformed a rigid piece of timber into a flowing, ergonomic tool. The way the cherry wood catches the light is a testament to your precision. Notice how the handle fits perfectly into the palm of your hand; that is the result of intentional anthropometric design. Your Hand Carved Spoons are more than just kitchen tools; they are a bridge between the natural world and your daily rituals. The wood will darken over time, developing a rich patina that tells the story of every meal it has stirred. You have mastered the physics of the grain and the chemistry of the finish.
STUDIO QUESTIONS
Why is cherry wood preferred for Hand Carved Spoons?
Cherry possesses a fine, closed-grain structure and excellent dimensional stability. It resists splintering and develops a beautiful, deep red patina over time, making it both durable and aesthetically superior for functional kitchenware.
Do I need to sand my Hand Carved Spoons?
While sanding is common, professional carvers often prefer burnishing. Sanding can clog the wood pores with dust, whereas burnishing compresses the fibers, creating a smoother, more water-resistant surface that highlights the natural grain.
How do I prevent my spoon from cracking?
Cracking occurs due to rapid moisture loss. To prevent this, carve green wood and slow the drying process by storing the spoon in a bag of wet shavings, allowing the internal tension to equalize gradually.
What is the best food-safe finish?
Raw linseed oil or pure tung oil are ideal because they are curing oils. They soak into the wood and harden through oxidation, providing a long-lasting, non-toxic barrier against moisture and food particles.
Can I carve spoons from dry wood?
Yes, but it requires significantly more effort and sharper tools. Dry wood is harder and more prone to splintering. If using dry timber, frequent honing of your sloyd knife is essential to maintain a clean cut.