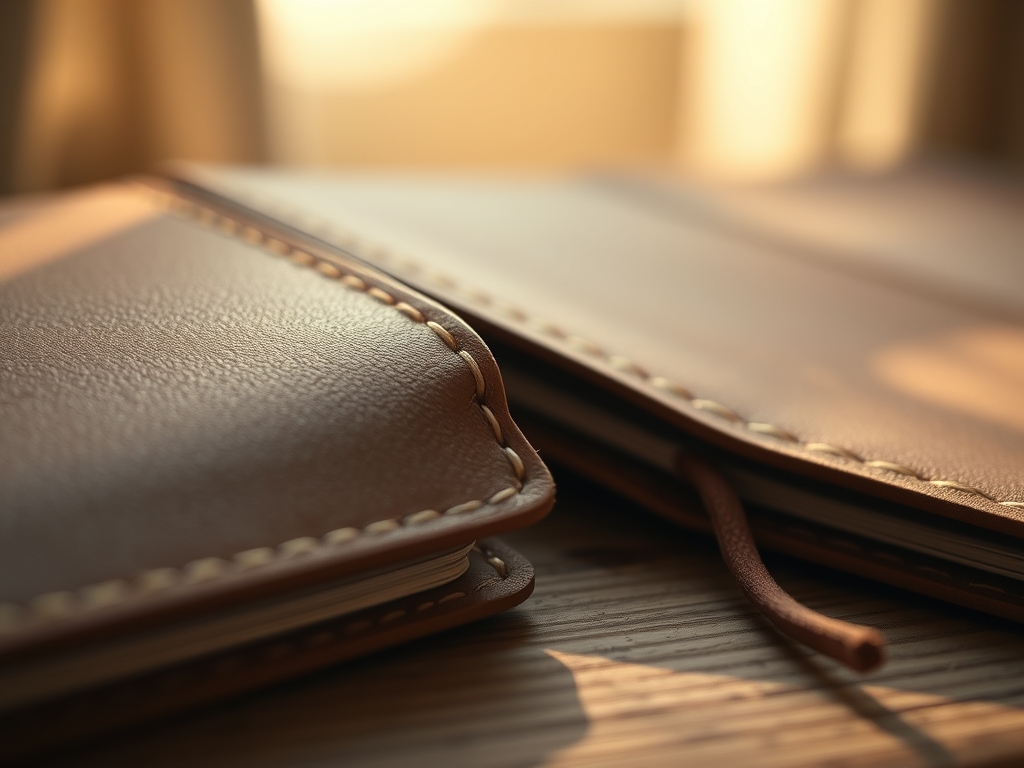
Grab your favorite mug and clear some space because we are about to get intimate with the scent of oak tannin and the satisfying resistance of a sharp blade. There is a specific kind of magic that happens when you press your thumb against the grain of a high quality hide; it is a tactile conversation between the organic fiber and your own skin. We are diving deep into the world of Hand Stitched Leather Notebooks today. This is not just about making a place to scribble your thoughts; it is about engineering a legacy object that survives the chaos of your daily bag. When you hold a finished piece, you feel the tensile strength of the waxed thread and the weight of the paper against the supple cover. It is a sensory overload that starts with a rough edge and ends with a polished, professional masterpiece. We are going to master the physics of the stitch and the chemistry of the burnish to ensure your journal is as durable as it is beautiful.
THE STUDIO KIT
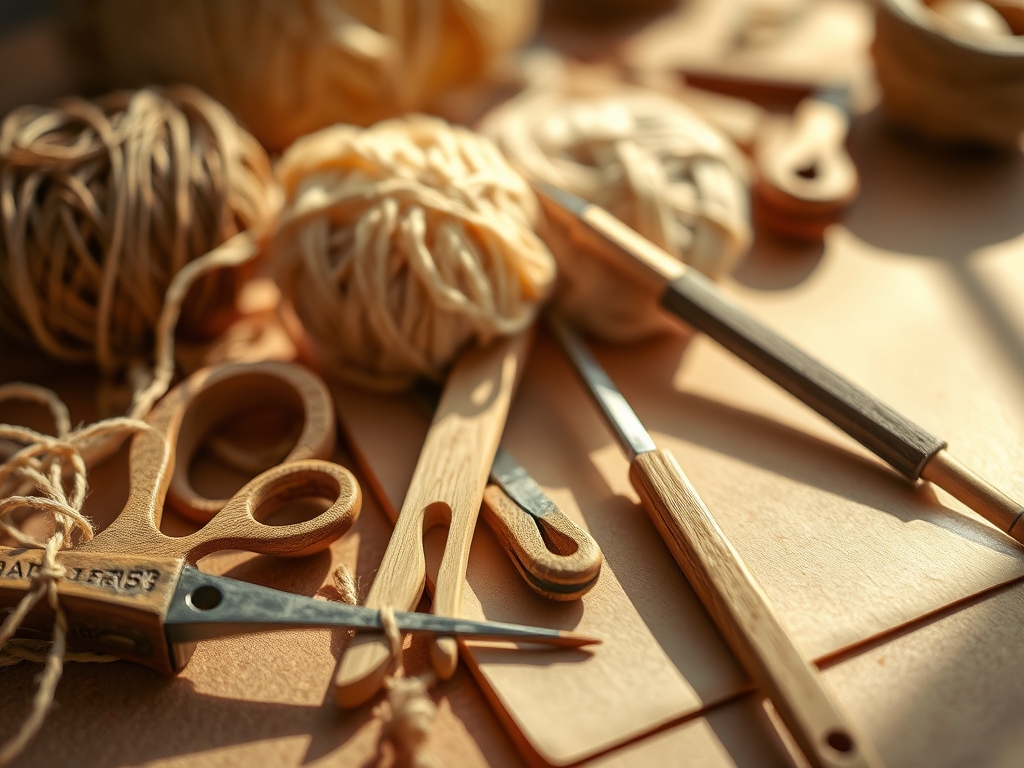
To create world class Hand Stitched Leather Notebooks, you need more than just a needle and a dream. You need a curated selection of tools designed to manipulate high density protein fibers. Your primary weapon is the diamond awl, which creates a clean, angular puncture that allows the thread to lock into place without tearing the surrounding leather. You will also need calipers for precise measurement and a bone folder to create crisp, permanent creases in your paper signatures. For the leather itself, look for vegetable tanned hides with a thickness of 4 to 5 ounces; this provides the necessary structural integrity to protect the interior pages while remaining flexible enough to open flat.
The thread selection is equally critical. Use a braided polyester thread pre-coated in beeswax. The wax acts as a lubricant during the stitching process and a sealant once the thread is seated. If you cannot find traditional supplies, consider these material substitutions: a heavy duty nylon upholstery thread can replace polyester, and a clean popsicle stick can serve as a makeshift bone folder in a pinch. For the pages, choose a 100gsm acid free paper to prevent ink bleed and ensure the longevity of your writing.
THE TEMPO
The Maker's Rhythm is a psychological state where the mechanical repetition of the task aligns with your internal focus. Creating Hand Stitched Leather Notebooks is a three phase process that requires approximately five to seven hours of active labor. The Preparation Phase takes about ninety minutes; this involves measuring, cutting, and punching your holes. Precision here is non-negotiable because an error of even one millimeter will cause the entire spine to skew.
The Stitching Phase is the longest block, typically requiring three hours. This is where you enter the flow state, maintaining consistent tension with every pass of the needle. Finally, the Finishing Phase takes about an hour. This involves burnishing the edges and conditioning the leather. You must allow for a twenty four hour "rest period" after completion to let the leather fibers settle around the new stitches and for any edge dyes to fully cure.
THE CORE METHOD
1. Preparing the Signature
Begin by folding your paper into signatures, which are small booklets of four to five sheets. Use your bone folder to compress the air out of the folds. This increases the volumetric density of the notebook, ensuring it does not feel spongy when closed.
Mastery Tip: Always fold with the grain of the paper. You can find the grain by gently bending the sheet; it will offer less resistance in one direction. Folding against the grain causes the cellulose fibers to snap, resulting in a ragged edge.
2. Sizing the Leather Wrap
Measure your leather cover to be slightly larger than your paper signatures. Use a rotary cutter and a steel ruler to ensure perfectly 90 degree corners. The leather acts as a protective exoskeleton, so leave a 5mm overhang on the top, bottom, and front edges.
Mastery Tip: Leather is a porous material that expands and contracts with humidity. By cutting the cover slightly larger, you account for the natural "creep" of the material as it ages and softens.
3. Plotting the Stitch Holes
Use your calipers to mark a straight line down the spine where the stitches will live. Use a pricking iron or a wing divider to mark consistent intervals. Consistency is the hallmark of professional Hand Stitched Leather Notebooks.
Mastery Tip: The spacing of your holes dictates the load distribution along the spine. Holes placed too close together can create a "perforation effect," where the leather tears like a postage stamp under tension.
4. The Longstitch Technique
Thread two needles on a single length of thread to perform a saddle stitch or a variation of the longstitch. Pass the needle through the leather and then through the center of the paper signature. This creates a direct mechanical bond between the cover and the contents.
Mastery Tip: Maintain even tension on both ends of the thread. If one side is tighter, the spine will twist. This is a matter of muscle memory and tactile feedback.
5. Managing the Thread Path
As you move from one signature to the next, ensure the thread remains flat and untwisted. A twisted thread creates a high point that is susceptible to abrasive wear over time.
Mastery Tip: Use the "Cast Over" method at the start and end of each row. This involves looping the thread back over itself to create a friction lock that prevents the seam from unraveling if a single stitch is cut.
6. Edge Burnishing
Once the stitching is complete, the edges of the leather will look raw. Apply a small amount of water or burnishing gum and rub the edge vigorously with a wooden slicker. The friction creates heat, which collapses the leather fibers into a smooth, shiny surface.
Mastery Tip: This process relies on thermoplasticity. The heat melts the natural lignins and waxes in the leather, fusing the fibers together into a waterproof seal.
7. Creating the Closure
A notebook needs a way to stay shut. You can install a simple leather wrap or a metal stud. Use a hole punch to create a clean aperture for your closure hardware.
Mastery Tip: If using a metal stud, ensure the hole is slightly smaller than the head of the stud. Leather has high elastic recovery, meaning it will stretch to let the stud through and then snap back to hold it secure.
8. Final Conditioning
Apply a light coat of neatsfoot oil or beeswax conditioner to the entire surface. This hydrates the fibers and provides a protective barrier against oils from your hands.
Mastery Tip: Conditioners work through capillary action, pulling the oils deep into the dermis of the leather. This keeps the material supple and prevents the "dry rot" that occurs when protein fibers become brittle.
THE TECHNICAL LEDGER
To maintain your Hand Stitched Leather Notebooks, you must treat them as living objects. Avoid storing them in direct sunlight, which causes UV degradation of the dyes and fibers. If the leather gets wet, do not use a hair dryer; let it air dry slowly to prevent the fibers from shrinking and warping the spine.
Material Variations: For a sustainable approach, use "deadstock" leather from upholstery shops. If you want a premium feel, go for Full Grain leather, which retains the original texture of the hide. Avoid "Genuine Leather," which is often just scraps glued together with a plastic coating; it lacks the tensile strength required for long term journaling.
The Correction:
- Loose Stitches: If your thread is sagging, use a dull needle to "walk" the slack toward the end of the seam and re-tie the knot.
- Misaligned Holes: If your holes do not line up, use a round awl to gently stretch the leather back into alignment before passing the needle.
- Bleeding Edges: If your edge dye is running into the grain, use a fine grit sandpaper to sand back the excess and re-burnish with less moisture.
Studio Organization: Store your leather flat in a cool, dark place. Never fold a hide for long term storage as this creates permanent "fatigue lines" in the fiber structure. Keep your needles in a magnetized tray to prevent loss and maintain their sharp points.
THE FINAL REVEAL
Look at that! You have just engineered a piece of functional art. The way the light catches the burnished edges and the rhythmic pattern of the stitches makes these Hand Stitched Leather Notebooks feel like they belong in a museum. But the best part is the sound; that soft "thud" when you close the cover and the crinkle of the high quality paper. You have created something that will outlast any digital app. It is sturdy, it is stylish, and it is uniquely yours. Now, go fill those pages with your wildest ideas!
STUDIO QUESTIONS
What is the best leather for notebooks?
Vegetable tanned leather is the gold standard. It has the necessary stiffness to protect pages and develops a beautiful patina over time. It also reacts well to burnishing, which is essential for a professional finish on the edges.
Why use waxed thread for stitching?
Waxed thread provides lubrication as it passes through the leather, reducing friction and heat. Once the stitch is set, the wax acts as a mild adhesive and a moisture barrier, preventing the thread from rotting or stretching over time.
How do I fix a crooked stitch?
If a stitch is misaligned, you must unpick the seam back to the error. Use a wing divider to re-mark your spacing and ensure your awl enters the leather at a consistent 90 degree angle to maintain a straight path.
Can I use a regular sewing machine?
Standard home machines lack the motor torque and needle strength to penetrate thick leather. Using one can damage the machine's timing. For Hand Stitched Leather Notebooks, manual saddle stitching is significantly stronger and more aesthetically pleasing than machine stitching.