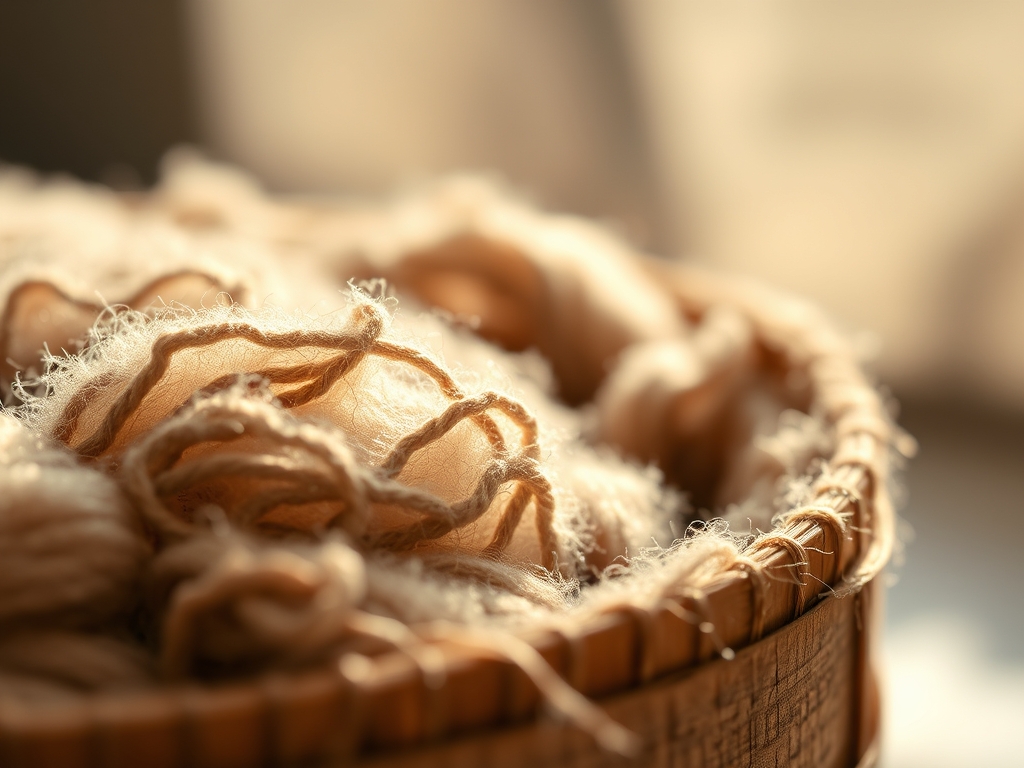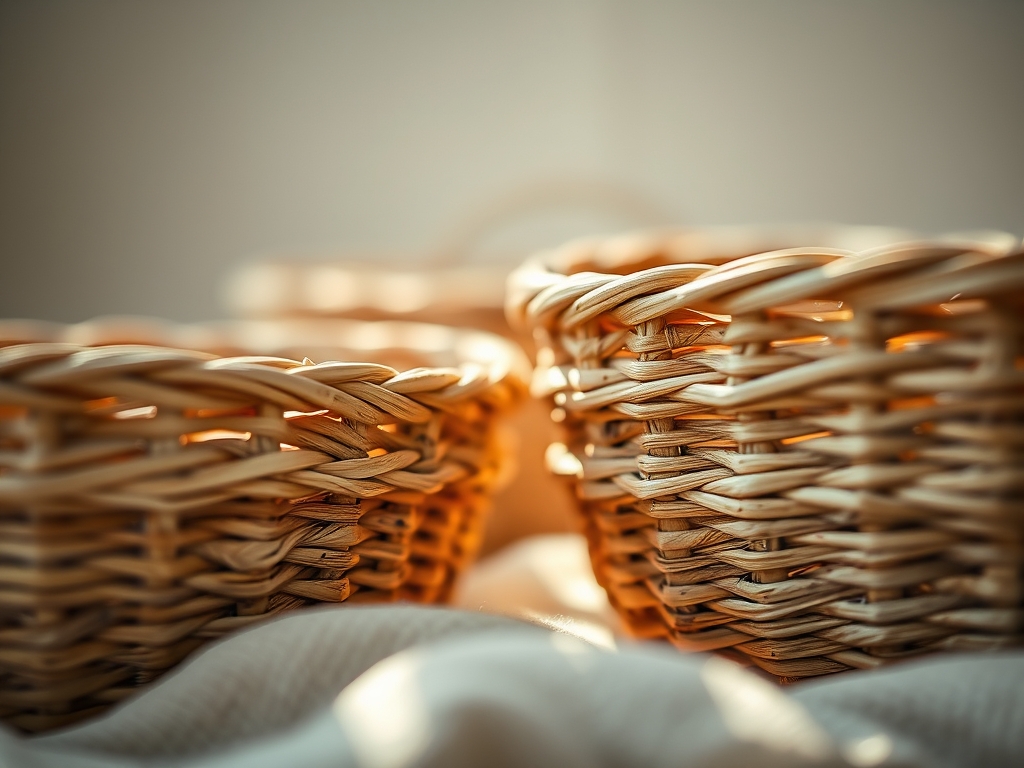
Close your eyes and listen to the snap of a sun-dried reed. It is a sharp, percussive sound that signals the material is ready to be transformed. When you start crafting Woven Grass Baskets, you are not just playing with plants; you are engaging in a high-stakes negotiation with cellulose and lignin. The smell is intoxicating. It is a mix of toasted hay and deep, earthy musk that fills your studio the moment you soak your bundles. You can feel the silica on the surface of the blades. This microscopic grit provides the friction necessary to keep your tension consistent without the need for adhesives. We are diving into a craft that is thousands of years old, yet it relies on the same physics we use in modern engineering. It is about managing tensile strength and structural integrity while your hands move in a rhythmic, meditative dance. Grab your favorite apron because we are about to turn a handful of wild lawn into a masterpiece of functional geometry.
THE STUDIO KIT
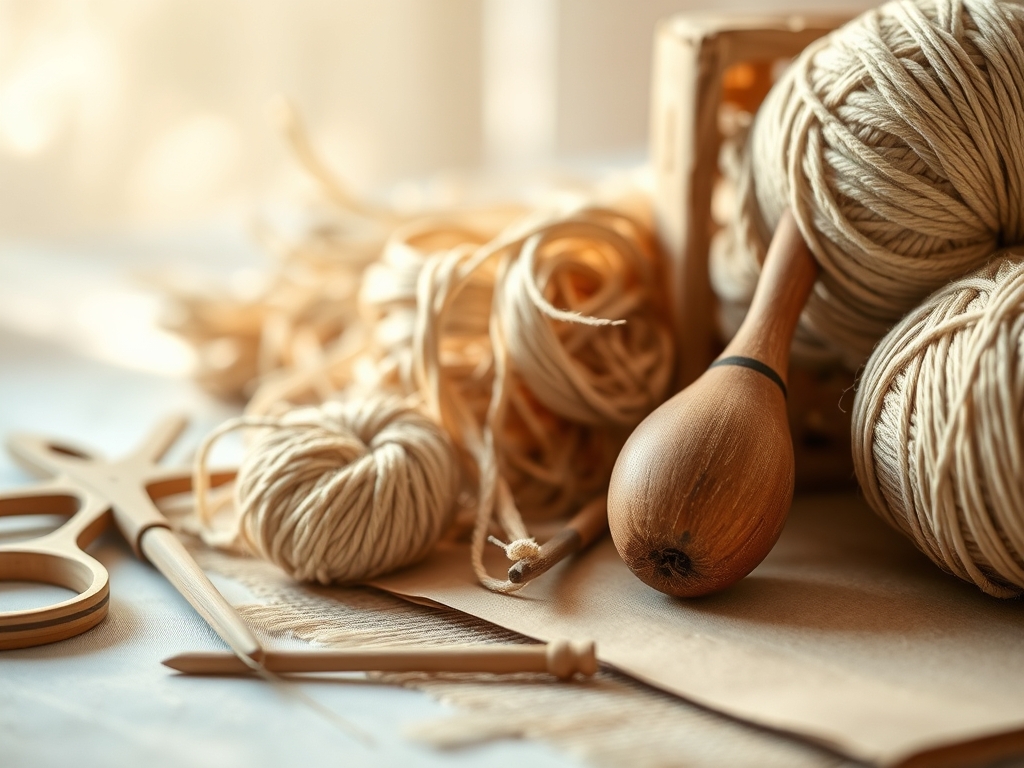
To master Woven Grass Baskets, your toolkit must be as precise as a surgeon's tray. You need a heavy-duty awl for creating space between tight weaves and a pair of high-carbon steel snips for clean, flush cuts that won't fray the vascular bundles of the grass. A bone folder is essential for burnishing the rim and flattening stubborn fibers. For measurements, keep a digital caliper nearby to ensure your weavers are of a consistent gauge; even a half-millimeter variance can cause the basket to lean.
Your primary material is the local flora. Look for long-leafed grasses like Sweetgrass, Sea Lyme, or even common Daylily leaves. These plants have high tensile strength, meaning they can withstand significant pulling force before snapping. If you cannot find local grasses, Material Substitutions include raffia, waxed linen thread, or even recycled copper wire for a steampunk twist. The key is the moisture content. You want fibers that are pliable but not saturated. Over-soaked grass loses its structural memory, while bone-dry grass will shatter under the stress of a simple over-under weave.
THE TEMPO
The "Maker's Rhythm" is a real psychological state where your heart rate synchronizes with the pull of the fiber. Crafting a medium-sized basket takes roughly eight to twelve hours, broken into distinct phases. The Hydration Phase takes about thirty minutes; this is when you submerge your materials to achieve the perfect elasticity. The Base Construction is the most intense, requiring about two hours of high-focus tension management.
Once you "turn the corner" to start the walls, you enter the Flow State. This takes four to six hours. Here, the work becomes repetitive and soothing. Finally, the Rim Finishing and Burnishing takes another two hours. Do not rush the drying process. If you force-dry a basket near a heater, the uneven evaporation will cause the fibers to shrink at different rates, leading to a warped silhouette. Slow evaporation is the secret to a professional, symmetrical finish.
THE CORE METHOD
1. The Radial Foundation
Everything starts with the "star" or "spider." You cross your primary structural elements, known as spokes, in a tight center point. Secure them with a twining stitch using a thinner, more flexible weaver.
Mastery Tip: This stage relies on centripetal force. By keeping the tension high at the center, you create a rigid anchor that prevents the basket from collapsing inward as the diameter increases.
2. Establishing the Warp
As you move outward, you must manage the "warp" (the vertical spokes). Use your awl to ensure each spoke is spaced at an exact equidistant interval. If the gap between spokes becomes too wide, you must "plug" in additional spokes to maintain the density of the weave.
Mastery Tip: This is about load distribution. More spokes mean more surface area to catch the "weft" (the horizontal weaver), which increases the overall weight capacity of the finished vessel.
3. Turning the Corner
To transition from a flat base to vertical walls, you must "upset" the spokes. This involves soaking the base of the spokes and bending them upward at a ninety-degree angle. Hold them in place with a temporary tension band or a heavy rubber band while you work the first few rows of the wall.
Mastery Tip: This utilizes structural memory. By bending the fibers while they are hydrated, the lignin "sets" in the new position as it dries, creating a permanent structural change.
4. The Continuous Weave
Now you begin the body. Use a simple plain weave (over one, under one) or a twill weave for a diagonal pattern. Ensure you are overlapping your weavers by at least three inches to prevent the ends from popping out.
Mastery Tip: Pay attention to friction coefficients. The rougher the grass, the less tension you need to apply to keep the weave from sliding. Smooth grasses require a tighter "pull" to stay seated.
5. Managing Taper and Flare
To change the shape of the basket, you adjust the tension of your weaver. Pulling tighter will pull the walls inward (tapering), while leaving the weaver loose will allow the walls to move outward (flaring).
Mastery Tip: This is a lesson in lateral pressure. By manipulating the tension, you are changing the vector of the force applied to the spokes, which dictates the final three-dimensional form.
6. The Rim Lock
The rim is the most vulnerable part of the basket. Use a coiling technique or a "false braid" to wrap the ends of the spokes back into the body of the weave. Use your bone folder to tuck the ends deeply into the previous rows.
Mastery Tip: This creates a closed-loop system. By tucking the ends back in, you distribute the stress of the rim across the entire wall of the basket, preventing a single point of failure.
7. Splicing New Fibers
When a weaver runs out, never tie a knot. Instead, use a tapered splice. Thin out the end of the old weaver and the start of the new one with a sharp knife, then overlap them within the weave.
Mastery Tip: This maintains a consistent cross-sectional area. A knot creates a lump that disrupts the visual flow and creates a weak point in the structural integrity.
8. Leveling the Rows
Every few inches, use a small wooden block or your bone folder to "pack" the rows down toward the base. This ensures there are no light-leaks or gaps in your Woven Grass Baskets.
Mastery Tip: Packing increases the bulk density of the walls, making the basket more resistant to compression and deformation over time.
9. The Final Burnish
Once the basket is woven but still slightly damp, rub the entire surface with a smooth stone or a bone folder. This flattens the fibers and gives the grass a subtle, natural sheen.
Mastery Tip: Burnishing collapses the micro-capillaries on the surface of the grass, which helps seal out moisture and prevents the fibers from becoming brittle.
THE TECHNICAL LEDGER
Maintenance & Longevity: Keep your baskets out of direct sunlight to prevent UV degradation of the natural pigments. If the basket becomes too dry and brittle, give it a light misting with distilled water to restore its flexibility.
Material Variations:
- Sustainable: Harvested invasive species like Phragmites.
- Recycled: Strips of old denim or plastic bags integrated into the weft.
- Premium: Hand-dyed Madagascar raffia or silk-wrapped seagrass.
The Correction:
- The Lean: If your basket is tilting, your tension is uneven. Fix this by re-wetting the area and using a clamping jig to hold it straight as it dries.
- The Gap: If you see holes, your weavers are too thin. Use your awl to slide the rows together and "shim" the gap with a small piece of matching grass.
- The Snap: If a spoke breaks, don't panic. Use your awl to carve a path next to the broken spoke and slide in a new, hydrated replacement.
Studio Organization: Store your raw grass in a cool, dark place with low humidity. Use vertical racks to prevent the long fibers from kinking or developing "memory bends" that make weaving difficult.
THE FINAL REVEAL
Look at that! You have successfully navigated the complex world of botanical engineering. Your finished basket is a testament to your patience and your understanding of structural physics. It is tactile, sturdy, and possesses a rhythmic beauty that machine-made items simply cannot replicate. Run your hand over the surface; feel that consistent tension and the smooth, burnished rim. You didn't just make a container; you mastered the ancient art of tension and form. This piece is ready to hold everything from fresh eggs to your favorite spools of yarn.
STUDIO QUESTIONS
How do I keep the grass from molding?
Ensure your basket has total airflow during the drying phase. Never store a damp basket in a closed cabinet. Use a fan to circulate air around the piece for the first forty-eight hours after completion to prevent fungal growth.
Can I use grass from my lawn?
Yes, but ensure it is at least ten inches long. Short clippings lack the overlap capacity needed for structural stability. Dry the grass completely in the shade first, then re-hydrate it before you begin the weaving process.
What is the best way to dye natural grass?
Use acid dyes or natural mordants like salt and vinegar. Soak the dry grass in the dye bath for several hours. Always test a small sample first to check the porosity and color absorption of that specific plant species.
Why is my basket wobbly on the bottom?
Your center tension was likely too loose. To fix a "rocking" basket, dampen the base and place a heavy, flat weight on it while it dries. This forces the fibers to settle into a planar alignment.