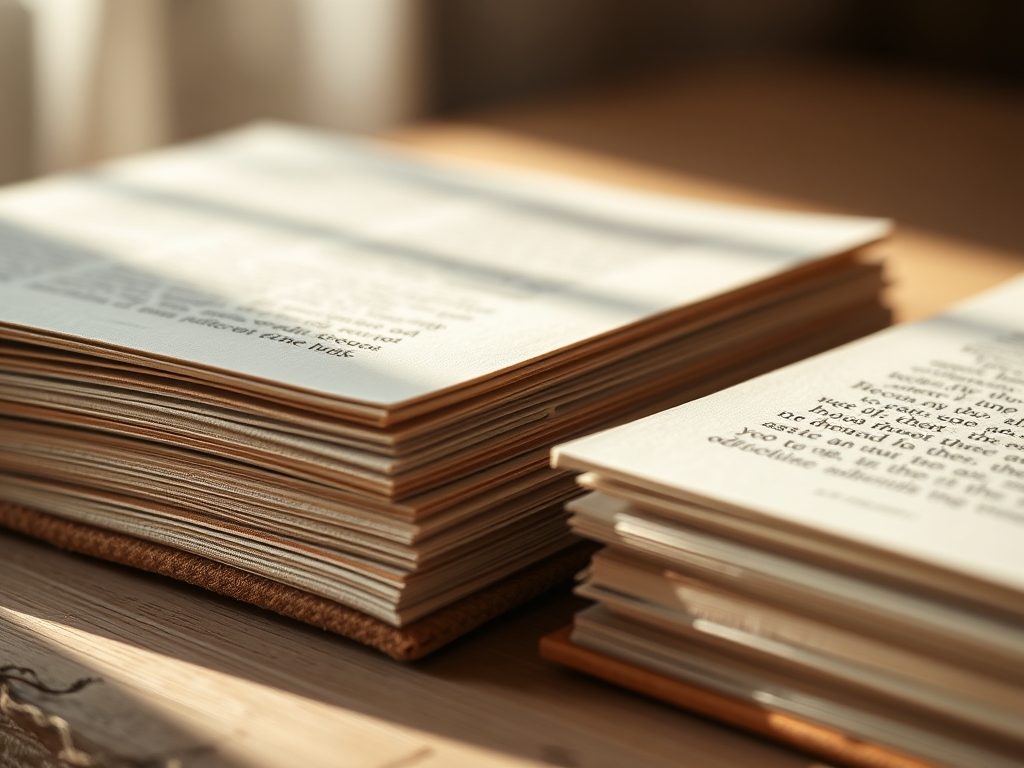
The scent of beeswax and sun-bleached linen hits you the second you crack open the studio door. There is a specific, electric weight to the air when we talk about Hand Bound Poetry Books; it is the physical manifestation of a heartbeat captured in paper and thread. You are not just gluing pages together. You are engineering a vessel that must withstand the tensile stress of being opened a thousand times while maintaining the delicate grace of a lyric poem. When you run your thumb along the spine, you should feel the perfect burnish of the material, a tactile promise that these words are safe. We are looking for that "snap" where the cover meets the page block with zero resistance. It is about the capillary action of the adhesive soaking into the fibers just enough to bond, but not enough to warp the grain. Grab your coffee; we are about to turn raw pulp into a legacy.
THE STUDIO KIT
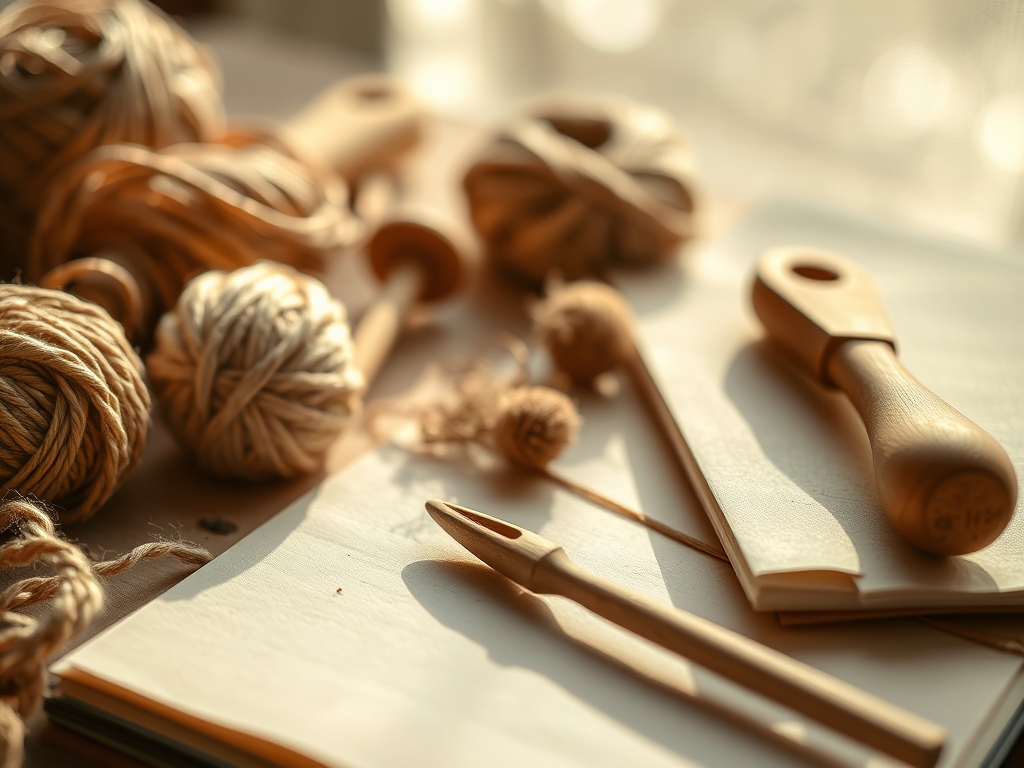
To build professional Hand Bound Poetry Books, your desk needs to look like a cross between a surgery suite and a woodshop. First, you need a bone folder made of genuine cattle bone; the plastic ones lack the density required to create a crisp, permanent crease without tearing the paper fibers. You will need a tapered awl for punching sewing holes and a heavy-gauge linen thread that has been pre-waxed to reduce friction. For the paper, look for a high-alpha cellulose content with a clear grain direction; if you fold against the grain, the spine will crack and fail within a year.
Material Substitutions: If you cannot find acid-free bookbinding glue, a high-grade archival PVA is your best friend because it remains flexible when dry. No real bone folder? A heavy stainless steel spoon can work in a pinch, though it lacks the ergonomic precision of a traditional tool. If you are out of linen thread, use unflavored dental floss; its tensile strength is surprisingly high, though it lacks the aesthetic "bite" of natural fibers.
THE TEMPO
The "Maker's Rhythm" is a three-act play. Act one is the Preparation Phase (60 minutes), where you measure twice and cut once using a rotary cutter and a self-healing mat. This is where you respect the hygroscopic nature of paper; let your sheets acclimate to the room's humidity before you start folding. Act two is the Assembly Phase (2 to 4 hours), the meditative heart of the process where the needle moves in a rhythmic dance. Finally, Act three is the Setting Phase (24 hours). This is non-negotiable. Your book needs to sit under a heavy press to ensure the molecular bonding of the adhesive sets under uniform pressure. If you rush this, your covers will yawn open like a tired cat.
THE CORE METHOD
1. The Coptic Stitch
This is the ultimate "open-spine" look that allows your book to lay completely flat. You will link individual signatures (bundles of folded paper) using a chain stitch that resembles a braid across the spine.
Mastery Tip: Watch the tension of your thread. If you pull too hard, you create "wasping" where the spine narrows; too loose, and the pages will wobble. The physics here is about distributing load across the entire height of the spine rather than at single pressure points.
2. The Long Stitch Through Slotted Covers
This method involves cutting horizontal slits into a leather or heavy cardstock wrap. You sew directly through the cover, creating a beautiful exposed pattern of vertical threads.
Mastery Tip: Use a caliper to ensure your slits are perfectly aligned. The structural integrity depends on the friction between the thread and the cover material; if the slits are too wide, the signatures will shift and cause internal page wear.
3. The Japanese Four-Hole Ribbon Bind
A classic "stab" binding that is perfect for single sheets of poetry. It creates a rigid, formal spine that feels incredibly sturdy in the hand.
Mastery Tip: This bind relies on compression. Because the pages do not lay flat, you must account for the "margin of loss" near the spine. The physics of the lever arm means the further the hole is from the edge, the harder the book is to open.
4. The Secret Belgian Bind
This is a three-piece cover system (two boards and a spine) held together by a primary thread wrap, with signatures sewn onto that wrap later. It looks complex but offers incredible structural durability.
Mastery Tip: This is all about surface tension. The primary wrap must be taut enough to hold the boards in a fixed geometry but flexible enough to act as a hinge. It is a masterclass in mechanical equilibrium.
5. The French Link with Tapes
For a truly "keepsake" feel, sew your signatures over linen tapes or ribbons. These tapes are then glued down to the cover boards, creating a reinforced joint.
Mastery Tip: This utilizes shear strength. By anchoring the pages to a secondary material (the tape) before attaching the cover, you are doubling the surface area of the bond, ensuring the book survives decades of use.
THE TECHNICAL LEDGER
Maintenance & Longevity: Always store your Hand Bound Poetry Books vertically and away from direct UV light, which breaks down the lignin in low-quality papers. Every six months, fan the pages to prevent "page-clinging" caused by static or residual humidity.
Material Variations: For a sustainable edge, use cork fabric or recycled "stone paper," which is waterproof and has a unique mineral density. For premium keepsakes, nothing beats goatskin parchment for its incredible tear resistance and buttery texture.
The Correction:
- The Warp: If your cover bows, you used too much water-based glue. Fix it by lightly dampening the opposite side and pressing it between two flat boards for 48 hours.
- The Tear: If a sewing hole rips, reinforce it with a tiny sliver of archival tissue and wheat starch paste to restore the fiber matrix.
- The Slack: If the binding is loose, you can sometimes "back-thread" a thin line of silk through the existing stitches to add bulk and tension.
Studio Organization: Store your paper flat in a map drawer to prevent "edge-curl." Keep your adhesives in a temperature-controlled environment; extreme cold can cause PVA to undergo polymer crystallization, ruining its flexibility forever.
THE FINAL REVEAL
Look at that! You have moved from a pile of loose sheets to a structural masterpiece. The way the light catches the waxed thread and the crisp "thwack" of the pages as they turn is pure magic. Your Hand Bound Poetry Books are no longer just objects; they are engineered legacies. They feel heavy, intentional, and expensive. You have mastered the physics of the fold and the geometry of the stitch. Now, go fill those pages with something worth keeping forever.
STUDIO QUESTIONS
What is the best paper weight for poetry books?
A weight of 80lb to 100lb text is ideal. It provides enough opacity to prevent ink show-through while maintaining the flexibility needed for a graceful page turn without stressing the sewn spine.
How do I prevent my thread from tangling?
Run your thread through a block of natural beeswax twice. This coats the fibers, reducing static electricity and surface friction, which prevents the thread from knotting during complex Coptic or French link stitches.
Can I bind a book without specialized equipment?
Yes, but you must maintain structural integrity. Use a heavy needle and a hammer with a small nail for punching holes. Ensure your alignment is checked with a standard ruler to prevent uneven tension.
Why does my glue seep through the paper?
This is caused by high porosity or applying the adhesive too thickly. Use a stiff-bristled brush to apply a thin, even layer of PVA, allowing the solvent to flash off slightly before joining the surfaces.
How do I find the grain of the paper?
Gently bend the paper in both directions. The direction with less resistance is the grain. Always ensure the grain runs parallel to the spine to prevent the paper from warping or cracking over time.