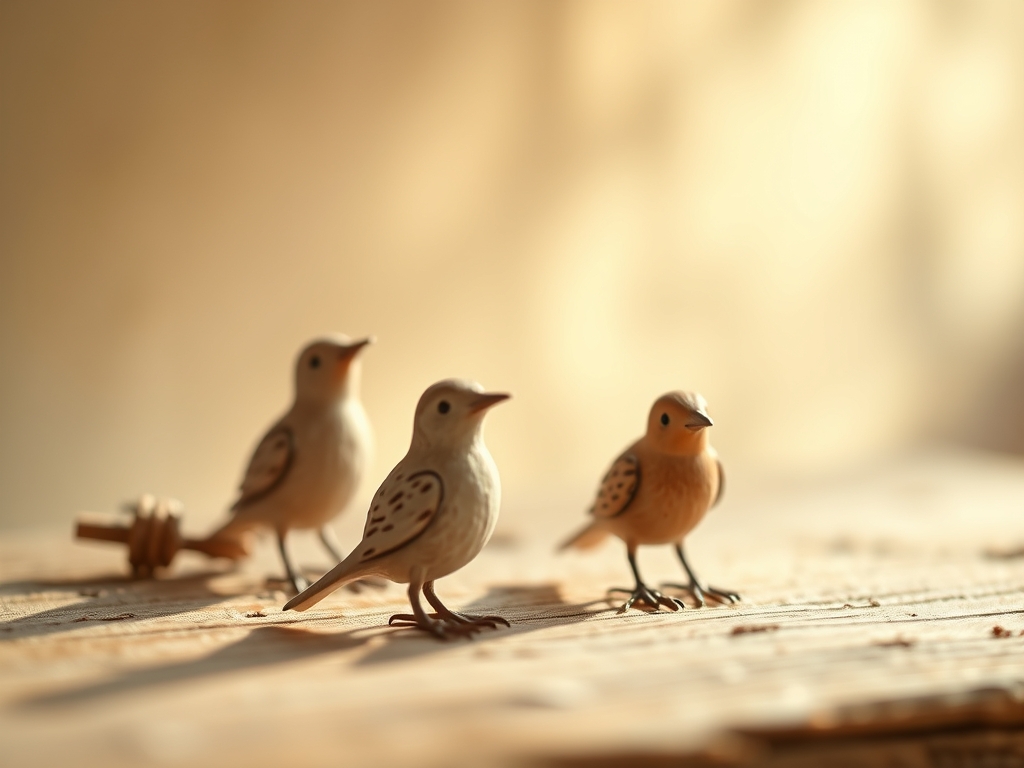
The crisp scent of freshly shaven cedar hits you before you even pick up the knife. There is something profoundly tactile about transforming a rigid block of wood into the fluid, organic curves of Whittled Bird Figures using nothing but your hands and a single, razor-sharp edge. You are not just cutting wood; you are navigating the complex cellular architecture of the plant. As you press your thumb against the spine of the blade, you feel the resistance of the cellulose fibers and the lignin that binds them together. This is a dance of physics where you must respect the grain direction to avoid catastrophic splitting. We are aiming for that perfect moment where the wood yields like cold butter, revealing the elegant silhouette of a songbird hidden within the timber. Grab your safety tape and settle in; we are about to turn a simple four-inch basswood blank into a masterpiece of minimalist sculpture that feels as smooth as a river stone in your palm.
THE STUDIO KIT
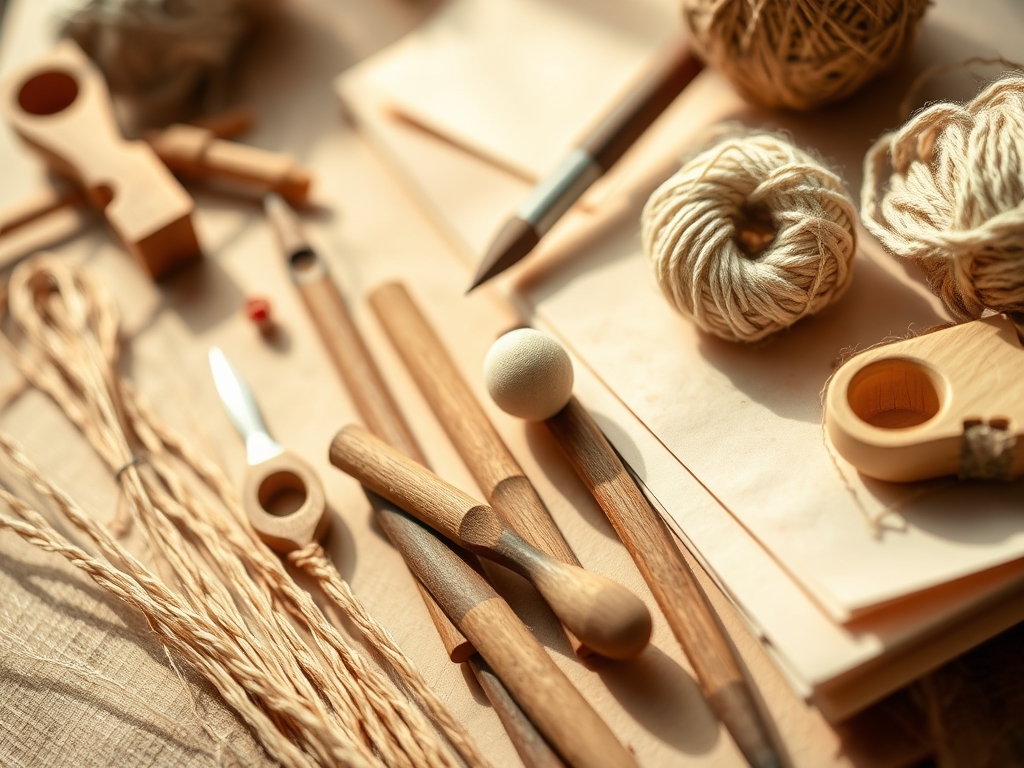
To execute these Whittled Bird Figures with precision, your primary instrument must be a high-carbon steel detail knife with an ergonomic handle. The blade should ideally have a straight edge and a fine point to allow for delicate stop cuts. For the material, Northern Basswood is the gold standard because of its tight, even grain and low tensile strength across the fibers, making it exceptionally easy to carve without the wood "fighting" back. You will also need a leather strop loaded with chromium oxide polishing compound to maintain a "scary sharp" edge; a dull blade requires more force, which increases the risk of slipping.
Material Substitutions: If you cannot source basswood, look for Butternut or White Pine. Butternut offers a beautiful "white walnut" appearance but is slightly more porous, meaning it requires sharper tools to prevent crushing the wood cells. Avoid hardwoods like Oak or Maple for this specific project, as their high density and erratic grain patterns will turn a simple eight-cut project into a grueling physical workout. For finishing, a simple beeswax and mineral oil paste will burnish the surface while protecting the wood from humidity-induced swelling.
THE TEMPO
The Maker's Rhythm is all about the "Flow State." For your first bird, expect a cadence of about ninety minutes. The "Rough-Out Phase" takes the first thirty minutes; this is high-energy, high-volume removal where you establish the primary masses. The "Refinement Phase" takes forty minutes; this is where the pace slows, and your cuts become surgical and deliberate. The final twenty minutes are dedicated to the "Surface Treatment," where you remove any remaining tool marks and burnish the wood. As you gain experience, your muscle memory will allow you to sync your breathing with the stroke of the blade, reducing your total time to under forty-five minutes per figure.
THE CORE METHOD
1. The Nose Dive: The Primary Beak Cut
Start at the corner of your block and make a steep diagonal cut downward to define the top of the head and the beak. This establishes the structural integrity of the most delicate part of the bird.
Mastery Tip: Always cut toward the end grain at a slight shear angle. This utilizes the "slicing" physics of the blade rather than a "pushing" force, preventing the beak from snapping off along a weak growth ring.
2. The Throat Scoop: Defining the Neck
Place the tip of your blade under the beak and pull toward the chest in a shallow arc. This removes the bulk of the material beneath the jawline.
Mastery Tip: This cut relies on capillary action during finishing. By smoothing this concave area perfectly, you ensure that oil stains will penetrate evenly rather than pooling in rough, torn fibers.
3. The Shoulder Sweep: Establishing Breadth
Starting from the back of the head, sweep the blade down toward the midsection of the block. This creates the rounded "shoulders" of the bird.
Mastery Tip: Observe the grain orientation. If the wood begins to "tear" or look fuzzy, you are carving against the grain. Flip the bird 180 degrees and carve in the opposite direction to keep the surface shear-smooth.
4. The Tail Taper: Thinning the Rear
Work from the mid-back toward the end of the block, narrowing the wood into a wedge shape. This is the "rudder" of your sculpture.
Mastery Tip: Keep the tail thicker than you think you need. Wood is a viscoelastic material; if you make the tail too thin too early, the pressure from your grip on the body could cause the tail to fracture.
5. The Underbelly Glide: Balancing the Weight
Carve a long, gentle curve from the throat all the way to the tail tip along the bottom of the wood. This gives the bird its "plump" and healthy appearance.
Mastery Tip: Use a caliper to check the symmetry of the belly. Even a millimeter of deviation can throw off the visual balance and the physical center of gravity of the piece.
6. The Wing Notch: Adding Depth
Use a "V-cut" or two intersecting stop cuts along the sides to suggest the fold of the wings against the body. You do not need deep detail; the shadow created by the notch does the work.
Mastery Tip: This cut creates a "stress riser." Ensure the interior of the notch is clean and free of splinters to prevent a crack from propagating through the ply of the wood over time.
7. The Crown Round: Softening the Head
Take tiny, tangential shavings off the top and sides of the head to turn the square corners into a soft dome.
Mastery Tip: Think of this as burnishing with steel. By taking microscopic shavings, you are effectively sealing the end grain, making the head of the bird naturally shiny once the oil is applied.
8. The Base Release: The Final Separation
The final cut removes the bird from the remaining "holding" wood of the block. Use a series of deep stop cuts around the feet or base area.
Mastery Tip: Gravity is your enemy here. Support the bird fully in your palm so that when the final fiber is severed, the piece does not drop and dent its freshly carved tactile surface.
THE TECHNICAL LEDGER
Maintenance & Longevity: To keep your Whittled Bird Figures from cracking (checking), avoid placing them in direct sunlight or near HVAC vents. Wood is hygroscopic, meaning it breathes. A yearly coat of carnauba wax will maintain the moisture barrier.
Material Variations: For a sustainable twist, try carving "Green Wood" (freshly cut branches). It is much softer but will shrink as it dries. For a premium feel, use Black Walnut, which has a high gauge of hardness and a rich, natural luster that requires no stain.
The Correction:
- The Splinter: If a chunk breaks off, use cyanoacrylate (super glue) and a clamp. The bond will be stronger than the wood itself.
- The Flat Spot: If the body looks "boxy," use a bone folder or a smooth metal rod to compress the fibers (burnish) rather than cutting more wood away.
- The Dull Blade: If the wood looks "fuzzy," your knife has lost its edge. Strop immediately.
Studio Organization: Store your unfinished blanks in a sealed plastic bag with a damp paper towel to maintain consistent porosity and prevent the wood from becoming brittle between carving sessions.
THE FINAL REVEAL
There is a singular joy in holding the finished product. Your Whittled Bird Figures should feel warm, intentional, and surprisingly heavy for their size. When you catch the light on those facets, you see the history of every decision you made with the blade. The transition from the sharp beak to the swelling chest and the tapered tail creates a rhythmic flow that draws the eye. It is no longer a piece of a tree; it is a distilled essence of nature, ready to perch on a bookshelf or be gifted to a friend. You have successfully navigated the physics of the forest!
STUDIO QUESTIONS
What is the best wood for beginners?
Northern Basswood is the ideal choice due to its soft, consistent grain and low tensile strength. It allows for clean cuts without the risk of heavy splitting, making it perfect for mastering the eight basic cuts of bird carving.
How do I stop my wood from splitting?
Always carve with the grain rather than against it. If you feel the blade "diving" deep into the wood uncontrollably, stop immediately and reverse your direction. Keeping your tools burnished and sharp also reduces the force that causes splits.
Can I whittle with a pocket knife?
Yes, provided the blade locks and is sharpened to a fine edge. However, a dedicated whittling knife with a fixed blade and ergonomic handle provides better leverage and safety for the intricate maneuvers required for small bird figures.
How do I finish the wood without chemicals?
A mixture of food-grade mineral oil and natural beeswax is the best non-toxic finish. It penetrates the porous surface to highlight the grain while providing a protective, water-resistant barrier that feels wonderful to the touch.
Why does my carving look "fuzzy"?
Fuzziness occurs when a dull blade crushes the wood fibers instead of severing them. This is common in porous woods. To fix this, strop your blade frequently and ensure you are using a slicing motion rather than a straight push.