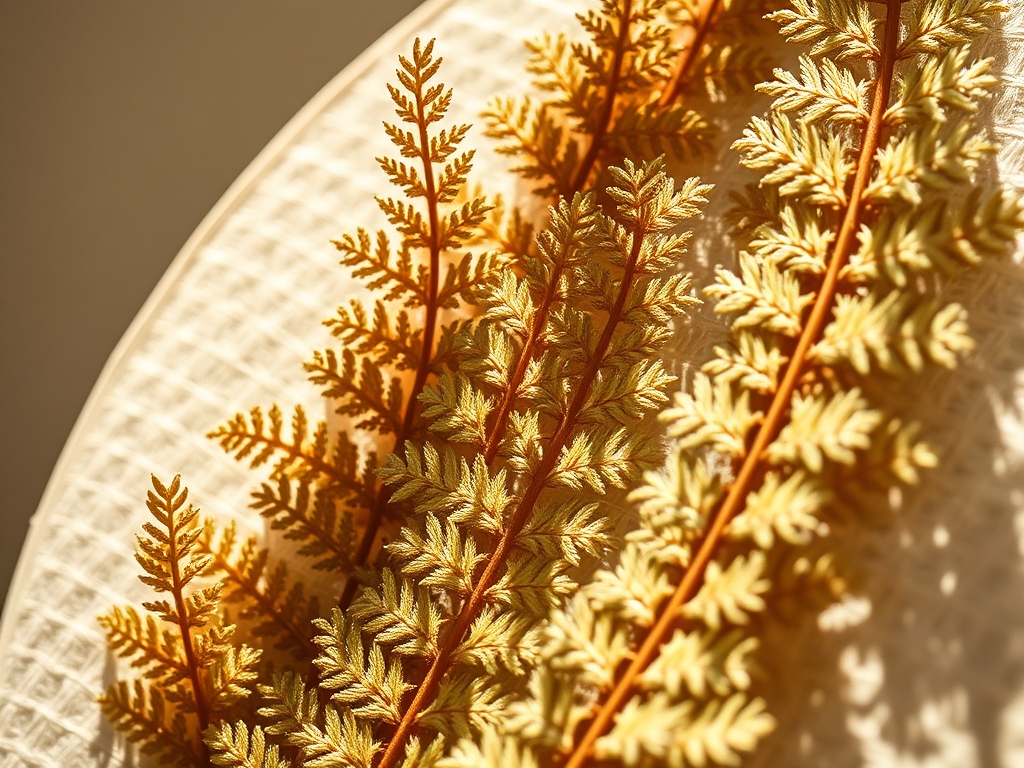
Imagine the crisp, sharp snap of a dried frond between your fingertips. It is a specific kind of brittle that demands respect; the cellular walls have collapsed, leaving behind a skeletal lace of lignin and cellulose. We are diving deep into the world of Pressed Fern Art today, and it is not just about sticking leaves behind glass. It is about capturing the geometric perfection of the forest floor and locking it into a vacuum of modern design. You can feel the static electricity crackling as you slide that first pane of glass out of its groove. The cool, non porous surface is the perfect canvas for something so fragile. We are dealing with organic specimens that have been stripped of their moisture, making them susceptible to the slightest gust of air or a clumsy thumb. This is where high end physics meets the aesthetic of your living room. We are going to master the tension between the fragile fern and the heavy, industrial weight of a floating frame. Grab your coffee and clear the workbench. We are about to turn botanical debris into a high end gallery wall.
THE STUDIO KIT
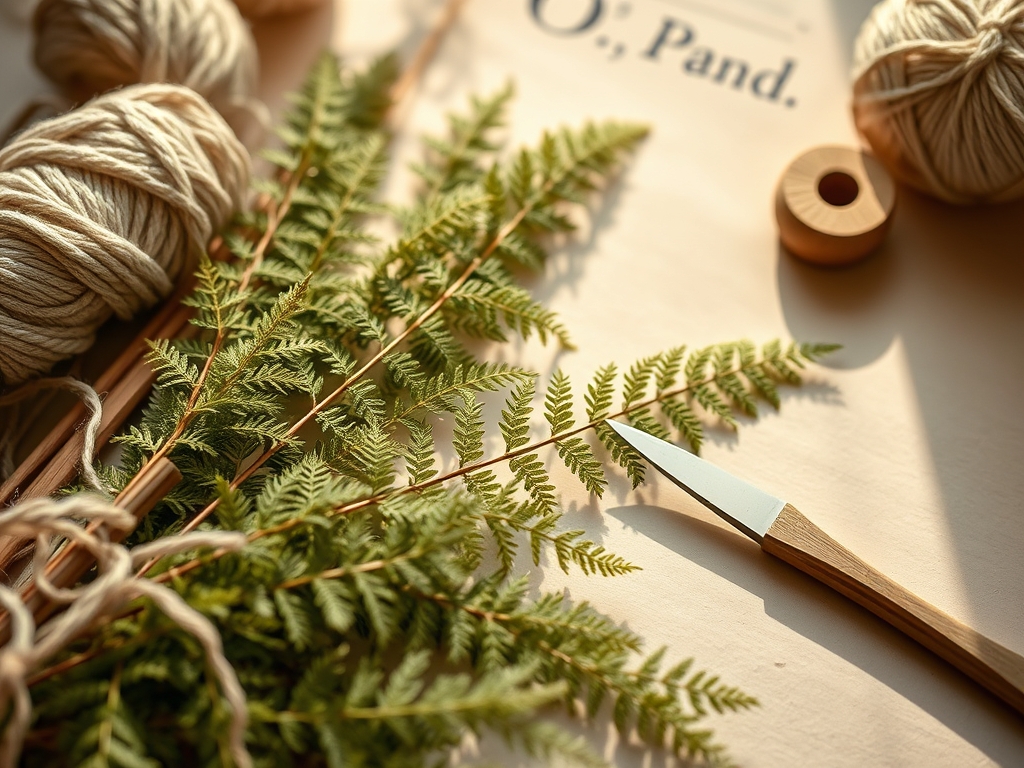
To execute professional grade Pressed Fern Art, your kitchen scissors simply will not cut it. You need tools that respect the **tensile strength** of dried plant fibers. Start with a pair of fine tipped **precision tweezers**; stainless steel is preferred to prevent any chemical reaction with the plant tannins. You will also need a **bone folder** to ensure the backing paper or mounting surface is perfectly flat without creating micro tears. For the framing, high quality **UV resistant glass** or acrylic is mandatory to prevent the chlorophyll from breaking down under light exposure.
Material Substitutions: If you cannot find a traditional floating frame, two sheets of standard glass from discarded frames can be repurposed. Use clear silicone adhesive at the corners to create a structural bond. If you lack a professional plant press, use heavy, high GSM cardstock between the pages of an encyclopedia. The porous nature of the paper is critical for wicking away moisture to prevent fungal growth.
THE TEMPO
The maker's rhythm for this project is divided into two distinct phases: the slow cure and the rapid assembly. The pressing phase is the ultimate test of patience, requiring fourteen to twenty one days depending on the humidity of your studio. You are waiting for the capillary action to fully cease within the stems. Once the specimens are "bone dry," the actual layout and framing process takes roughly forty five minutes per piece. This is the high energy phase where you must work with precision and speed to minimize the time the ferns are exposed to ambient moisture.
THE CORE METHOD
1. Specimen Selection and Preparation
Choose fronds that are in their peak growth phase. Avoid any with brown spots, as these indicate cellular decay that will only accelerate once encased. Use a scalpel or X-Acto knife to trim the base of the stem at a forty five degree angle. This increases the surface area for moisture escape during the initial pressing phase.
Mastery Tip: Understand the hygroscopic nature of dried plants. Even after pressing, they can absorb moisture from the air. Working in a room with a dehumidifier ensures the fronds remain brittle and do not "relax" or curl before they are sealed.
2. Establishing the Geometric Center
Place your bottom pane of glass on a dark, lint free cloth. Use a ruler or calipers to find the exact center of the pane. For a floating effect, you want at least a two inch margin of "dead air" around your Pressed Fern Art. This negative space emphasizes the fractal patterns of the fern leaflets.
Mastery Tip: Use a tiny dab of acid free adhesive applied with a toothpick to the thickest part of the rachis (the main stem). This prevents the specimen from sliding due to gravity once the frame is hung vertically.
3. Layering for Depth
To create a 3D effect in a 2D medium, layer smaller pinnae over larger ones. This creates a shadow play when light hits the frame from an angle. Use your tweezers to tuck the edges. Do not overlap more than three layers, or the glass will not seat properly, causing a gap in the seal.
Mastery Tip: This is about structural integrity. If the layers are too thick, the pressure from the glass will be concentrated on one point, potentially cracking the specimen or the glass itself.
4. The Compression Seal
Carefully lower the top pane of glass. Start from one edge and lower it slowly to push the air out in a single direction. This prevents air pockets from being trapped, which can contain enough oxygen to eventually oxidize the plant matter and turn it brown.
Mastery Tip: Observe the refraction of light as the glass meets the fern. If you see "rainbowing" or Newton's rings, your pressure is uneven. Adjust the clips of the frame to distribute the load across the entire surface area.
5. Securing the Chassis
Slide the glass sandwich into the frame. If you are using a metal frame, ensure the tension springs are tight. If it is a wooden floating frame, use a small awl to pre drill holes for the retaining screws to avoid splitting the grain.
Mastery Tip: The friction between the glass and the frame must be high enough to prevent shifting, but not so high that it causes thermal expansion issues. Glass expands and contracts with temperature; leave a 1mm gap at the edges.
6. Final Burnishing and Polishing
Use a microfiber cloth and a streak free cleaner to remove any fingerprints. The clarity of the glass is what creates the "floating" illusion. Any smudge will break the viewer's immersion and draw the eye away from the organic texture of the fern.
Mastery Tip: Static electricity will attract dust to the glass. Use an anti static brush (like those used for vinyl records) to neutralize the surface before the final seal.
THE TECHNICAL LEDGER
Maintenance & Longevity: Keep your art out of direct sunlight. Even UV glass has limits. Every six months, check the seal for any signs of "fogging," which indicates a breach in the frame's micro environment.
Material Variations:
- Sustainable: Use reclaimed window glass and beeswax for sealing.
- Premium: Opt for museum grade "Optium" acrylic which is anti reflective and shatterproof.
The Correction:
- The Slip: If the fern slides down, the adhesive failed. Reapply a higher viscosity cyanoacrylate in a microscopic amount.
- The Cloud: If the glass fogs, moisture was trapped. Remove the fern and bake the glass in a low oven to fully dehydrate it before reassembling.
- The Shatter: If a frond breaks during placement, use a "bridge" technique. Place a smaller leaf over the break to mask the fracture line.
Studio Organization: Store unmounted pressed ferns in a sealed archival box with silica gel packets. Keep them flat; vertical storage will cause the delicate tips to bend under their own microscopic weight.
THE FINAL REVEAL
Look at that! You have successfully trapped a moment of biological clockwork. The way the light passes through the translucent green of the fronds is nothing short of magical. It is clean, it is sophisticated, and it has that high end gallery "heft" that you just cannot get from a store bought print. You have balanced the delicate organic matter with the industrial rigidity of glass and metal. Your walls are about to look like a botanical museum curated by a genius.
STUDIO QUESTIONS
How do I prevent ferns from turning brown?
Ensure the specimen is 100% dehydrated before framing. Use silica gel during the pressing phase to accelerate moisture removal. This preserves the chlorophyll by stopping the enzymatic browning process before it begins. Keep the final piece away from UV light.
What is the best glue for floating frames?
Use a neutral pH, acid free adhesive. A clear drying PVA or a specialized botanical glue works best. Apply it sparingly with a fine gauge needle or toothpick to avoid visible residue on the glass panes.
Can I use fresh ferns in a floating frame?
No. Fresh ferns contain high water content. Sealing them in glass will cause mold growth and rapid decomposition within days. The specimen must be fully pressed and dried to maintain its structural form and color.
How do I clean the glass without moving the fern?
If the frame is properly sealed, you can clean the exterior with a microfiber cloth and isopropyl alcohol. Avoid spraying liquid directly onto the frame edges; apply the cleaner to the cloth first to prevent seepage into the glass sandwich.