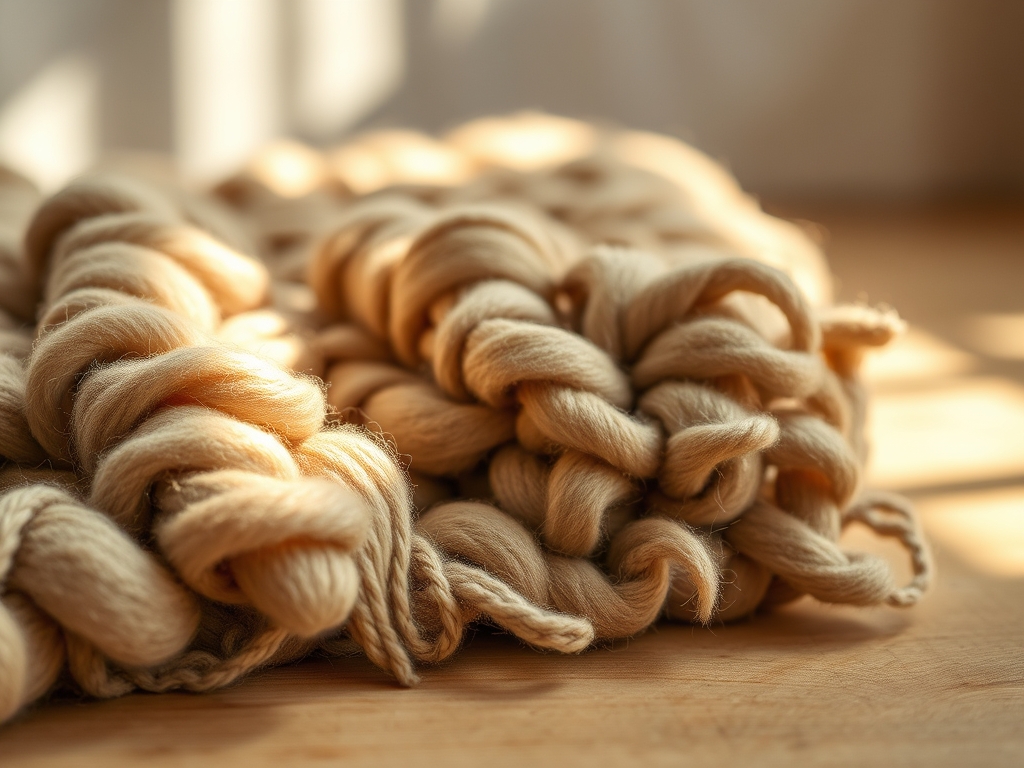
Imagine the weight of a heavy, unspun cloud draped over your lap. That is the initial sensation of working with Chunky Wool Rugs. The fibers are thick; they possess a raw, tactile energy that demands your full attention. When you first touch a high-quality wool roving, you are feeling the complex architecture of keratin proteins. These fibers are not just soft; they are structurally sophisticated, featuring microscopic scales that allow them to grip one another with surprising tenacity. We are not just making home decor here; we are engineering a functional textile floor covering that must withstand thousands of pounds of compressive force over its lifetime. The scent is earthy and clean, a reminder of the material's organic origin. As you prepare your frame loom, the anticipation builds. You are about to transform a linear strand of fiber into a three-dimensional masterpiece of comfort. This process requires more than just nimble fingers; it requires an understanding of how tension and density interact to create a surface that is both resilient and inviting. Let us get into the grit of the weave.
THE STUDIO KIT
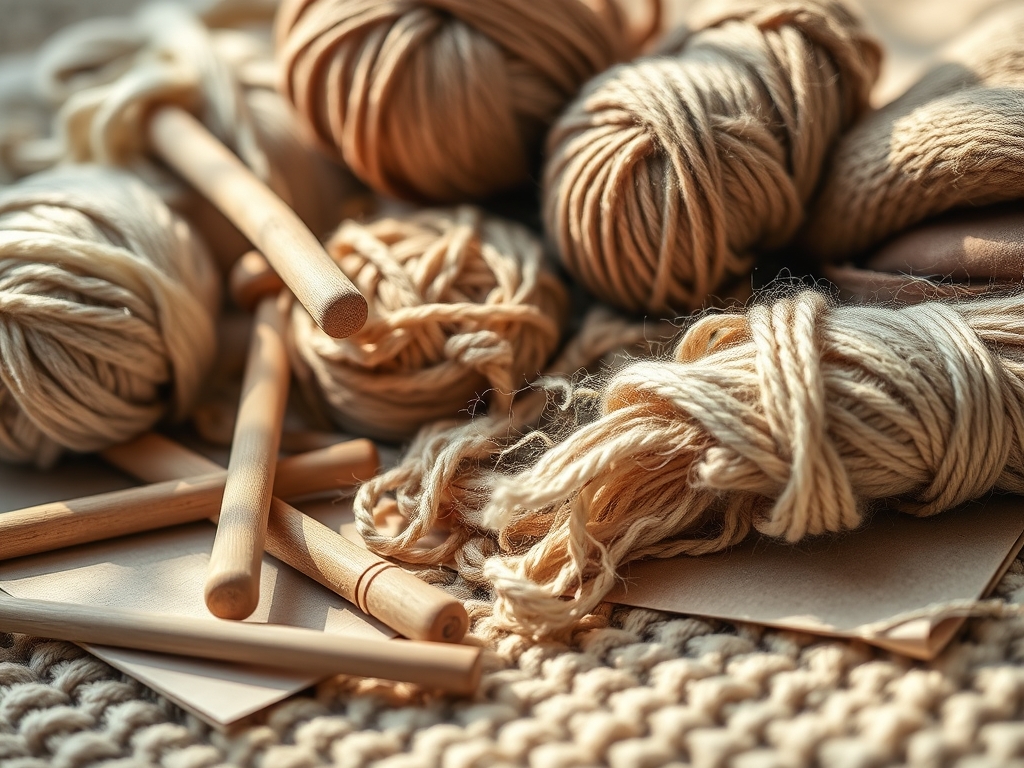
To master the art of **Chunky Wool Rugs**, your toolkit must be as robust as the materials themselves. You will need a heavy-duty frame loom, preferably one constructed from kiln-dried hardwood to prevent warping under the high **tensile** pressure of the warp threads. Your primary material is unspun wool roving or a high-loft **multi-ply** wool yarn. Use a **digital caliper** to measure the diameter of your roving; consistency is the secret to a professional finish. You will also need a tapestry beater with weighted teeth to pack the rows tightly. For finishing, keep a sharp **rotary cutter** and a self-healing mat nearby to ensure clean edges.
Material Substitutions: If pure wool is unavailable, look for high-loft cotton piping or recycled jersey strips. These offer a similar gauge but have different porosity levels. Cotton will be heavier and less elastic than wool, which affects how you calculate your warp tension. If you want a vegan alternative, heavy-gauge acrylic roving can work, though it lacks the natural resilience and flame-retardant properties of true wool. Always check the staple length of your fibers; longer staples mean less shedding and a more durable rug surface.
THE TEMPO
Creating a rug is a marathon of rhythmic movements. The "Maker's Rhythm" is a state of flow where your physical actions align with the mechanical requirements of the loom. Expect to spend approximately two hours on the initial warping phase. This is the most critical stage, as it sets the structural integrity of the entire piece. The weaving itself, depending on the complexity of your patterns, can take anywhere from ten to fifteen hours for a standard area rug.
You must account for the settling time of the wool. Wool is a living fiber that expands and contracts based on ambient humidity. I recommend a "rest period" of twenty-four hours after every four inches of weaving. This allows the fibers to stabilize and prevents the "hourglass effect" where the center of the rug pulls inward. Your pace should be deliberate; rushing leads to uneven tension and skipped warp threads, which are a nightmare to repair once the rug is off the loom.
THE CORE METHOD
1. The Foundation Warp
The first movement is the vertical stringing of your loom. You must maintain a consistent tensile strength across every thread. Use a high-strength cotton twine for the warp to provide a rigid skeleton for the soft wool.
Mastery Tip: Use a tension meter to ensure every warp thread is pulled to the same poundage. This prevents the rug from buckling once the lateral pressure of the chunky wool is applied.
2. The Header Row
Before introducing the chunky wool, weave three rows of thin twine. This creates a solid "shelf" for the wool to sit against. It acts as a barrier against capillary action if the rug is ever exposed to moisture at the edges.
Mastery Tip: Use a bone folder to press these initial rows into the loom's teeth. A tight header prevents the wool from unraveling during the finishing process.
3. The Soumak Wrap
This is a decorative, braid-like stitch that adds incredible thickness. Loop the wool over two warp threads and back under one. This creates a directional "V" shape that is the hallmark of premium Chunky Wool Rugs.
Mastery Tip: Pay attention to the twist direction of your roving. Wrapping against the natural twist can cause the fiber to bloom prematurely, leading to a fuzzy, disorganized texture.
4. The Plain Weave Transition
Alternate your wool over and under single warp threads. This is the simplest movement but requires the most focus on lateral tension. Do not pull the wool tight; let it sit in a soft arc before beating it down.
Mastery Tip: The "Bubbling" technique involves creating a small hill of yarn before packing it. This ensures there is enough material to cover the warp completely, maintaining surface density.
5. The Rya Knot Fringe
For a plush edge, incorporate Rya knots. Cut lengths of wool and loop them around the warp threads, pulling the ends through the center. This adds a luxurious, shaggy dimension to the piece.
Mastery Tip: Use a rotary cutter to trim the fringe to a uniform length. This creates a clean, architectural line that highlights the ply of the wool.
6. The Interlocking Join
When one piece of roving ends, do not tie a knot. Instead, thin out the ends of both the old and new pieces and overlap them. This is known as "spit-felting" or dry-joining.
Mastery Tip: The friction of the weave will lock these fibers together. This maintains a seamless aesthetic and prevents lumps that would compromise the rug's flat profile.
7. The Beating Rhythm
Use your weighted beater to compress the rows. This must be done with a consistent force to ensure the gauge remains uniform from top to bottom.
Mastery Tip: Listen to the sound of the beater. A dull thud indicates proper compression, while a sharp "clack" against the loom frame means you are hitting too hard and potentially stressing the warp.
8. The Edge Lock
As you reach the sides of the loom, wrap the wool twice around the outermost warp thread. This reinforces the "selvage" or the vertical edge of the rug.
Mastery Tip: Proper selvage management prevents the rug from curling. It is a matter of mechanical equilibrium; the outward force of the wool must match the inward pull of the warp.
9. The Tension Release
The final movement is the most nerve-wracking: cutting the rug off the loom. Do this slowly, one thread at a time, starting from the center and moving outward.
Mastery Tip: This staggered release prevents a sudden snap of potential energy, which could distort the weave. Allow the rug to lay flat on the floor for 48 hours to "relax" into its final shape.
THE TECHNICAL LEDGER
Maintenance & Longevity: Wool is naturally resilient due to its lanolin content, which repels dirt. However, chunky weaves are prone to "pilling." Use a professional fabric shaver or a pair of fine embroidery scissors to prune any loose pills. Never vacuum with a beater bar; use a suction-only attachment to preserve the fiber structure.
Material Variations:
- Sustainable: Look for GOTS-certified organic wool.
- Recycled: Use "selvage strips" from textile mills for an industrial look.
- Premium: Merino or Alpaca blends offer the highest tactile softness but require more delicate handling.
The Correction:
- The Hourglass: If the middle is narrowing, you are pulling the weft too tight. Fix: Unweave and use the "bubbling" method.
- Gapping: If the warp shows through, your wool is too thin. Fix: Double the strands or increase the beating force.
- Shedding: If the roving is falling apart, it lacks enough twist. Fix: Lightly mist with water and roll the roving between your palms to increase fiber cohesion.
Studio Organization: Store your wool in airtight, transparent bins with cedar blocks. Wool is hygroscopic, meaning it absorbs moisture from the air. Keeping it in a climate-controlled environment prevents the fibers from becoming brittle or attracting pests.
THE FINAL REVEAL
Look at that! You have successfully navigated the physics of fiber to create a stunning piece of functional art. The weight of your new rug is a testament to the thousands of individual wool fibers now locked in a structural embrace. It feels dense, warm, and incredibly soft underfoot. The rhythmic patterns you created are not just beautiful; they are a record of your focus and technical skill. This rug will become the heart of whatever room it inhabits, providing a tactile sanctuary for years to come. You should be incredibly proud of the structural integrity and beauty you have engineered!
STUDIO QUESTIONS
How do I stop my chunky wool rug from shedding?
Minimize shedding by choosing high-twist roving or lightly felting the wool before weaving. Avoid high-traffic areas and use a suction-only vacuum. Regular "pruning" of loose fibers with scissors will maintain the rug's crisp aesthetic and prevent matting.
What is the best warp for chunky wool rugs?
A high-tensile cotton or linen twine is best. It must be strong enough to hold the weight of the heavy wool without stretching. Ensure the gauge of your warp matches the thickness of your roving to prevent structural gaps.
Can I wash a chunky wool rug?
Spot clean only using cold water and a pH-neutral wool detergent. Never submerge the rug, as the unspun roving will felt and lose its shape. Professional dry cleaning is recommended for deep stains to preserve the fiber integrity.
How much wool do I need for a small rug?
For a standard 2×3 foot rug, expect to use 4 to 6 pounds of chunky roving. This varies based on your stitch density and the height of your loops. Always buy 15% more than calculated to account for waste.