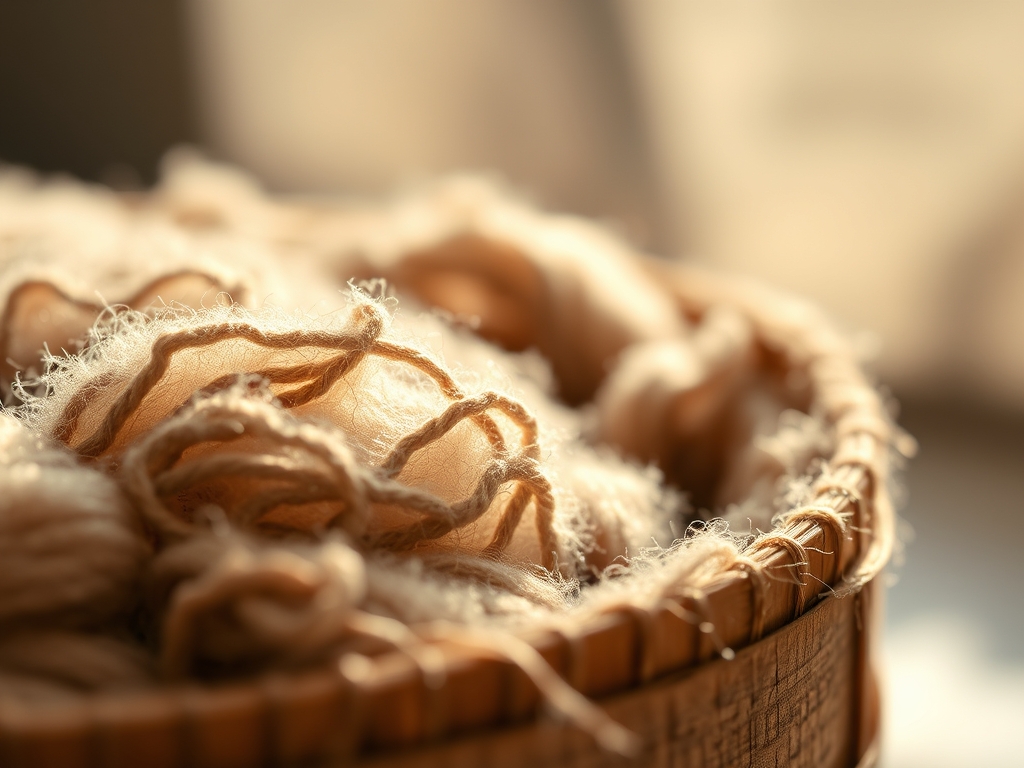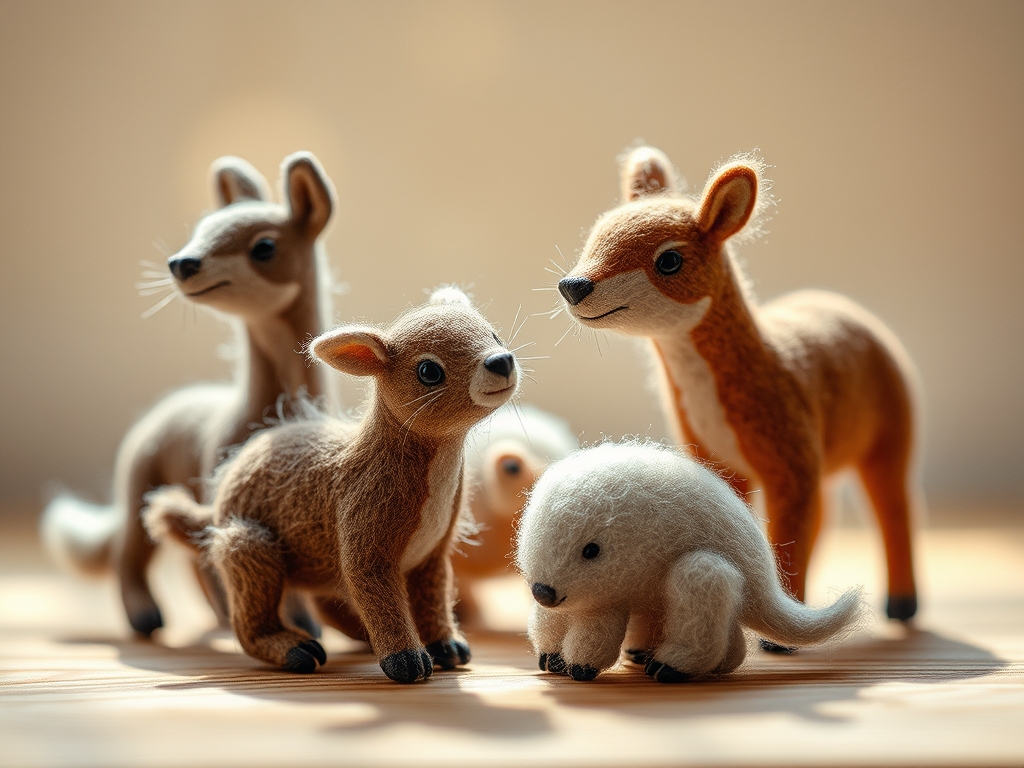
Imagine the sensation of running your fingertips over a cloud that has suddenly gained weight and structure. That is the magic of working with high-quality wool roving to create Needle Felted Animals. It starts with a chaotic pile of loose, unspun fibers that feel almost electric against your palms. As you hold the wool, you can feel the microscopic scales of the protein fibers catching on your skin; this is the tactile promise of friction waiting to happen. We are not just poking at fluff here. We are engaging in a high-stakes structural transformation where kinetic energy is converted into physical density. When you master the art of Needle Felted Animals, you are essentially acting as a human centrifuge, compressing air and fiber into a solid, three-dimensional form. The goal is to achieve a surface that looks soft enough to breathe but feels as firm as a cork. It is a sensory paradox that requires a deep understanding of fiber physics and a very sharp needle.
THE STUDIO KIT
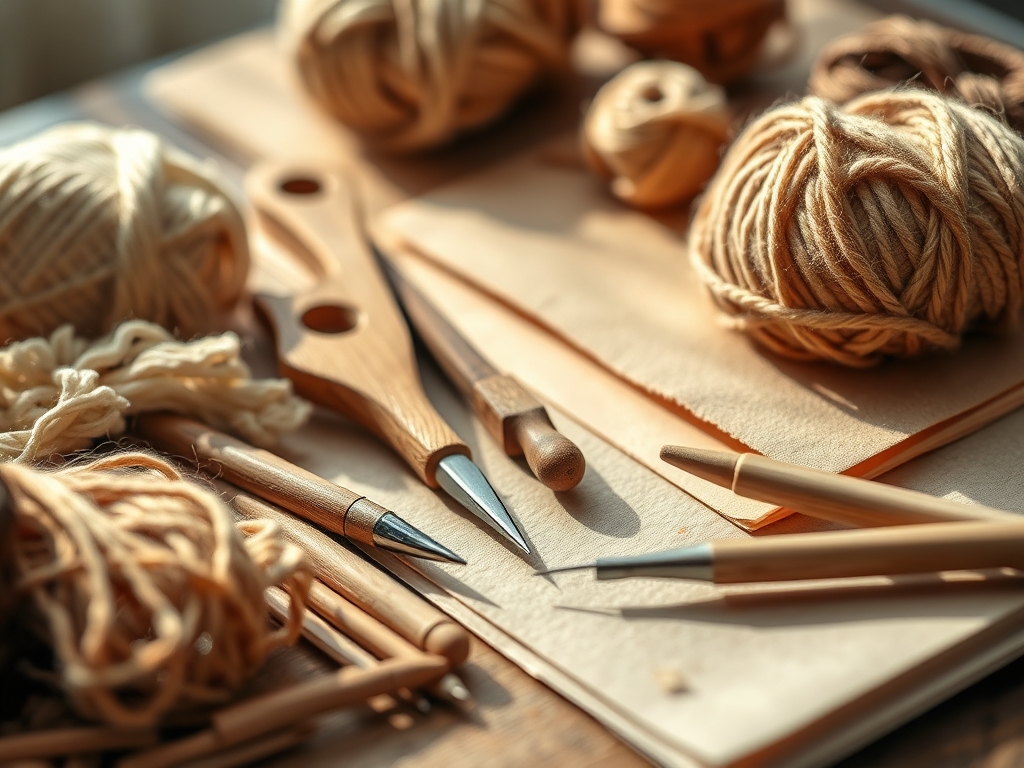
To build a professional-grade creature, your kit must go beyond the basic hobby store starter pack. You need barbed felting needles in various gauges, typically ranging from a 32-gauge for bulk shaping to a 42-gauge for ultra-fine detailing. Think of these as your sculpting chisels. The barbs are strategically notched into the steel to catch and entangle fibers on the downward stroke. You will also need a high-density foam pad or a burlap-covered rice bag to act as your work surface; this provides the necessary resistance without snapping your delicate steel tools. For structural integrity, keep a set of wire calipers and a sharp awl nearby. The awl is essential for creating pilot holes for glass eyes, ensuring you do not distort the surrounding fiber density when placing features.
Material Substitutions: If you cannot source premium Merino wool, look for Corriedale or Shetland roving. Corriedale has a slightly higher micron count, which means the fibers are thicker and provide more "grip" for beginners. For those seeking sustainable options, recycled silk waste or bamboo fiber can be blended with wool to add a lustrous sheen to the coat of your animal, though these plant-based fibers lack the natural crimp needed for structural felting on their own.
THE TEMPO
The "Maker's Rhythm" is a meditative state where the frequency of your needle strikes becomes consistent. A small, realistic bird might take six to eight hours, while a complex, posable mammal can require upwards of thirty hours. The process is divided into three distinct phases: the core build, the surface skinning, and the finishing groom. During the core build, your tempo should be rapid and deep, driving the needle into the center of the mass to create a hard interior. As you move to the surface skinning, your rhythm slows. The strikes become shallower and more precise. Finally, the finishing groom is a slow, surgical process of tucking in stray flyaways and refining the "expression" of the piece. Do not rush the density; if you stop too early, your animal will eventually sag and lose its anatomical precision.
THE CORE METHOD
1. The Skeletal Foundation
Every realistic animal begins with a core of high-bulk, low-cost wool or a wire armature. If you use wire, you must wrap it tightly with floral tape to provide "tooth" for the wool to grab. Use your calipers to ensure the limbs are symmetrical before you even touch a needle.
Mastery Tip: This stage relies on tensile strength. By wrapping the wool tightly around a wire core, you create a tensioned base that prevents the finished limb from wobbling or compressing over time.
2. Primary Mass Compression
Once your skeleton is set, wrap "batt" wool around the frame. Use a multi-needle tool to rapidly felt the bulk. You are looking for a firm, springy consistency. If you can squeeze the form and it feels like a soft marshmallow, you need to keep felting. It should feel like a ripe orange.
Mastery Tip: The science here is mechanical entanglement. The barbs on your needle push fibers through the mass, locking them together. The more you strike, the more the fibers "travel" and knot, increasing the density.
3. Layering the Soft Textures
This is where we choose our five specific textures. For a sleek look, use Merino top. For a rugged, curly coat, use Wensleydale locks. For a fuzzy underbelly, use alpaca cloud. For short fur, use short-staple carded wool. Finally, for whiskers, use monofilament or horsehair. Apply these in shingle-like layers starting from the tail and moving toward the head.
Mastery Tip: This mimics the capillary action of natural fur shedding water. By layering from back to front, you ensure the "growth direction" of the fur looks anatomically correct and hides the attachment points.
4. Facial Architecture and Detailing
Use your awl to sink the eye sockets deeply. Realism lives in the shadows; if the eyes sit on top of the head like marbles, the effect is lost. Use a tiny 42-gauge needle to sculpt eyelids and nose leather using wax-infused wool for a wet, realistic look.
Mastery Tip: This stage involves surface tension. By concentrating needle strikes in a small area, you create a "divot" of high-density fiber that holds its shape against the lower-density surrounding "flesh."
THE TECHNICAL LEDGER
Maintenance & Longevity: Needle felted items are dust magnets. To clean them, use a soft makeup brush or a gentle puff of compressed air. Never submerge them in water, as this will cause the fibers to "wet felt," shrinking the piece and ruining the delicate surface texture.
Material Variations:
- Sustainable: Organic wool sourced from "non-mulesed" sheep.
- Recycled: Shredded silk sari scraps for adding highlights.
- Premium: Rare breed wools like Jacob or Bluefaced Leicester for specific natural gradients.
The Correction:
- The Crunch: If your piece makes a crunching sound, you are hitting the wire armature. Fix: Use a smaller needle and angle your strikes away from the center.
- The Fuzz: If the surface is too hairy, do not pull the hairs. Fix: Use sharp embroidery scissors to "shave" the surface or a light pass with a butane lighter to singe flyaways (expert level only).
- The Flatness: If the face looks flat, you haven't added enough "fat pads." Fix: Felt small, separate spheres of wool and "weld" them onto the cheeks or brow with a fine needle.
Studio Organization: Store your wool in airtight clear bins categorized by "micron count" and "staple length." This prevents moths from destroying your stash and keeps the fibers from absorbing ambient humidity, which can make them difficult to felt.
THE FINAL REVEAL
Look at that! You have successfully turned a pile of fluff into a living, breathing piece of fiber art. The transition from the wiry, chaotic start to the polished, velvety finish of your Needle Felted Animals is nothing short of a chemical-free miracle. When you pick up your finished piece, it should have a satisfying weight and a "skin" that feels integrated and permanent. You aren't just a crafter; you are a fiber engineer who has mastered the physics of friction and form. Go ahead and give that little creature a squeeze; it is built to last a lifetime.
STUDIO QUESTIONS
Which wool is best for realistic fur?
Merino is excellent for sleek coats, while Alpaca provides a soft, hazy halo. For realistic "guard hairs," use long-staple locks like Teeswater. These fibers mimic the natural variegated texture of animal pelts better than standard synthetic blends.
How do I make my felted animal stand up?
A wire armature made of galvanized steel or pipe cleaners is essential. This provides a "skeleton" that supports the weight of the wool. Without a structural core, gravity will eventually cause the fiber to settle and the legs to buckle.
Why does my needle keep breaking?
You are likely "levering" the needle. Felting needles are brittle and must enter and exit the wool at the exact same angle. If you bend the needle while it is inside the dense fiber, the lateral pressure will snap the steel.
Can I fix a hole in my felted animal?
Yes. Simply take a small tuft of matching wool and felt it directly over the area. Use a fine-gauge needle to blend the edges into the surrounding surface. This is the beauty of the medium; it is infinitely "patchable" and forgiving.