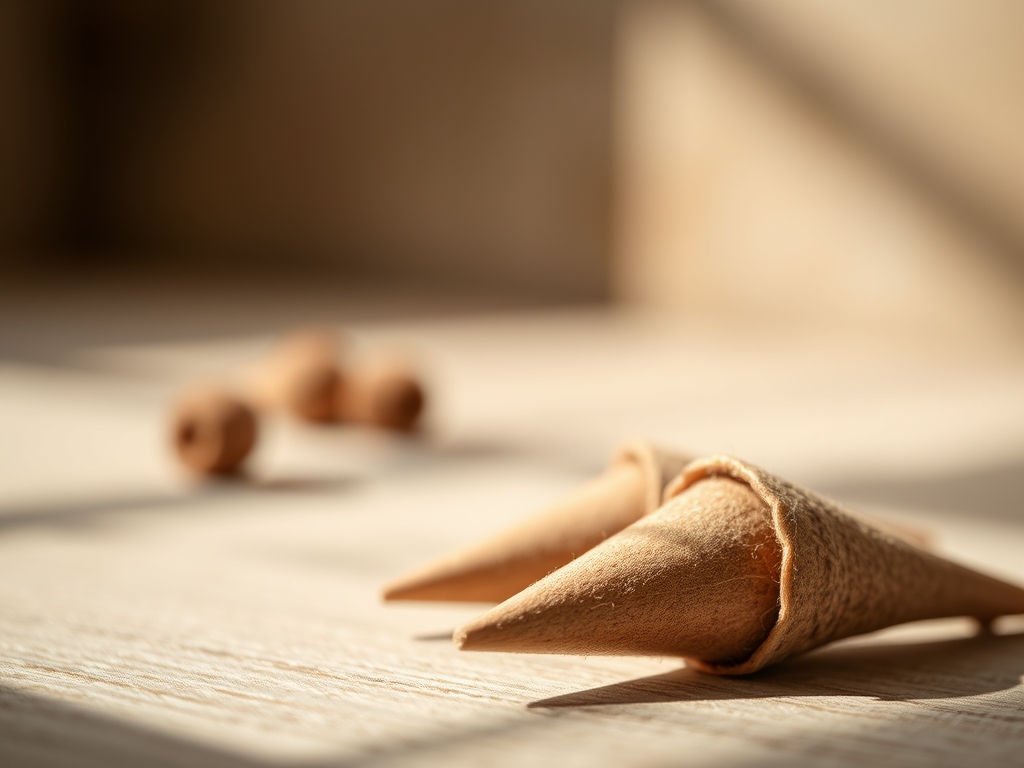
Roll up your sleeves and clear the workbench because we are about to dive into the molecular magic of aromatics. There is a specific, grounding weight to the raw materials used in Hand Crafted Incense Cones that hits you the moment you open your tins. It is a tactile symphony of gritty resins and silk-smooth wood pulps. When you press these botanical blends between your thumb and forefinger, you are not just mixing dust; you are managing the structural integrity of a combustible sculpture. The friction of the powder creates a subtle heat, a precursor to the slow-burn reaction we are aiming for. We are looking for that perfect point of saturation where the binder activates, turning a pile of loose particles into a cohesive, malleable dough. It is messy, it is fragrant, and it is pure physics. We are balancing the volatile oils of the plants against the rigid carbon structure of the wood base. Get ready to feel the grit of the earth and the slickness of the water as we engineer the perfect sensory experience.
THE STUDIO KIT
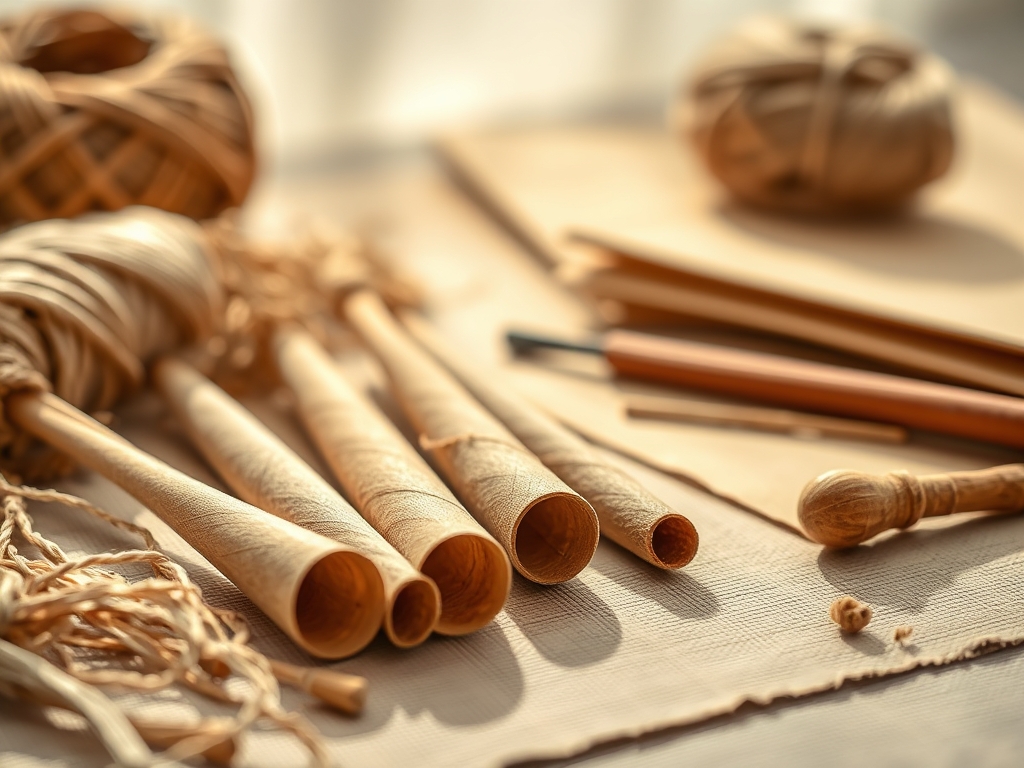
To master the art of Hand Crafted Incense Cones, your studio needs more than just a bowl and a spoon. You need tools that respect the tensile strength of the dough. First, a high-precision digital scale is non-negotiable; we are measuring in grams to ensure a consistent burn rate. You will need a fine-mesh sieve (around 80 to 100 mesh) to ensure the particle size is uniform. Large chunks create air pockets that lead to structural failure or "tunnelling" during combustion. A mortar and pestle are your best friends for grinding resins like Frankincense or Copal into a fine dust. For shaping, a small bone folder or a dedicated cone mold helps in achieving a dense, compressed core.
For material substitutions, if you cannot find Makko (a traditional Japanese bark binder), you can use Guar Gum or Xanthan Gum, though the viscosity and scent profile will shift. Instead of a standard mixing bowl, a flat marble slab allows you to burnish the dough, working out any trapped oxygen. Use a jeweler's saw or a fine blade to trim the bases of your dried cones for a perfectly level sit. Every tool serves the goal of increasing the fiber density of the final product.
THE TEMPO
The Maker's Rhythm is a three-act play: preparation, integration, and dehydration. Preparation takes about thirty minutes; this is where you calibrate your scale and sift your botanicals to ensure a porous but stable mixture. The integration phase is the heart of the process, lasting roughly forty-five minutes. This is when you slowly introduce your liquid, watching for the capillary action as the water travels through the dry fibers. You are looking for a dough that feels like damp clay.
Finally, we hit the dehydration phase, which is the ultimate test of patience. Hand Crafted Incense Cones require twenty-four to seventy-two hours of drying time depending on the ambient humidity of your studio. You cannot rush this with high heat, or the exterior will shrink faster than the core, causing deep structural cracks. It is a slow, steady evaporation process that locks the botanical oils into the wood matrix.
THE CORE METHOD
1. The Dry Sift and Calibration
Begin by weighing your base (sandalwood or cedar) and your binder. Sift them together through your fine-mesh screen at least three times. This ensures that the binder is distributed evenly at a microscopic level.
Mastery Tip: This step utilizes mechanical dispersion to prevent clumping. If the binder is not perfectly distributed, the cone will have "hot spots" where it burns too fast or "dead zones" where it extinguishes itself.
2. Hydration and Polymerization
Add distilled water drop by drop using a pipette. Knead the mixture vigorously on your marble slab. You are looking for the moment the mucilage in the binder activates, creating a stretchy, ply-like quality in the dough.
Mastery Tip: Watch for surface tension. If the water beads on top of the powder, your particles are too oily. You must use physical force to break the tension and force the moisture into the fiber grain.
3. Compression and Shaping
Take a small amount of dough and roll it into a sphere to remove air gaps, then taper it into a cone. If using a mold, apply consistent pressure to ensure the density is uniform from the tip to the base.
Mastery Tip: Compression is key to structural integrity. A loosely packed cone contains too much oxygen, which causes it to flare up and burn out in seconds rather than smoldering for twenty minutes.
4. The Leveling Cut
Once the cone is shaped but still damp, use a flat blade to slice the bottom. This creates a flush surface for the cone to sit on your burner.
Mastery Tip: A flat base ensures optimal thermal transfer to the incense burner, preventing the base of the cone from becoming a heat sink that puts out the ember.
5. Controlled Dehydration
Place your cones on a drying rack in a cool, dark place with plenty of airflow. Turn them every twelve hours to ensure even evaporation across all surfaces.
Mastery Tip: This prevents differential shrinkage. If one side dries faster, the internal stress will cause the cone to warp or "c-curve," ruining the aesthetic and the burn path.
THE TECHNICAL LEDGER
Maintenance and Longevity
To keep your studio running efficiently, clean your sieves immediately after use with a stiff brush to prevent resin buildup. Your Hand Crafted Incense Cones will last for years if stored correctly, as the scents actually "mature" over time, much like a fine wine.
Material Variations
- Sustainable: Use locally sourced sawdust and dried garden herbs like sage or rosemary.
- Premium: Incorporate Agarwood (Oud) or high-grade Kyara for a complex, resinous profile.
- Recycled: Repurpose dried floral arrangements by grinding the petals into a fine "flour" for your blends.
The Correction
- The Crack: If cones crack while drying, your dough was too wet. Fix: Re-grind the dry cones and start over with less water.
- The Extinguish: If the cone won't stay lit, you have too much binder or resin. Fix: Increase the ratio of wood powder (the fuel) to the binder.
- The Crumble: If the cone falls apart when touched, you didn't knead it enough. Fix: Spend more time burnishing the dough to activate the adhesive polymers.
Studio Organization
Store your finished cones in airtight glass vials. Avoid plastic, as it can leach the volatile oils out of the botanicals. Keep your raw powders in a cool, dark "apothecary" cabinet to prevent UV degradation of the aromatic compounds.
THE FINAL REVEAL
There is nothing quite like the moment you strike a match to a piece you engineered from scratch. When you light one of your Hand Crafted Incense Cones, the initial flame should be bright and steady. After blowing it out, watch the cherry; it should be a glowing, consistent orb moving slowly down the cone. The scent should be "clean," free from the acrid smell of synthetic glues found in commercial sticks. You have successfully balanced chemistry and artistry to create a tool for mindfulness. The smoke should rise in a thin, elegant "dragon's tail" before dispersing into the room. It is a high-energy win for any maker!
STUDIO QUESTIONS
Why do my incense cones smell like burning wood?
You likely have too much base material and not enough aromatic botanicals. Adjust your ratio to include more resins or essential-oil-rich herbs. Ensure your base wood is high-quality, like sandalwood, which has its own pleasant scent profile.
How do I get a smoother finish on the cone?
Use a bone folder or a smooth metal spatula to burnish the surface of the dough while it is still damp. This compresses the outer fibers and creates a professional, polished look once the cone has fully dehydrated.
Can I use honey as a binder?
Honey acts as a humectant and a binder, but it changes the burn chemistry. It adds a sweet scent but can make the cone "spit" if the sugar caramelizes too quickly. Use it sparingly alongside a traditional gum binder.
What is the best way to store raw resins?
Keep resins in a cool, dry environment. If they get too warm, they will fuse into a single solid mass. Use a rotary tool or a heavy mortar to break them back down into a usable powder if clumping occurs.