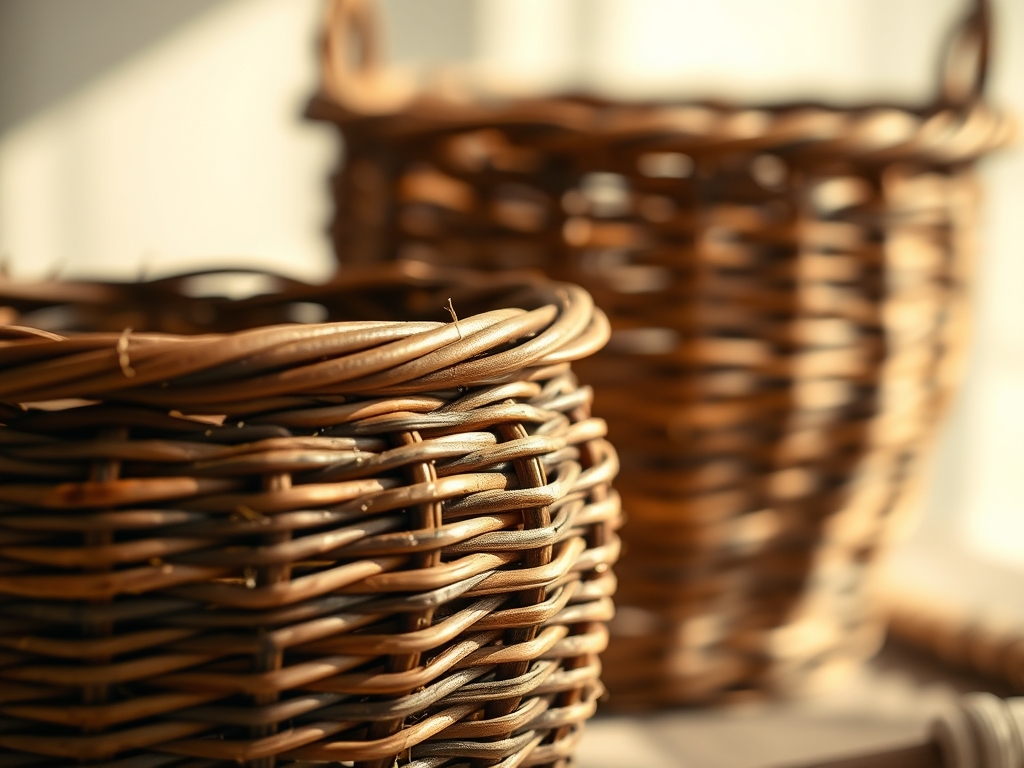
Imagine the sharp, resinous scent of a high-altitude forest floor filling your lungs as you run your fingers over a bundle of cured longleaf needles. This is not just a craft; it is a tactile conversation with the biology of the tree itself. When you begin creating Pine Needle Baskets, you are essentially re-engineering the structural integrity of organic fibers to create a vessel that is as durable as it is beautiful. We are looking for that perfect balance of flexibility and tensile strength. If the needles are too dry, they snap under the pressure of the coil; if they are too damp, they risk molding within the tight weave. You can feel the potential energy stored in each bundle, waiting to be coiled into a spiral that mimics the golden ratio found in nature. We are going to master the art of the fragrant coil today, blending ancient geometry with modern technical precision to build something that feels alive in your hands.
THE STUDIO KIT
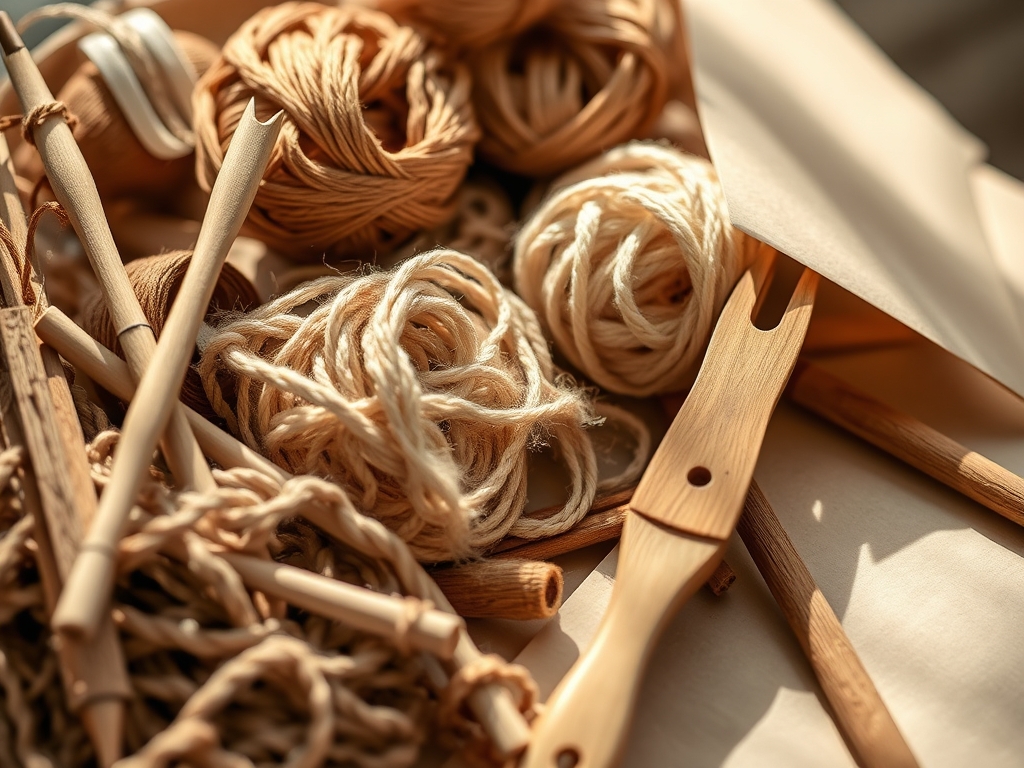
To execute a professional-grade basket, your kit must account for the porous nature of the organic material. You will need a bundle of high-quality longleaf pine needles, ideally between nine and fourteen inches in length. These needles provide the necessary gauge for a consistent coil diameter. Your primary tool is a tapestry needle, size 18 or 20, which features a blunt tip to prevent piercing the structural fibers of the previous row. You will also need a gauge tube, often a small section of brass piping or a cut plastic straw, to ensure every inch of your coil maintains a uniform thickness. For the stitching, waxed linen thread or sinew is preferred because the wax coating provides the friction needed to lock stitches in place without slipping.
Technical Material Substitutions: If longleaf needles are unavailable, you can utilize Ponderosa needles, though you must account for their slightly lower ductility. For the thread, high-test polyester upholstery thread works in a pinch, though it lacks the traditional burnished finish of linen. Professional makers often keep a bone folder on hand to compress the coils and a pair of precision snips to trim the "tails" of the needles with surgical accuracy.
THE TEMPO
The "Maker's Rhythm" is a physiological state where your heart rate syncs with the repetitive motion of the needle. For a standard six-inch basket, expect to invest roughly twelve to fifteen hours of active labor. The initial phase, the center start, is the most technically demanding and takes about one hour of intense focus to ensure the spiral is perfectly centered. Once the base is established, you enter the "flow state" of coiling, where you can expect to progress at a rate of approximately one inch of diameter per hour. The final decorative stitching and rim finishing require an additional three hours of meticulous tension management. Respecting this tempo prevents hand fatigue and ensures that the structural integrity of the basket remains consistent from the core to the perimeter.
THE CORE METHOD
1. Hydrating the Fibers
Before you can manipulate the needles, they must undergo a controlled hydration process. Soak your needles in warm water for approximately thirty minutes. This increases the elasticity of the cellulose walls, allowing the needles to bend without fracturing. Mastery Tip: Add a drop of glycerin to the water. Glycerin acts as a humectant, drawing moisture into the internal structure of the needle and keeping it pliable for a longer duration through capillary action.
2. Crafting the Primary Spiral
The center of your basket is the foundation of its load-bearing capacity. Take a small bundle of needles, approximately the thickness of a pencil, and wrap the end tightly with your thread to create a "tail." Coil this tail into a tight circle and pass your needle through the center. Mastery Tip: Use a tapestry awl to pre-set the hole in the center. This prevents the needles from splitting and ensures the radial symmetry of your first three rows.
3. Implementing the Gauge Tube
Slide your gauge tube over the bundle of needles. As you stitch, the tube acts as a mechanical limit, ensuring the coil does not taper or swell. As you use up needles, tuck the blunt ends of new needles into the center of the bundle inside the tube. Mastery Tip: Always stagger your additions. By distributing the "butt ends" of the needles throughout the coil, you avoid creating a weak point or a visible bulge, maintaining a constant cross-sectional density.
4. The Wheat Stitch Execution
For decorative flair, the wheat stitch creates a V-shape across the coils. Bring your needle up through the previous coil, over the top, and back down, angling the thread to create a diagonal line. Repeat in the opposite direction to lock the stitch. Mastery Tip: Maintain consistent surface tension. If one stitch is tighter than the rest, it will pull the coil out of alignment, causing the basket to warp as the needles dry and shrink.
5. Managing the Rise
To transition from a flat base to the walls of the basket, begin stacking the coils slightly on top of the previous row rather than alongside it. This shift in geometric orientation determines the final silhouette of the piece. Mastery Tip: Use a caliper to check the diameter at various points. Consistent wall thickness is a hallmark of professional work and ensures the basket's center of gravity remains stable.
6. Tapering the Rim
As you reach the desired height, stop adding new needles. Allow the bundle to naturally thin out as you continue stitching. This creates a smooth, tapered finish that blends seamlessly into the row below. Mastery Tip: This phase requires the highest stitch density. By spacing your stitches closer together at the rim, you provide extra reinforcement to the area most prone to mechanical wear.
THE TECHNICAL LEDGER
To ensure your Pine Needle Baskets last for generations, you must understand the degradation variables. Organic fibers are sensitive to UV light and extreme fluctuations in humidity.
Material Variations:
- Sustainable: Foraged needles from local parks (ensure they are legally collected).
- Recycled: Using copper wire instead of linen thread for a modern, industrial aesthetic.
- Premium: Hand-dyed raffia or silk thread for high-contrast decorative stitching.
The Correction:
- Problem: The coil feels "squishy" or loose. Fix: Increase the number of needles in your gauge tube to reach maximum compaction.
- Problem: The needle is difficult to pull through. Fix: Use a small dab of beeswax on your thread to reduce frictional resistance.
- Problem: The basket is wobbling. Fix: While the basket is still slightly damp, place it on a flat surface and use a bone folder to burnish the base, leveling the coils.
Studio Organization:
Store your raw needles in a breathable mesh bag in a cool, dark place. Never store damp needles in plastic, as this creates a micro-climate for fungal growth. Once a project is started, keep it in a "work-in-progress" tray with a damp cloth over the needles to maintain workability.
THE FINAL REVEAL
There is a specific, electrifying moment when you pull the final stitch tight and realize you have transformed a pile of forest floor debris into a structural masterpiece. Your finished basket should feel dense, balanced, and carry that unmistakable, earthy perfume. The decorative stitching creates a rhythmic pattern that draws the eye inward, celebrating the mathematical precision of your handiwork. This is not just a container; it is a high-performance marriage of biology and engineering. Hold it up to the light and admire the way the light catches the waxed finish of the thread against the matte texture of the needles. You did that!
STUDIO QUESTIONS
How do I prevent needles from snapping?
Soak needles in warm water for 30 minutes to increase cellulose flexibility. Adding glycerin to the soak helps maintain internal moisture, preventing the fibers from becoming brittle during the high-tension coiling process.
What is the best thread for durability?
Waxed linen thread is the gold standard. The wax provides essential friction that locks each stitch into the porous surface of the pine needles, ensuring the basket maintains its shape and structural integrity over time.
How do I keep my coils uniform?
Use a gauge tube or a small section of a plastic straw. By feeding your needle bundle through the tube before stitching, you ensure a consistent diameter and cross-sectional density across the entire project.
Can I use needles from any pine tree?
While most are usable, Longleaf Pine needles are preferred for their length and high tensile strength. Shorter needles require more frequent additions, which can complicate the transition points and affect the overall smoothness of the coil.