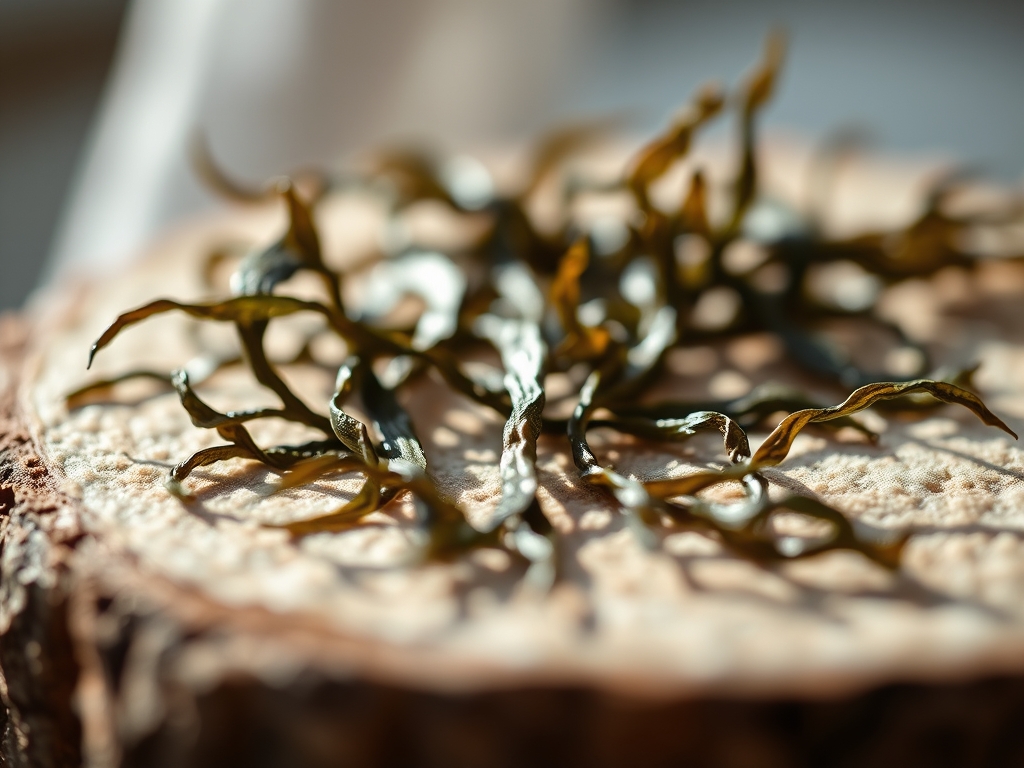
Imagine the smell of salt spray and the cool, slick sensation of a frond sliding through your fingers as the tide retreats. This is where we source the raw material for our Pressed Seaweed Art; a medium that is as much about marine biology as it is about aesthetic composition. We are moving beyond simple scrapbooking into a realm of high-density botanical preservation. When you pick up a piece of sea lettuce or a strand of bladderwrack, you are handling a complex cellular structure that is roughly ninety percent water. The goal is to replace that moisture with structural stability without losing the ethereal, translucent quality of the specimen. It is a game of managing osmotic pressure and surface tension to ensure the delicate membranes do not collapse into a muddy mess. We are capturing the fluid motion of the ocean and freezing it onto a heavy-gauge paper substrate. It requires a steady hand, a bit of wit, and a deep respect for the tensile strength of these underwater wonders. Grab your gear; we are heading to the shoreline.
THE STUDIO KIT
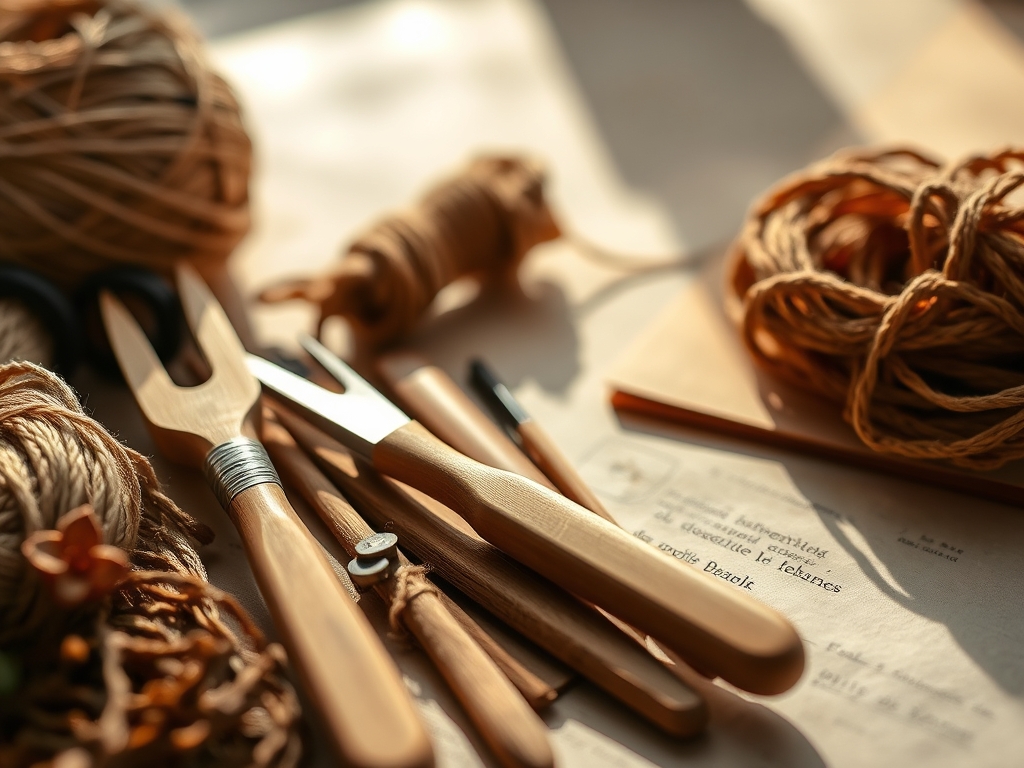
To master the art of the tide, you need a kit that balances delicacy with durability. Your primary tool is a shallow polypropylene tray, which allows for full submersion of the specimen to negate the effects of gravity during the arrangement phase. You will also need a set of fine-tipped stainless steel tweezers and a precision awl for manipulating microscopic filaments without tearing the cell walls. For the pressing phase, professional-grade acid-free blotting paper is non-negotiable; its high porosity ensures rapid moisture wicking, which prevents fungal growth.
A bone folder is essential for burnishing the edges of your mounting paper to ensure a flat, professional finish. For the substrate, choose a 300gsm cold-press watercolor paper. The tooth of this paper provides the necessary mechanical grip for the seaweed's natural adhesives to bond. Material Substitutions: If you cannot find botanical blotting paper, high-quality untextured newsprint works in a pinch, though it has lower capillary action. Instead of a professional flower press, two sheets of marine-grade plywood and a set of heavy-duty C-clamps will provide the uniform compressive force required to keep the specimens flat.
THE TEMPO
The Maker's Rhythm for Pressed Seaweed Art is dictated by the evaporation rate. The initial "wet phase," where you float and arrange the seaweed, should take about fifteen minutes per specimen to prevent the organic matter from beginning to decompose in stagnant water. Once the specimen is sandwiched in the press, the "active drying phase" lasts between five to ten days. During the first forty-eight hours, you must change the blotting paper every twelve hours to manage the high moisture load. This creates a rhythmic cycle of tension and release; you are essentially performing a slow-motion dehydration that preserves the chromatophores, the pigment-containing cells that give seaweed its vibrant greens and deep reds.
THE CORE METHOD
1. The Hydro-Static Float
Place your specimen in a shallow tray of fresh water. Using the buoyancy of the liquid is the only way to expand the delicate, branching structures of red algae without causing mechanical failure. Use your precision awl to fan out the fronds.
Mastery Tip: This utilizes surface tension to keep the delicate fibers separated. If the seaweed clumps, it is likely due to residual salt increasing the density of the water; a fresh water rinse is vital.
2. Substrate Submersion
Slide your watercolor paper directly under the floating seaweed while it is still in the tray. Slowly lift the paper at a thirty-degree angle. This allows the water to drain away while the seaweed settles onto the fibers of the paper in its natural, expanded state.
Mastery Tip: The capillary action of the paper will begin to pull the seaweed down immediately. If the alignment is off, re-submerge instantly to reset the position.
3. The Nylex Barrier
Cover the wet specimen with a sheet of fine nylon mesh or "Nylex." This acts as a semi-permeable membrane that allows moisture to escape while preventing the seaweed from sticking to your blotting paper.
Mastery Tip: Without this barrier, the mucilage (natural glue) in the seaweed will bond to your blotter, ruining the specimen when you try to peel it away.
4. Compressive Layering
Stack your prepared "sandwich" between multiple layers of blotting paper and corrugated cardboard. The cardboard allows for lateral airflow through the stack, which is crucial for preventing mold.
Mastery Tip: Ensure the clamping pressure is even across the entire surface. Uneven pressure causes the paper to cockle, which ruins the professional, flat aesthetic of the final piece.
5. The Desiccation Cycle
Change the blotting paper frequently. For the first two days, the moisture transfer is aggressive. By day four, you can slow down. Use a digital hygrometer in your studio to ensure the ambient humidity is below fifty percent for optimal results.
Mastery Tip: Rapid drying preserves the tensile integrity of the specimen. If the process is too slow, the seaweed will lose its vibrant hue and turn a dull brown.
6. The Final Burnish
Once completely dry, remove the Nylex. The seaweed should be naturally fused to the paper. Use a bone folder to gently press down any edges that look slightly raised, ensuring a seamless integration with the substrate.
Mastery Tip: This final mechanical bond relies on the interlocking of organic polymers from the seaweed and the cellulose fibers of the paper.
THE TECHNICAL LEDGER
Maintenance & Longevity: Pressed Seaweed Art is sensitive to UV degradation. Always frame your work behind UV-filtered glass to prevent the natural pigments from bleaching. Avoid hanging pieces in high-humidity zones like bathrooms, as the organic matter can rehydrate and attract silverfish.
Material Variations: For a premium look, use handmade Japanese Washi paper, which has long fibers that provide incredible grip. If you are focused on sustainability, repurposed cotton rags can be pulped and pressed into custom mounting sheets.
The Correction:
- The Ghosting Effect: If the seaweed looks blurry, it shifted during the lift. Fix: Re-submerge and use a pipette to micro-adjust the fronds.
- Salt Crystallization: White crust on the dry specimen. Fix: You skipped the fresh water rinse. You must soak the specimen longer in fresh water before pressing.
- Paper Warping: The paper curled during drying. Fix: Increase the gauge of your plywood press and ensure the C-clamps are tightened to maximum torque.
Studio Organization: Store your finished, unframed plates in an archival solander box. Use sheets of acid-free glassine between each piece to prevent friction from abrading the delicate seaweed surfaces.
THE FINAL REVEAL
There is nothing quite like the moment you peel back the final layer of blotting paper to reveal a perfectly preserved specimen. The colors are electric; the greens look like neon silk and the reds have a deep, wine-like luster. The texture is incredible; it sits on the paper with a low profile but possesses a distinct tactile presence. You have successfully taken a chaotic element of the coastal tide and transformed it into a structured, sophisticated work of science and art. It is sleek, it is smart, and it looks like it belongs in a high-end gallery or a marine biology lab.
STUDIO QUESTIONS
How do I prevent the seaweed from smelling?
The smell is caused by bacteria breaking down organic matter. A thorough fresh water rinse and rapid desiccation using high-porosity blotting paper will eliminate odors by removing salt and moisture quickly.
Can I use a standard iron to speed up drying?
No. High heat will denature the pigment proteins and cause the seaweed to become brittle. The cellular structure requires a slow, pressurized moisture release to maintain its visual and structural integrity.
What is the best seaweed for beginners?
Start with Sea Lettuce (Ulva). It is a single-cell layer thick, making it extremely easy to press. Its high translucency provides a forgiving introduction to the floating and mounting process.
Does the seaweed need extra glue to stay on the paper?
Usually, no. Most seaweed species contain carrageenan or alginate, which act as natural adhesives. These polymers bond to the paper fibers during the drying process under consistent compressive force.