
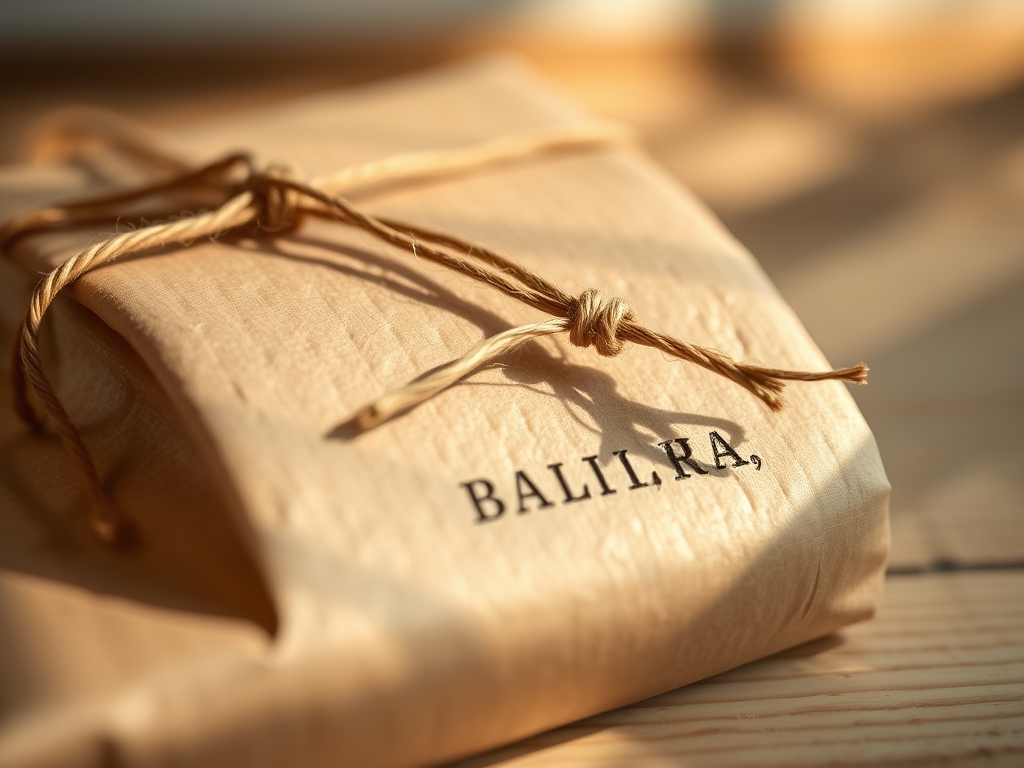
Grab a seat at the workbench because we are about to turn a humble root vegetable into a high performance printing press. There is something intoxicating about the smell of fresh starch meeting heavy craft paper; it is the scent of raw potential. When you are crafting Hand Stamped Gift Wrap, you are not just decorating paper. You are engaging in a tactile dance with organic geometry and fluid dynamics. Feel the cool, damp weight of a Russet potato in your palm. It is dense, firm, and surprisingly structural. We are going to harness that cellular density to create crisp, repeatable patterns that look like they came out of a boutique studio. Forget those flimsy plastic stamps from the craft aisle. Today, we are going into the kitchen to find our tools. We will be manipulating surface tension and ink absorption rates to ensure every birthday present you give looks like a work of art. It is time to get your hands a little dirty in the pursuit of absolute aesthetic perfection.
THE STUDIO KIT
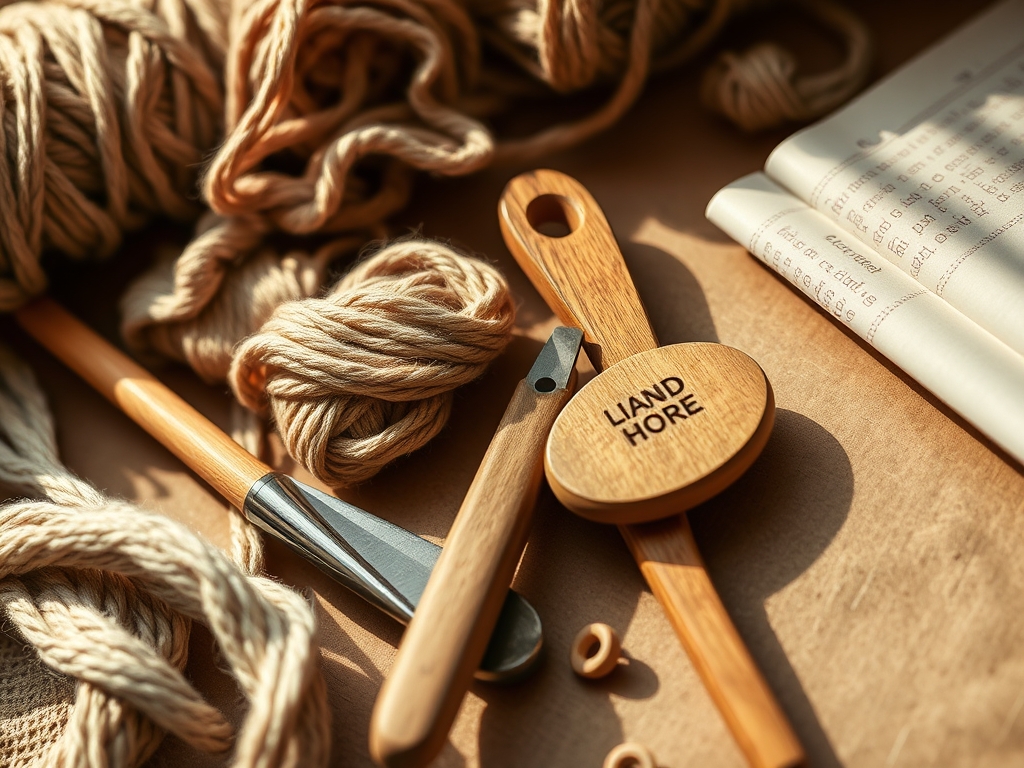
To master the art of Hand Stamped Gift Wrap, you need a kit that respects the physics of the medium. Start with high quality Russet potatoes; their low moisture content and high starch density provide a more rigid carving surface than waxy red potatoes. You will need a precision scalpel or a sharp X-Acto knife for fine detail work. For broader strokes, a linoleum cutter with interchangeable nibs is a game changer. Your paper choice is critical. Opt for a 70lb kraft paper or a matte heavy bond. These are highly porous materials that allow the ink to penetrate the fibers rather than sitting on the surface and smearing.
For the ink, skip the standard stamp pads. We want highly pigmented acrylics or fabric inks because they offer superior viscosity. Use a rubber brayer to apply the ink to your potato stamp; this ensures an even, thin coat that prevents the "squish" effect where ink oozes out the sides of your design. If you cannot find a brayer, a small high density foam roller is a suitable material substitution. Always keep a bone folder nearby to create crisp creases in your paper once the ink has cured.
THE TEMPO
The "Maker's Rhythm" is all about respecting the drying times and the lifespan of your organic tools. Carving your five designs will take approximately 40 minutes if you are being precise with your calipers to ensure symmetry. The actual stamping process is a fast paced flow state that takes about 15 minutes per roll of paper. However, you must account for the curing phase. Because we are using high viscosity inks on porous paper, you need at least two hours of dry time before you attempt to fold or burnish the paper. A potato stamp has a shelf life of about six hours before the cellular structure begins to collapse and lose its structural integrity. This is a "one session" project; you carve, you stamp, and you marvel at the results all in one afternoon.
THE CORE METHOD
1. The Geometric Prism
Start by slicing your potato exactly in half with a single, fluid motion to ensure a perfectly flat mating surface. Use a metal ruler to scribe a triangle or hexagon into the starch. Carve away the negative space to a depth of at least 5mm.
Mastery Tip: This depth prevents the background of the potato from touching the paper. By maintaining a high relief height, you ensure that the pressure is concentrated only on the intended design, resulting in a cleaner print.
2. The Botanical Sprig
For a birthday vibe, a delicate leaf or sprig is timeless. Use your linoleum cutter to gouge out thin veins. This creates a channel for the ink to sit in, rather than a flat surface.
Mastery Tip: This technique utilizes capillary action. The ink fills the carved channels and stays there, allowing the raised portions to transfer a solid block of color while the fine lines remain crisp and white.
3. The Polka Dot Grid
Use a small circular punch or even a metal tube to core out perfect circles from the potato. This creates a stamp with a very high surface tension, which is perfect for bold, saturated colors.
Mastery Tip: When stamping, apply pressure straight down. If you tilt the stamp, you create a "slur" in the ink. Vertical force ensures the molecular bond between the ink and the paper fibers is uniform across the entire shape.
4. The Abstract Chevron
Carve a series of parallel "V" shapes. This design is all about alignment. Use a T-square to lighty pencil a guideline on your paper before you start.
Mastery Tip: Potatoes are organic and hold water. If your print looks blurry, your ink is too thin. The hydrophilic nature of the potato starch can sometimes thin out your acrylics, so keep your brayer loaded with "tacky" ink to maintain sharp edges.
5. The Starburst Burst
Create a series of radiating lines from a center point. This is the most difficult to carve because the "points" are fragile. Use a jeweler's saw or a very fine blade for the narrowest gaps.
Mastery Tip: Watch out for vacuum adhesion. When you pull a flat stamp off a flat paper, it can sometimes "stick" and lift the paper. A quick, vertical snap release is better than a slow pull to maintain the tensile strength of the paper surface.
THE TECHNICAL LEDGER
Maintenance & Longevity: Since your stamps are biological, they cannot be saved. However, you can extend your session by wrapping the stamps in a damp paper towel and placing them in a sealed container in the fridge for up to 24 hours.
Material Variations: For a premium look, use handmade deckle-edge paper. The high cotton content (ply) absorbs ink beautifully but requires a slower stamping tempo to prevent bleeding. For a sustainable option, use recycled newsprint, but be aware that the high acid content may change the color of your ink over time.
The Correction:
- The Blot: If your stamp leaves a giant blob, you have too much ink on your brayer. Roll it out on a scrap piece of paper until the texture looks like orange peel.
- The Ghost: If the print is too light, your potato has dried out. Slice a thin 1mm layer off the face to reveal fresh, moist starch.
- The Slip: If the stamp slides, your paper is too slick. Switch to a paper with a higher tooth or "grit" to provide better mechanical grip.
Studio Organization: To prevent degradation of your finished Hand Stamped Gift Wrap, store the rolls horizontally in a cool, dry place. Avoid vertical storage, as the weight of the paper can cause "crush" marks on the bottom edges, ruining the gauge of the roll.
THE FINAL REVEAL
There is nothing quite like the sight of fifty feet of custom, Hand Stamped Gift Wrap drying across your studio floor. It looks intentional, sophisticated, and wildly expensive. The slight variations in ink density give it a "human" touch that a digital printer simply cannot replicate. When you wrap that birthday gift, the crispness of the folds and the vibrancy of the patterns will tell the recipient that you didn't just buy a gift; you engineered an experience. You have successfully turned a grocery store staple into a high end design tool. Now, go grab some twine and a sprig of dried eucalyptus to finish the look.
STUDIO QUESTIONS
Can I use any type of potato for stamping?
Russets are best due to high starch density. Waxy potatoes like Red Bliss have too much moisture, which can dilute the ink and cause the design to bleed into the paper fibers, ruining the edge definition.
How do I stop the ink from smearing?
Ensure you are using a porous paper like kraft or bond. If the paper has a glossy coating, the ink will sit on top and smear. Also, allow for a full two hour curing period before handling.
What is the best way to clean the potato stamp?
You don't really "clean" them in the traditional sense. Simply wipe the surface with a lint free cloth to remove excess ink. If the ink dries and clogs the detail, slice a thin layer off the relief surface.
Can I use watercolor paint for this?
No, the viscosity is too low. Watercolors will soak into the potato and the paper too quickly, leading to a loss of structural integrity in the design. Stick to acrylics or specialized block printing inks for the best results.

