
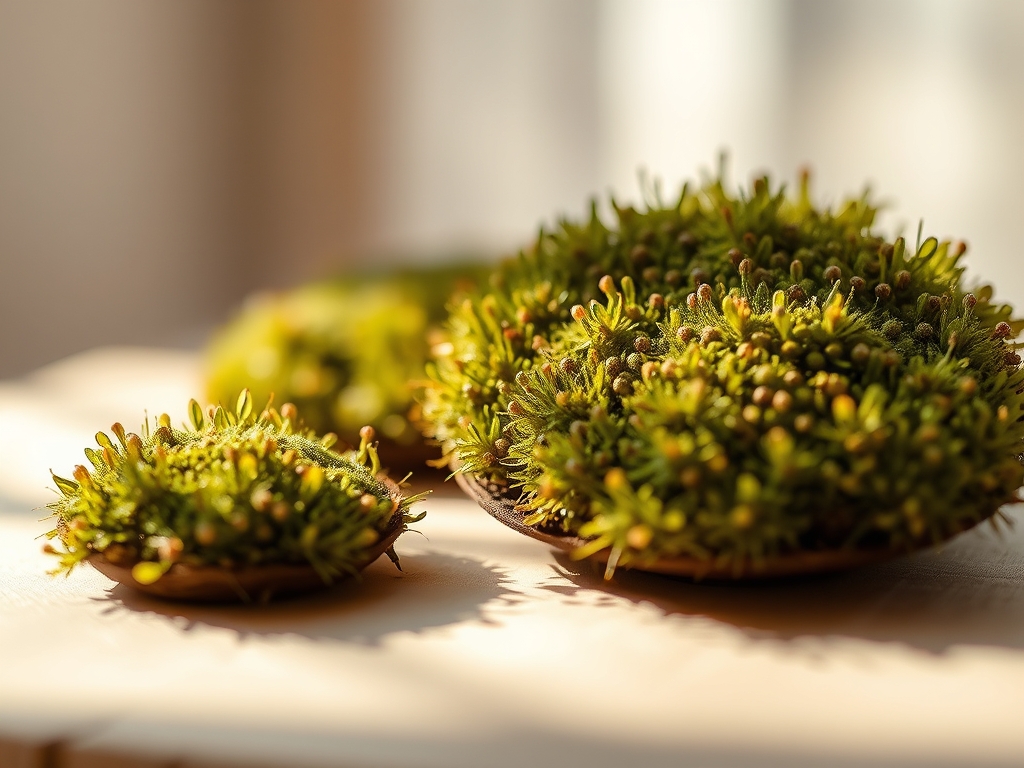
Close your eyes and imagine the scent of a damp forest floor trapped inside a glass frame. We are not just gluing plants to cardboard; we are engineering a miniature ecosystem using the technical precision of Pressed Moss Art. You can feel the velvet resistance of the fibers against your fingertips as you sort through the harvest. This is where high science meets raw aesthetics. We are dealing with bryophytes, ancient plants that lack traditional vascular systems, which means their structural integrity relies on turgor pressure and external humidity. When we press them, we are essentially performing a controlled dehydration to lock in their cellular geometry. It is a tactile rush that combines the patience of a botanist with the eye of a gallery curator.
THE STUDIO KIT

To master this medium, you need more than just a hot glue gun. You need a toolkit that respects the porous nature of the organic material. Start with a high-quality shadow box featuring a depth of at least two inches to prevent compression of the more delicate textures. You will need a pair of fine-tipped jeweler's tweezers for micro-adjustments and a bone folder to burnish the adhesive backing. For the base, use an acid-free archival mat board to prevent chemical leaching into the moss over time.
Your material list should include eight distinct textures: Reindeer Moss (fruticose), Sheet Moss (pleurocarpous), Mood Moss (acrocarpous), Pole Moss (clump-forming), Fern Moss (delicate pinnate), Spanish Moss (epiphytic), Cushion Moss (dense hemispherical), and Lichen (symbiotic).
Material Substitutions: If you cannot find premium preserved Pole Moss, you can substitute it with high-density upholstery foam carved with an oscillating tool and flocked with shredded Sheet Moss. For those looking for a recycled angle, use shredded egg cartons soaked in green organic dye as a structural filler for the lower layers of your Pressed Moss Art.
THE TEMPO
The Maker's Rhythm is a three-act play. Act one is the Curation Phase, which takes about sixty minutes. This involves sorting your moss by "pile" and "grain" to ensure a natural flow. Act two is the Adhesion Phase, the most labor-intensive part, requiring two to three hours of focused assembly. Finally, there is the Curing Phase. While the glue may dry in minutes, the entire piece needs twenty-four hours to "settle" into its new atmospheric equilibrium. You cannot rush the physics of evaporation; the moisture levels in the moss must stabilize within the sealed environment of the shadow box to prevent future fogging of the glass.
THE CORE METHOD
1. Mapping the Topography
Before applying any adhesive, lay out your eight textures on the mat board. Use a graphite pencil to lighty sketch the "flow" lines. Think of this as the skeletal structure of your Pressed Moss Art. You want to place the densest textures, like Pole Moss, in the center of your focal points to create a sense of depth and mass.
Mastery Tip: Understand structural integrity. By placing the densest materials at the base and lighter, "fluffier" textures on top, you prevent the weight of the moss from shearing off the backing over time due to gravity.
2. Preparing the Substrate
Use a rotary cutter to trim your mat board to the exact interior dimensions of the shadow box. Use a caliper to measure the depth of your thickest moss clump. If the moss is deeper than the frame, you must use a serrated blade to shave the underside of the moss. This ensures the glass does not crush the delicate apical cells of the plant.
Mastery Tip: This is about displacement. If you overstuff the frame, the pressure against the glass can cause "sweating" or moisture traps, leading to mold. Always leave a three-millimeter gap between the moss and the glass.
3. Applying the Adhesive Matrix
Switch to a high-tack, pH-neutral adhesive. Apply the glue in a "starburst" pattern rather than a solid sheet. This allows the moss to breathe and expand slightly with changes in room temperature. Use your bone folder to press the edges of the flatter Sheet Moss firmly into the board.
Mastery Tip: Utilize capillary action. A porous material like moss will "wick" liquid glue upward if you apply too much. Use just enough to grip the base fibers without saturating the visible surface, which would ruin the matte texture.
4. Layering for Chromatic Depth
Integrate your eight textures by overlapping the edges. Place the lime-green Reindeer Moss next to the deep forest-green Mood Moss to create high-contrast boundaries. This mimics the natural competition for light found on a forest floor. Use an awl to tuck stray fibers under the edges of neighboring clumps for a seamless transition.
Mastery Tip: Consider light refraction. Different moss species have different surface areas; Reindeer Moss is highly branched and scatters light, while Sheet Moss is flat and absorbs it. Mixing these creates a 3D effect that changes as you walk past the frame.
THE TECHNICAL LEDGER
Maintenance & Longevity: Pressed Moss Art is technically "mummified." It does not require water, but it does require a stable environment. Keep the piece out of direct UV light to prevent the organic pigments from photobleaching. A light dusting with a compressed air canister every six months is the only physical intervention needed.
Material Variations: For a premium build, use "preserved" moss that has been treated with glycerin. This replaces the water in the plant cells, keeping them supple and preventing them from becoming brittle. If you prefer a sustainable approach, source "fallen" moss from your backyard, but ensure you heat-treat it at a low temperature to kill any stowaway micro-fauna.
The Correction:
- The Sag: If moss peels off the board, do not just add more glue. Scrape the old adhesive off with a palette knife and re-prime the surface with a sandable gesso for better mechanical grip.
- The Fuzz: If the moss looks "dusty," it is likely shedding. Mist it very lightly with a solution of 90% water and 10% transparent matte medium to "lock" the fibers.
- The Fog: If the glass fogs up, your moss was too damp. Remove the back of the frame and place the entire piece in a room with a dehumidifier for forty-eight hours before resealing.
Studio Organization: Store your bulk moss in perforated bins to allow airflow. Never store moss in airtight plastic bags, as this can trap residual moisture and trigger fungal growth even in preserved specimens. Use a label maker to categorize your moss by species and harvest date.
THE FINAL REVEAL
Look at that! You have successfully engineered a slice of the wild. The way the light catches the different densities of the eight textures creates a living shadow play within the frame. Your Pressed Moss Art is not just a decoration; it is a technical achievement in organic preservation. The contrast between the rigid, industrial lines of the shadow box and the chaotic, soft geometry of the bryophytes is a total design win. It feels expensive, looks professional, and carries the quiet authority of a scientist's specimen box.
STUDIO QUESTIONS
How do I keep the moss green?
Avoid direct sunlight to prevent photodegradation. Use preserved moss treated with light-fast dyes. If the color fades, you can lightly mist the surface with a highly diluted, alcohol-based green ink to restore the vibrant hue without damaging the fibers.
Does Pressed Moss Art smell?
Initially, it has an earthy, forest-like aroma due to the tannins in the plant matter. This dissipates within two weeks. Ensure the moss is fully cured and dry before framing to prevent any sour odors caused by anaerobic bacteria.
Can I use hot glue for this?
Yes, but use a low-temperature gun. High heat can melt the delicate cell walls of the moss, causing it to shrivel or turn brown. Professional-grade floral adhesive is often a better choice for a permanent, flexible bond that withstands temperature shifts.
How long will my moss art last?
If kept out of direct sunlight and high humidity, a professionally constructed piece can last ten to fifteen years. The glycerin treatment in preserved moss keeps the cell structures flexible, preventing the material from becoming brittle and crumbling over time.

