
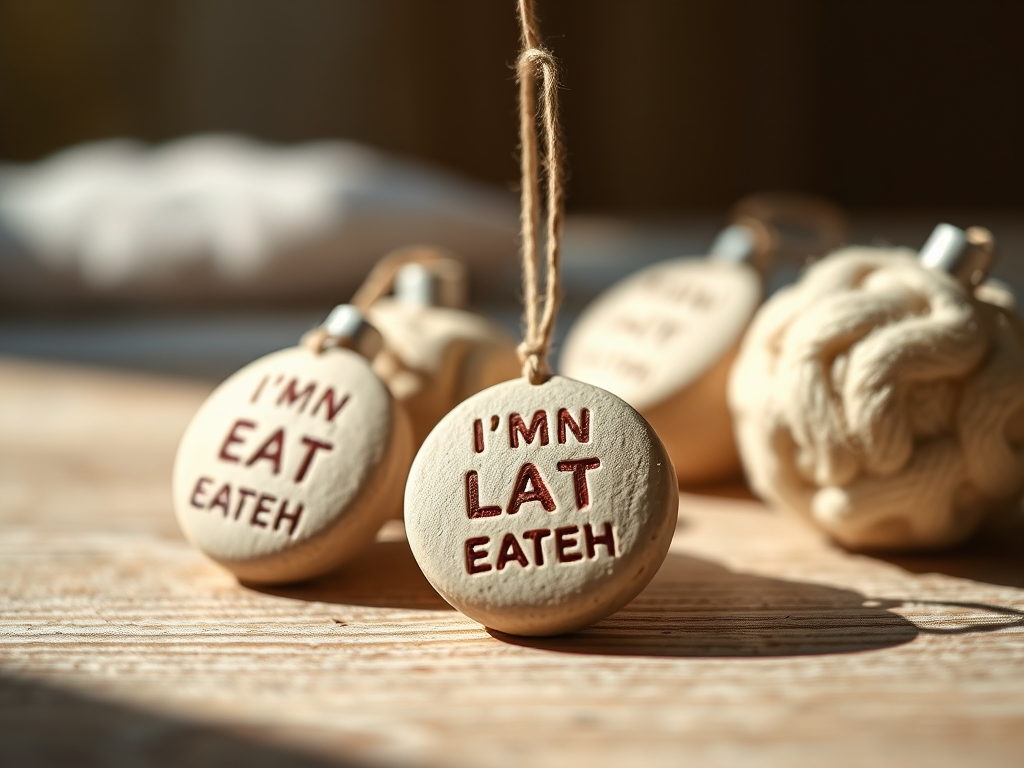
Cold air bites at the windowpane, but inside the studio, the atmosphere is thick with the scent of damp earth and mineral dust. You can feel the weight of the raw material in your palms; it is dense, cool, and surprisingly heavy before the kiln or the air-dry process strips away the moisture. Creating Hand Stamped Clay Ornaments is an exercise in tactile physics. It is about understanding how a solid mass transitions into a delicate heirloom through the application of pressure and precision. We are not just making decorations; we are manipulating molecular structures to capture a moment in time. The clay feels silky, almost like heavy cream frozen in a state of high viscosity. As you knead it, the friction generates a subtle warmth, signaling that the polymer or earthen chains are becoming pliable and ready for the stamp. It is a sensory rush that balances the raw grit of the earth with the refined grace of a holiday aesthetic. Let us dive into the grit and the glory of the maker's bench.
THE STUDIO KIT
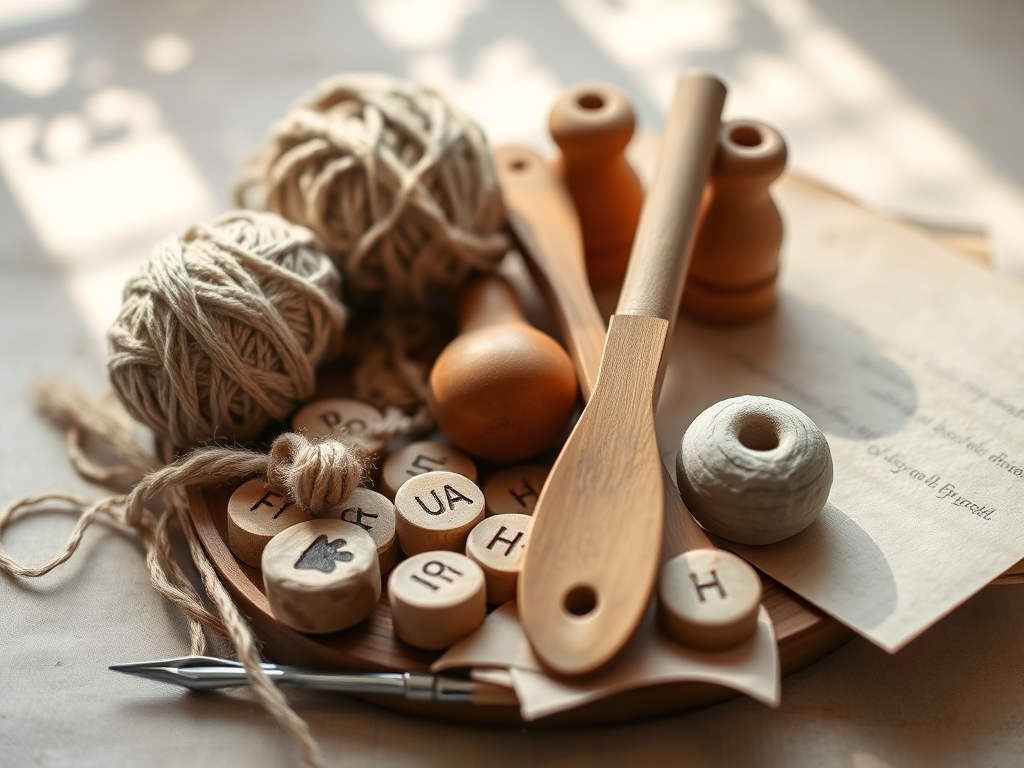
To master this craft, you need more than just a rolling pin. You need a curated selection of instruments that respect the tensile strength of your medium. Start with a high-quality white polymer clay or a fine-grit air-dry porcelain. You will need a non-porous work surface, such as a silicone mat or a glass pane, to prevent the clay from bonding to the table through suction. For the stamping, look for deep-etched rubber stamps or brass seals; the higher the relief, the cleaner the impression.
Essential tools include a stainless steel rolling mandrel for uniform thickness and digital calipers to ensure your slabs are exactly 4mm thick. An awl or a small hollow brass tube is necessary for punching clean suspension holes without distorting the surrounding material. For finishing, keep a bone folder and various grits of sandpaper (400 to 800) nearby to burnish the edges once dry.
Material Substitutions: If you cannot find specialty porcelain clay, a high-density salt dough reinforced with cornstarch can work, though it lacks the same compressive strength. Instead of professional stamps, you can use botanical sprigs or vintage lace, provided you apply even pressure to avoid structural weak points.
THE TEMPO
The "Maker's Rhythm" is a three-act play governed by evaporation and chemical bonding. First is the Plastic Phase (30 to 45 minutes), where you roll, stamp, and cut. This is the high-energy window where the clay is most receptive to detail. Next is the Stabilization Phase, which varies by material. Polymer clay requires a 30-minute bake at a precise thermal setting, while air-dry clay needs a 24-hour "rest" to allow moisture to migrate from the core to the surface. Finally, the Refinement Phase (20 minutes per batch) involves sanding and sealing. Respecting this tempo prevents the dreaded "warping" that occurs when internal stresses are released too quickly.
THE CORE METHOD
1. Preparing the Slab
Conditioning the clay is the most vital step for structural integrity. You must knead the material to align the internal particles and eliminate air pockets. Roll the clay out using your mandrel, rotating the slab 90 degrees after every pass. This cross-rolling technique ensures that the grain direction of the clay is neutralized, preventing the ornament from curling as it cures.
Mastery Tip: Use a thickness gauge or two wooden dowels on either side of your clay to ensure a perfectly level surface. Inconsistent thickness leads to uneven drying, which causes internal tension and eventual cracking.
2. The Impression Stroke
Select your winter motif; perhaps a geometric snowflake or a minimalist pine bough. Position the stamp and apply vertical pressure. Do not rock the stamp; this causes "ghosting" or blurred edges. The goal is to displace the clay molecules without tearing the surface tension.
Mastery Tip: Lightly dust your stamp with cornstarch or a fine mica powder. This acts as a release agent, reducing the surface adhesion between the stamp and the clay, ensuring the tool pulls away without lifting the delicate details.
3. Precision Cutting
Use a heavy-gauge circular cutter or a scalpel to isolate your motif. Press straight down and lift. If the clay clings to the cutter, your moisture content may be too high. Use your awl to create a hole at the top, leaving at least 5mm of "meat" between the hole and the edge to maintain tensile strength under the weight of the ornament.
Mastery Tip: Observe the "burr" or the small lip of clay left by the cutter. Do not try to fix this while the clay is wet. Wait for the Leather-Hard stage to gently whisk it away with a damp sponge, utilizing capillary action to smooth the fibers.
4. Controlled Curing
Place your ornaments on a flat, non-stick tray. If using air-dry clay, flip them every four hours. This encourages symmetrical evaporation. For polymer clay, use a dedicated oven thermometer to ensure you do not reach the "scorch point," which releases acrolein gas and ruins the molecular bond of the plastic.
Mastery Tip: For air-dry pieces, place a light weight (like a piece of parchment and a book) over them during the final 12 hours. This counteracts the natural tendency of the edges to lift as the top surface dries faster than the bottom.
5. Edge Burnishing
Once the ornaments are fully cured and bone-dry, they will feel brittle. Use your 600-grit sandpaper to smooth the perimeter. Follow this with a bone folder or a polished stone to burnish the edges. This compresses the surface molecules, creating a subtle sheen and a professional, tactile finish.
Mastery Tip: Sanding creates "micro-fissures." To seal these, apply a thin coat of wax or a water-based varnish. This fills the porous gaps and prevents the clay from absorbing atmospheric moisture, which can lead to mold or softening over time.
6. Suspension and Rigging
The final step is the "rigging." Use a high-quality twine or a 20-gauge metallic wire. Ensure the knot is secure but allows the ornament to swing freely. The physics of the tree branch requires the ornament to have a low center of gravity so it hangs plumb.
Mastery Tip: If the ornament hangs tilted, your hole placement was off-center. You can "counter-balance" the piece by adding a small decorative bead to the lighter side of the twine loop to restore equilibrium.
THE TECHNICAL LEDGER
Maintenance & Longevity: Hand Stamped Clay Ornaments are surprisingly durable but hate humidity. Store them in a pH-neutral environment, such as an archival box lined with acid-free tissue paper. Avoid plastic bags, which can trap moisture and trigger a breakdown of the polymer chains.
Material Variations: For a "Premium" version, incorporate gold leaf into the stamped recesses using a size adhesive. For a "Sustainable" version, use a recycled paper-clay slurry, which offers a lower density and a unique, fibrous texture.
The Correction:
- Cracking: Usually caused by rapid drying. Fix by filling the crack with a "slurry" (clay mixed with water or liquid polymer) and re-curing.
- Bubbling: Caused by trapped air. Prevent this by "wedging" the clay more vigorously before rolling.
- Yellowing: Result of overheating. This is irreversible, but you can "mask" it with a thin layer of titanium white acrylic paint.
Studio Organization: Keep your stamps organized by motif density. Store your clay in airtight silicone containers with a single drop of distilled water to maintain the equilibrium of the internal moisture.
THE FINAL REVEAL
Look at that! You have successfully turned a lump of inert earth into a sophisticated piece of holiday art. The crisp lines of the winter motifs catch the light, and the smooth, burnished edges feel like river stones in your hand. There is a profound satisfaction in knowing the science behind the beauty; the way the compressive force of your hand created a permanent record in the clay. These ornaments are not just "cute"; they are engineered artifacts of your creativity. Hang them on the tree and watch how the light dances off the high-relief textures you worked so hard to perfect.
STUDIO QUESTIONS
Can I use ink on my Hand Stamped Clay Ornaments?
Yes, but use permanent archival ink. The porosity of the clay will cause standard water-based inks to bleed through capillary action. Apply ink to the stamp before pressing for a crisp, high-contrast graphic effect.
Why did my ornaments warp while drying?
Warping occurs due to uneven evaporation rates. If one side dries faster, the clay fibers contract at different speeds, pulling the shape upward. Flip your pieces frequently and dry them away from direct heat sources to maintain flatness.
How do I make the stamped detail pop?
Use an "antiquing" technique. Apply a dark wash of watered-down acrylic paint over the cured ornament, then immediately wipe the surface with a damp cloth. The pigment stays in the recessed motifs, highlighting the intricate mechanical details.
Is air-dry clay as strong as kiln-fired clay?
No, it lacks the vitrification of fired ceramics. However, for decorative use, it provides sufficient tensile strength. Adding a high-quality sealant or resin coating significantly increases its impact resistance and protects it from environmental degradation over time.
What is the best way to clean my stamps?
Use a soft-bristled toothbrush and mild soap. Avoid harsh solvents that can degrade the elastomer of the stamp. Ensure they are completely dry before storage to prevent the transfer of moisture back into your clay slab during the next session.

