
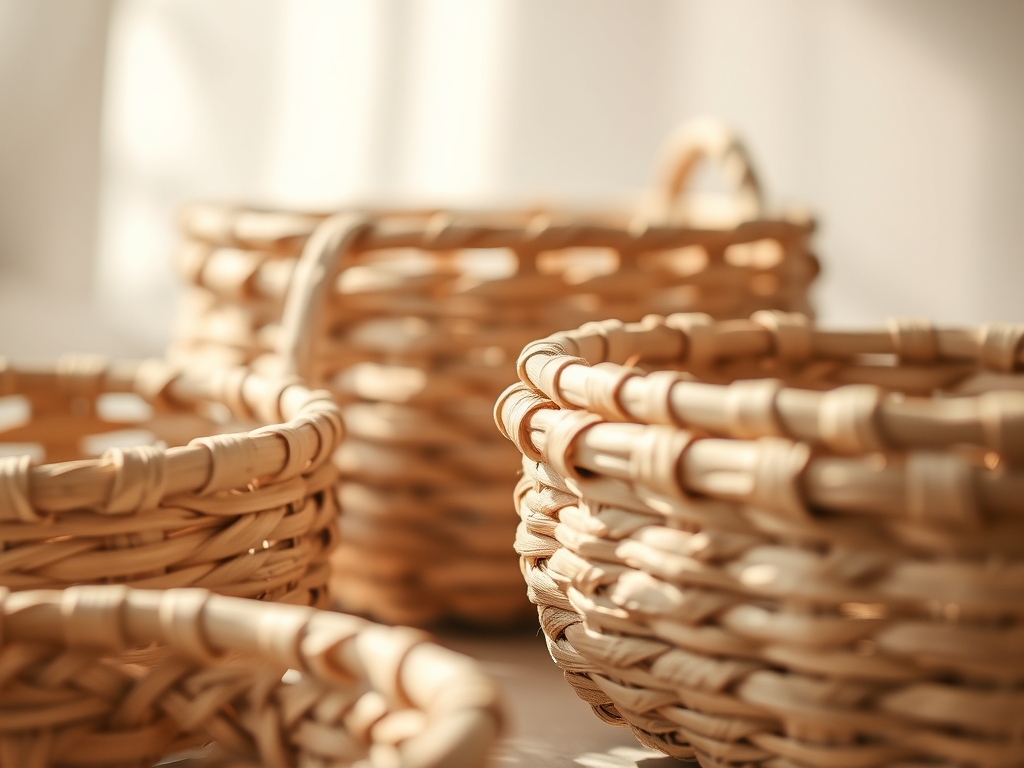
Grab your favorite glossy stash and clear some space on the workbench because we are about to turn that pile of unread fashion editorials into high-tensile structural art. There is a specific, crisp sound that occurs when you tear a page from a high-quality magazine; it is a sharp, percussive snap that signals the release of the binding glue. As you run your thumb along the edge, you can feel the clay-coated finish that gives these pages their signature sheen and water resistance. We are diving deep into the world of Woven Paper Baskets today. This is not just a rainy day craft; it is an exercise in engineering where we exploit the grain direction of cellulose fibers to create a rigid, load-bearing vessel. By the time we are done, you will have transformed thin, flimsy sheets of paper into a cross-hatched lattice with surprising structural integrity. It is all about the physics of the fold and the friction of the weave. Let us get tactile and turn that recycling bin into a design studio.
THE STUDIO KIT
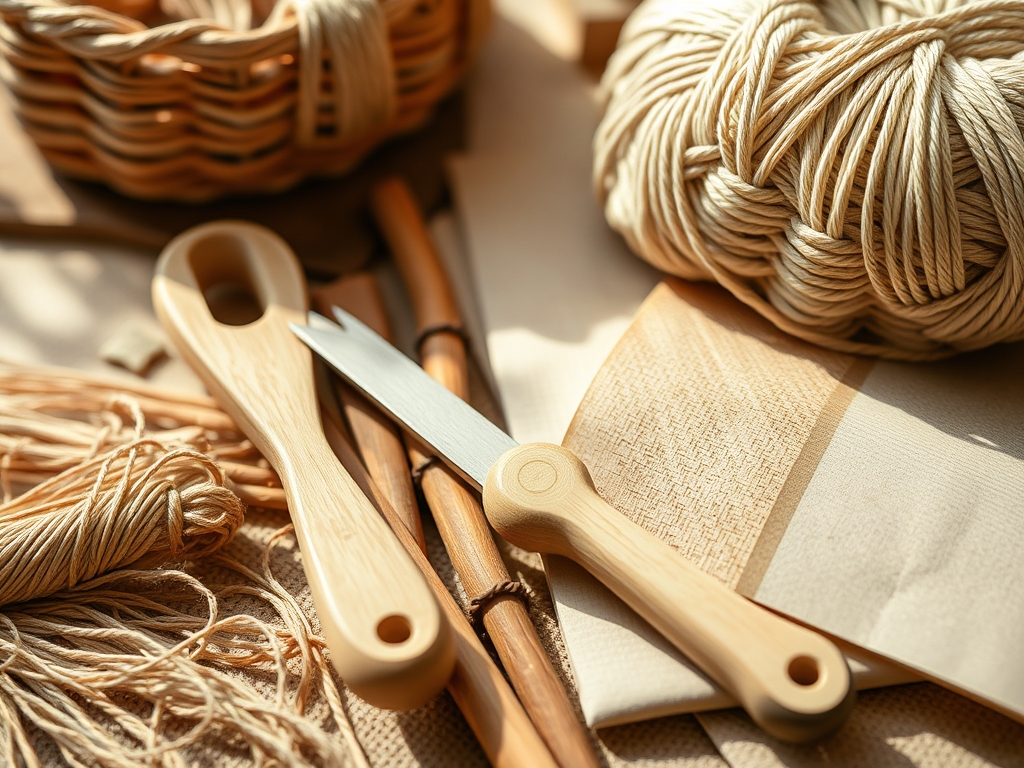
To achieve professional results, you need more than just paper and a dream. You need tools that respect the porous nature of your medium. Start with a high-quality rotary cutter and a self-healing mat to ensure perfectly parallel strips; consistency in width is the secret to a symmetrical weave. You will also need a bone folder to achieve those crisp, high-pressure creases that lock the paper fibers into place. For the assembly phase, a set of small binder clips acts as your third and fourth hands, maintaining tension while the adhesive sets. Speaking of adhesive, skip the school glue and opt for a pH-neutral PVA glue applied with a fine-tip applicator or a small brush. This prevents the paper from warping due to excess moisture.
Material Substitutions: If you run out of magazines, look for heavy-gauge kraft paper or even old maps. Maps offer a unique tensile strength because of their high cotton content, which resists tearing better than standard wood-pulp paper. If you lack a bone folder, the smooth handle of a jeweler's saw or a polished stone can serve as a burnishing tool to flatten your folds and increase the density of each strip.
THE TEMPO
The creation of Woven Paper Baskets follows a specific "Maker's Rhythm" that balances repetitive preparation with intense assembly. Expect to spend approximately 45 minutes on the "Prep Phase," which involves harvesting pages and precision cutting. This is followed by the "Folding Phase" (roughly 60 minutes), where you establish the ply of your weaving strips. The actual "Weaving Phase" is the fastest, taking about 30 minutes, but it requires the most cognitive focus to ensure the over-under pattern remains consistent. Finally, allow 2 hours for the glue to achieve full chemical bonding and for the structure to stabilize. Total project time sits around four hours; it is a perfect afternoon sprint that rewards patience and precise measurements.
THE CORE METHOD
1. Stripping and Calibrating the Stock
Use your rotary cutter to slice your magazine pages into uniform strips. For a standard medium basket, aim for widths of three inches. The grain direction of the paper matters here; cutting parallel to the grain prevents the paper from cracking when you start the folding process.
Mastery Tip: Paper is an anisotropic material, meaning its strength varies by direction. Always test a small tear; if it rips straight, you are moving with the grain, which provides the highest tensile strength for your vertical stakes.
2. The Multi-Ply Folding Technique
Fold each strip in half lengthwise, then open it and fold the outer edges into the center crease. Fold it in half once more to create a four-layer strip. Use your bone folder to burnish the edges until they are razor-sharp. This increases the flexural rigidity of the paper, making it behave more like a wooden splint than a sheet of paper.
Mastery Tip: Burnishing collapses the air pockets between the paper fibers. This increased density prevents the strips from buckling under the weight of the items you will eventually store in the basket.
3. Establishing the Base Lattice
Lay out half of your strips vertically and weave the remaining strips horizontally through the center. Use a caliper to ensure your base is a perfect square. This is the foundation of your Woven Paper Baskets, and any deviation here will result in a lopsided finished product.
Mastery Tip: This stage relies on static friction. As you pull the strips tight against each other, the surface friction between the clay-coated layers keeps the base from sliding apart before the glue is even applied.
4. Transitioning to the Walls
Once the base is the desired size, fold the protruding strips upward at a 90-degree angle. This creates the "stakes" of your basket. Secure the corners with binder clips to maintain the vertical alignment. This transition is where the 2D plane becomes a 3D volume.
Mastery Tip: To achieve a sharp corner, you must overcome the paper's natural elastic recovery. Use your bone folder to pinch the fold at the base, forcing the fibers into a permanent vertical set.
5. The Continuous Weave
Take a new strip and weave it horizontally through the vertical stakes. When you reach the end of a strip, overlap it with the next one by at least two inches and apply a thin layer of PVA glue. Continue this process, staggering your starting points to distribute the thickness evenly.
Mastery Tip: Maintain consistent lateral tension. If you pull too hard, the basket will bow inward; too loose, and it will lose its structural integrity. It is a delicate balance of force and finesse.
6. Managing the Rim
When you reach your desired height, fold the vertical stakes over the top horizontal strip and tuck them back into the weave on the inside of the basket. Use a drop of glue at each tuck point to lock the rim. This creates a reinforced edge that can withstand the stress of being picked up.
Mastery Tip: The rim acts as a compression ring. By tucking the stakes inward, you are creating a circular tension that holds the entire structure together through mechanical interlocking.
7. The Final Burnish and Seal
Go over the entire basket with your bone folder one last time, pressing the overlapping joints together. For a professional finish, apply a light coat of clear acrylic sealer. This protects the porous edges from humidity and adds a subtle luster to the recycled paper.
Mastery Tip: Sealing the paper prevents hygroscopic expansion, which is when paper absorbs moisture from the air and loses its shape. A sealed basket will maintain its geometric precision for years.
THE TECHNICAL LEDGER
Maintenance & Longevity: To keep your Woven Paper Baskets in top shape, avoid direct sunlight, which can degrade the lignin in the paper and cause brittleness. Dust with a dry micro-fiber cloth; never use liquid cleaners as they will compromise the structural adhesive.
Material Variations: For a "Sustainable" version, use unbleached newsprint. For a "Premium" look, use heavy-weight scrapbooking cardstock with a high GSM (grams per square meter). Cardstock offers superior color saturation and a more architectural feel.
The Correction:
- The Gap: If your weave is loose, use an awl to gently slide the strips closer together before the glue dries.
- The Warp: If the base is uneven, dampen it slightly and press it under a heavy stack of books to reset the fiber memory.
- The Tear: If a strip snaps, do not patch it. Remove it entirely and weave in a new strip to maintain the load-bearing path.
Studio Organization: Store your paper strips by color and weight in flat, moisture-proof bins. Use an oscillating tool with a sanding attachment to smooth down any dried glue drips on your workspace to ensure your next project starts on a perfectly level surface.
THE FINAL REVEAL
Look at that! You have successfully navigated the complex geometry of Woven Paper Baskets. What started as a chaotic pile of magazines is now a sophisticated, multi-tonal vessel that hums with structural strength. The way the light catches the different ink finishes creates a shimmering, tectonic effect that you simply cannot buy in a store. You have mastered the physics of the fold and the chemistry of the bond. Your studio is now home to a piece of functional art that proves recycling is just a fancy word for high-level engineering.
STUDIO QUESTIONS
How do I prevent the basket from wobbling?
Ensure your base strips are perfectly perpendicular using a square tool. Use a bone folder to create high-pressure creases at the base-to-wall transition. This creates a flat, stable foundation that distributes weight evenly across the surface area.
Can I make these baskets water-resistant?
Yes, apply a thin layer of polyurethane or acrylic sealer. This creates a non-porous barrier that prevents capillary action from drawing moisture into the paper fibers. However, the basket will remain structural and should not be submerged.
What is the best paper for a heavy-duty basket?
Choose magazines with a high caliper thickness and a glossy coating. The coating adds a layer of plastic-like durability. For maximum strength, double-ply your strips before weaving to increase the overall cross-sectional density of the walls.
How do I hide the glue spots?
Use a fine-tip applicator to apply PVA glue only to the interior overlaps. If glue seeps out, wait for it to become tacky and roll it off with a clean finger or a crepe ribbon. Avoid over-saturation to prevent paper warping.

