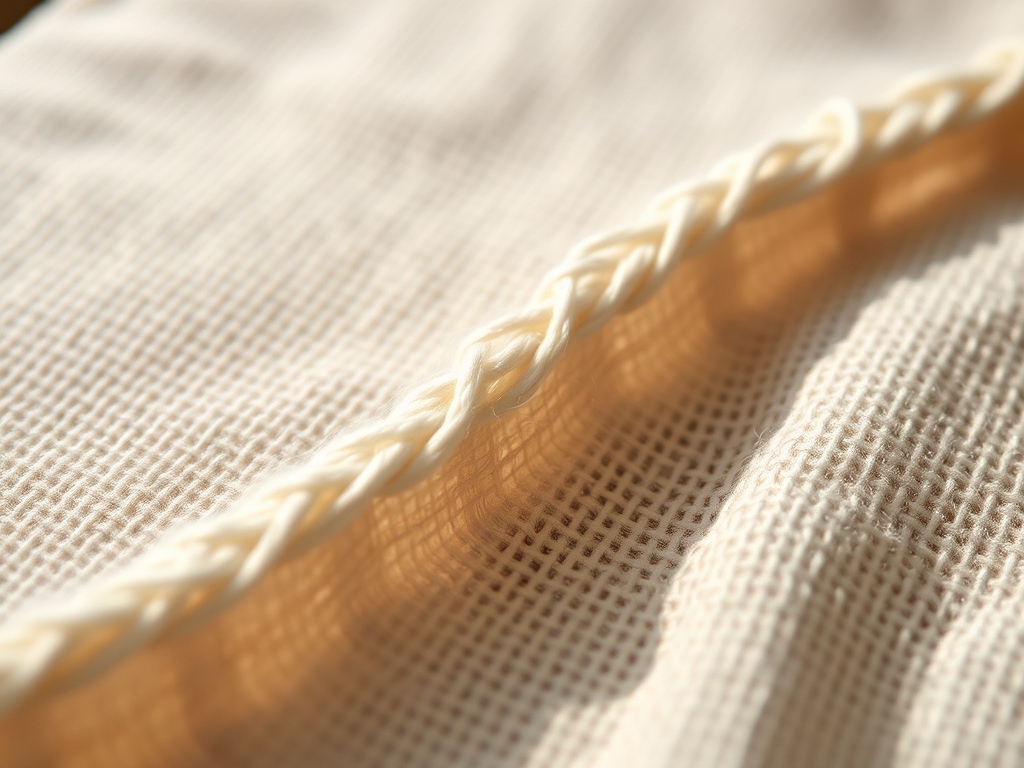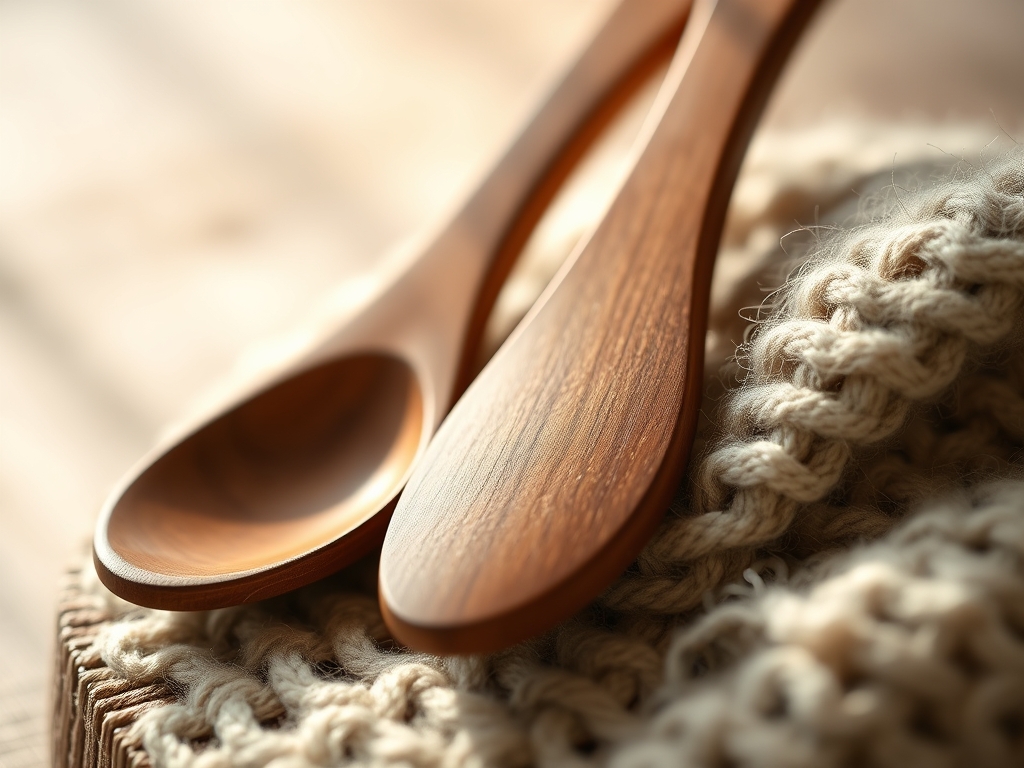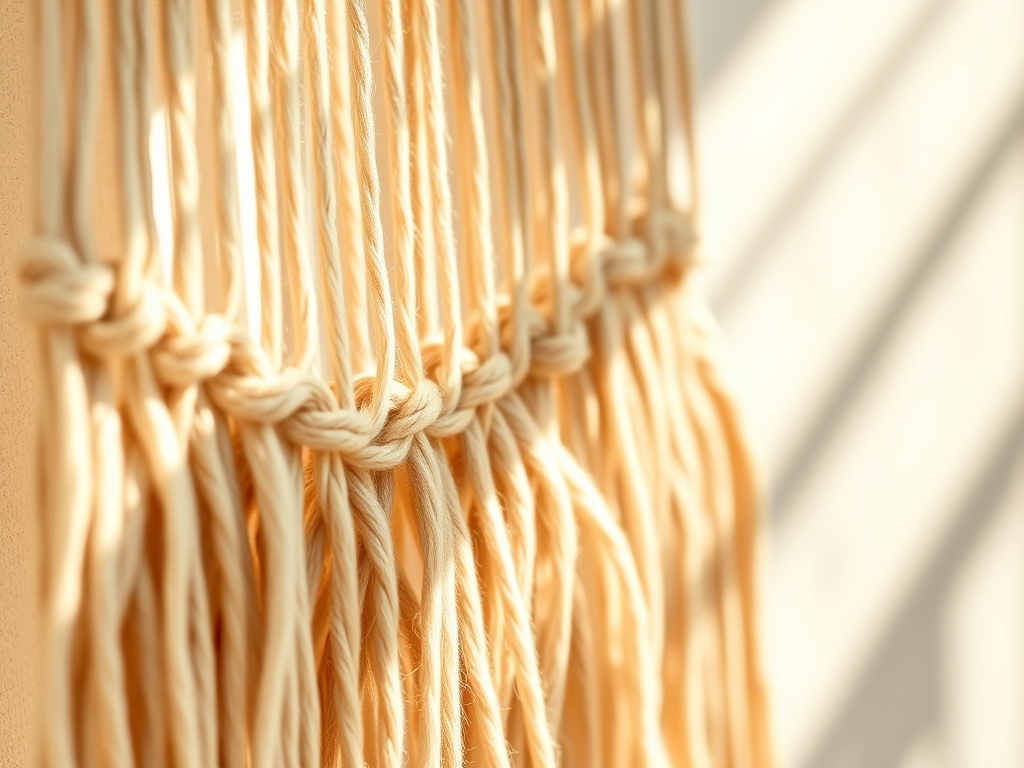
Close your eyes and imagine the scent of raw, unbleached cotton drifting through a sun-drenched studio. It is a crisp, earthy aroma that signals the start of a tactile journey. When you reach out to touch a spool of high-quality cord, your fingertips should register the subtle ridges of the twist; this is the physical foundation of Minimalist Macrame Wall Art. We are not just tying strings here. We are manipulating fiber density and structural integrity to create a geometric masterpiece that balances negative space with heavy, rhythmic texture. The cord feels cool and slightly heavy, a testament to its tensile strength and the way it will eventually drape against a gallery wall. In a world of digital noise, this is your analog rebellion. We are taking a single, continuous strand of organic material and transforming it into a sophisticated focal point through the sheer physics of friction and tension. It is about the math of the knot and the soul of the maker. Grab your coffee; we are about to turn a bundle of string into high-end interior design.
THE STUDIO KIT
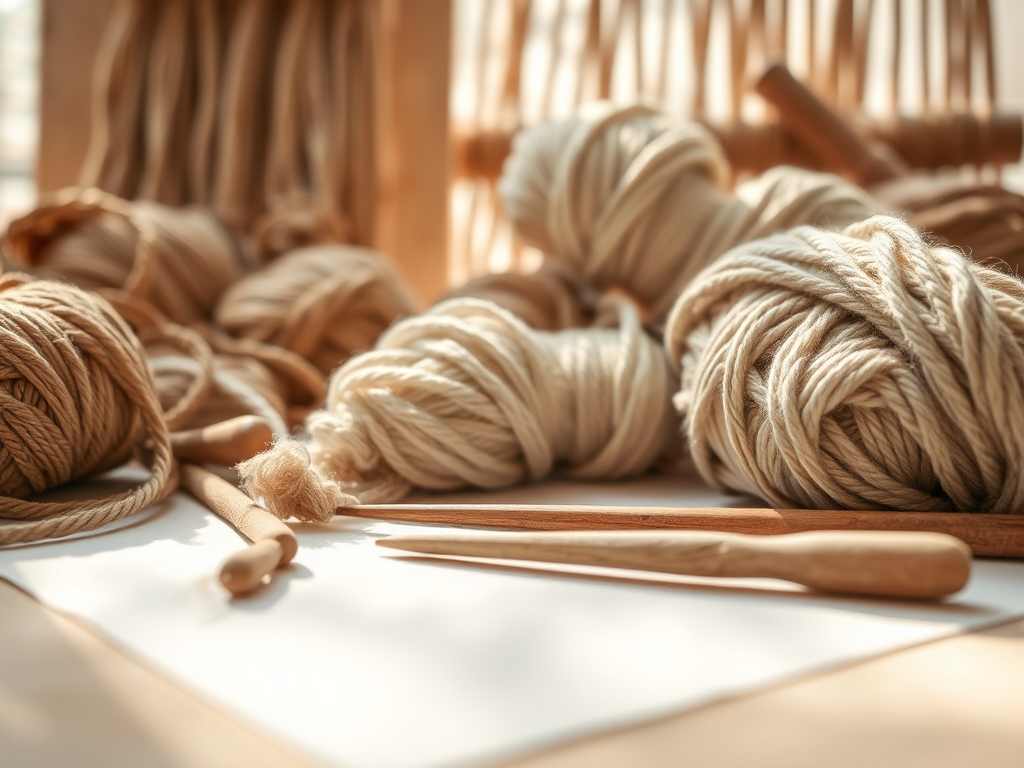
To execute professional-grade Minimalist Macrame Wall Art, you need more than just string. You need a curated selection of tools that respect the grain direction of your fibers. Start with a 4mm or 5mm single-twist cotton cord. Single-twist cord offers a softer, more velvet-like finish compared to three-ply rope, though it requires more delicate handling to prevent premature fraying. You will need a rotary cutter and a self-healing mat for precision ends; scissors often crush the fiber tips, leading to uneven absorption if you decide to dip-dye later.
A heavy-duty S-hook or a dedicated macrame rack is essential to maintain a consistent ergonomic height. If you work at an awkward angle, your tension will vary as you tire, leading to a lopsided piece. Keep a bone folder or a small awl nearby to tuck in loose ends or to adjust the internal spacing of a tight knot without damaging the ply.
Material Substitutions: If you cannot find organic cotton, look for recycled sari silk for a bohemian flair or jute for high-friction, high-durability outdoor pieces. However, be warned that jute has a high lignin content, making it scratchy and prone to shedding micro-fibers during the knotting process.
THE TEMPO
The "Maker's Rhythm" is a psychological state where the repetition of the knot matches your heart rate. For a standard minimalist piece, expect a three-phase timeline. The Preparation Phase (30 minutes) involves measuring and cutting. Use a caliper if you are creating a series of identical tassels to ensure mathematical symmetry. The Execution Phase (2 to 4 hours) is where the knots are formed. This is governed by the complexity of your pattern and the gauge of your cord. Finally, the Finishing Phase (20 minutes) involves the "brush out" and the final trim. Never rush the trim; gravity will stretch your cord slightly over the first 24 hours, so a secondary trim the next day is a pro-level move to ensure a perfectly level baseline.
THE CORE METHOD
1. The Lark's Head Knot
This is your foundational attachment. Fold your cord in half and loop it over your dowel, pulling the ends through the loop.
Mastery Tip: Pay attention to the surface tension of the dowel. If using a polished metal rod, the knots may slide. Use a bit of beeswax on the rod to increase friction and lock the cords in place.
2. The Square Knot
The bread and butter of macrame. Cross the left cord over the center two, then the right cord under the center and up through the loop. Repeat starting from the right.
Mastery Tip: This knot relies on bilateral symmetry. If one side is tighter, the entire column will spiral. Use consistent "pull pressure" to ensure the internal cords remain parallel and uncrossed.
3. The Spiral Stitch (Half Square Knot)
By repeating only the first half of a square knot, the cord naturally rotates.
Mastery Tip: This occurs due to the torsional strain placed on the outer cords. To keep the spiral tight, do not fight the twist; let the cord find its natural equilibrium every four knots.
4. The Double Half Hitch
This creates those sharp, architectural lines. One cord acts as the "filler," while others wrap around it twice.
Mastery Tip: The filler cord dictates the structural integrity of the line. Keep it taut and at a precise 45-degree angle to create a crisp diagonal. If the filler cord slacks, the knots will look like a messy cluster rather than a clean ridge.
5. The Berry Knot
A decorative "pop" created by making three square knots and looping the ends back through the top.
Mastery Tip: This increases the volumetric density of your piece. Ensure the "hole" you pull the cords through is centered, or the berry will sit at an angle, disrupting the minimalist aesthetic.
6. The Josephine Knot
An ornamental, interlocking knot that looks like a Celtic weave.
Mastery Tip: This knot is all about capillary action and air gaps. It should not be pulled tight. It relies on the cord's ability to hold its shape through its own internal friction.
7. The Overhand Knot
The simplest knot, often used at the ends of fringe.
Mastery Tip: Use this to prevent the ply from untwisting. If you want a clean, minimalist look, tie these at exactly the same height using a ruler to ensure a linear visual weight.
8. The Gathering Knot (Wrapping Knot)
Used to bundle several cords together, often at the base of a tassel.
Mastery Tip: This is a compression knot. Each wrap should sit directly below the previous one without overlapping. This creates a "burnished" look that appears professional and intentional.
THE TECHNICAL LEDGER
Maintenance & Longevity: Cotton is a porous material that absorbs humidity. To prevent sagging, mist your finished piece lightly with a fabric stiffener or a mixture of water and cornstarch. Avoid hanging in direct sunlight, as UV rays break down the cellulose fibers over time.
Material Variations:
- Sustainable: Hemp cord offers incredible longevity but has less "give."
- Recycled: T-shirt yarn provides a chunky, modern look but varies in elasticity.
- Premium: Mercerized cotton has a slight sheen and resists fraying.
The Correction:
- Uneven Tension: If a row looks wavy, use your awl to gently pull slack from the tight knots into the loose ones.
- Frayed Ends: If the cord splits mid-knot, use a tiny dab of clear fabric glue on the interior of the ply to bond it back together.
- Wrong Length: If you run out of cord, "splice" a new piece by untwisting the ends of both and weaving them together, then hiding the join inside a bulky knot.
Studio Organization: Store your cord in a cool, dry place. Use a pegboard to hang spools so they don't develop "flat spots" from sitting on a shelf. This preserves the roundness of the cord's profile.
THE FINAL REVEAL
Step back and look at your Minimalist Macrame Wall Art. Notice how the shadows fall into the crevices of the double half hitches. See how the neutral tones allow the texture to be the star of the show. There is a profound satisfaction in knowing that the geometric perfection in front of you is held together by nothing but physics and your own two hands. It is clean, it is sophisticated, and it is a testament to your mastery of tension. Your space just leveled up.
STUDIO QUESTIONS
What is the best cord for beginners?
A 4mm or 5mm three-ply twisted cotton cord is ideal. It provides excellent grip, making it easier to maintain consistent tension while you learn the mechanics of each knot without the cord slipping or unraveling prematurely.
How do I calculate cord length?
Generally, multiply the desired length of your finished piece by four. If you are using many complex, bulky knots like the Berry Knot, multiply by six to account for the extra cord consumed by the knot's volume.
Can I wash my macrame art?
No, immersion can ruin the structural integrity. Instead, use a soft-bristled brush or a vacuum with a brush attachment to remove dust. For stains, spot clean gently with a damp cloth and mild detergent without rubbing the fibers.
Why are my knots turning out uneven?
This is usually a result of inconsistent ergonomics. Ensure your work is at eye level. If you reach up or down, your pull strength changes. Consistent posture leads to consistent tension and a symmetrical, professional-grade finish.
How do I stop the fringe from curling?
Use a fine-tooth comb to brush out the ends, then lightly steam them with a garment steamer. The heat relaxes the hydrogen bonds in the cotton fibers, allowing them to hang straight and flat against the wall.