
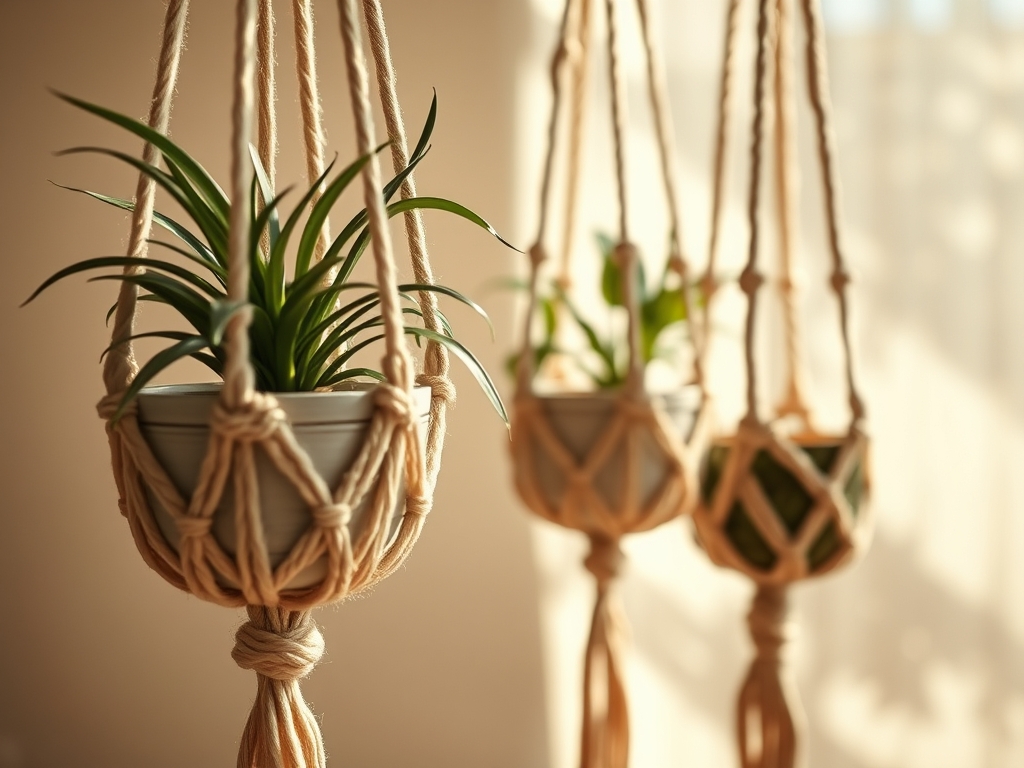
The scent of freshly unspooled cotton cord is distinctive; it is earthy, slightly sweet, and carries the faint aroma of the fields where the fibers were harvested. As you run your thumb along a three ply strand, you can feel the individual fibers interlocking to create a high tensile strength cord that is ready to support your heavy terracotta pots. Creating Woven Macrame Plant Hangers is more than just a hobby; it is a structural engineering project disguised as home decor. We are dealing with gravity, friction, and the physical limitations of cellulose fibers. When you pull that first cord tight, you are engaging with centuries of maritime and decorative history. The tactile feedback of the cord tells you exactly how much tension it can handle before the grain of the fiber begins to distort. We are about to turn a simple spool of string into a sophisticated suspension system for your indoor jungle. Grab your measuring tape and let us get into the physics of the perfect knot.
THE STUDIO KIT
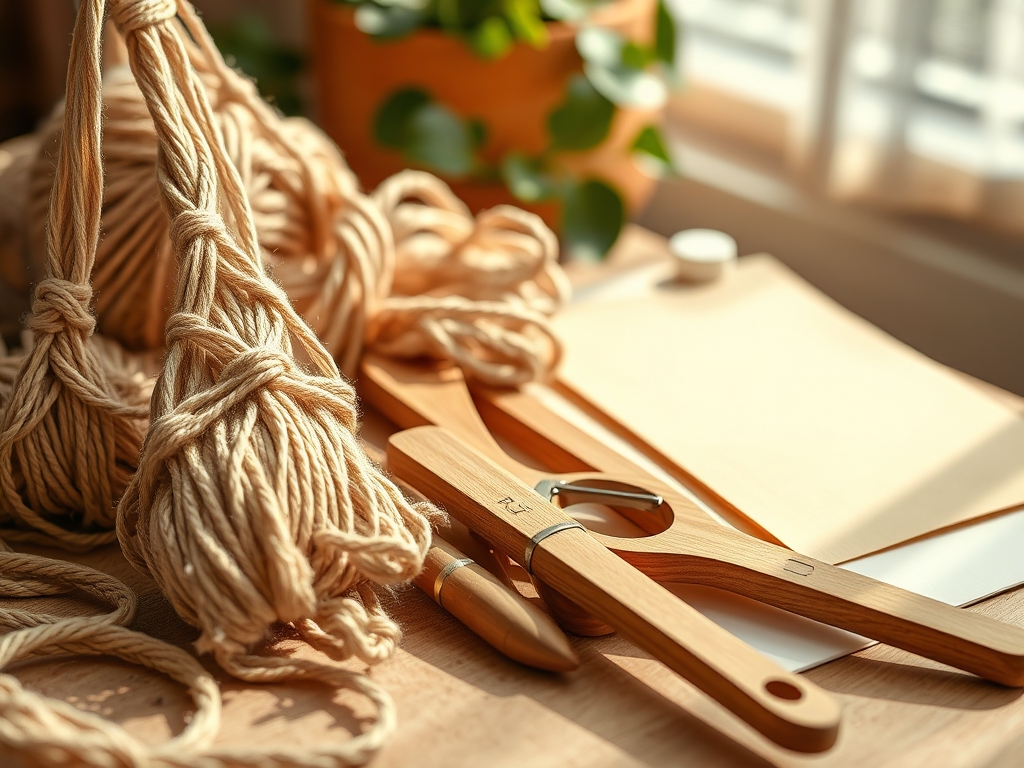
To build professional grade Woven Macrame Plant Hangers, you need more than just string. Start with a high quality 4mm or 5mm three ply twisted cotton cord. The "ply" refers to the number of smaller strands twisted together; more plies generally offer better weight distribution and less stretch over time. You will also need a stainless steel S-hook or a heavy duty wooden ring to act as your primary anchor point.
For precision work, keep a pair of high carbon steel fabric shears nearby to ensure clean, square cuts that do not fray prematurely. A metal measuring tape is essential because fabric tapes can stretch, leading to uneven leg lengths in your hanger. I also recommend a large bore tapestry needle or a small metal awl for tucking in ends or adjusting knot density after the piece is hung.
Material Substitutions: If you cannot find cotton, recycled polyester cord offers incredible UV resistance for sunny windows. For a rugged, industrial look, jute or hemp provides high friction, though these fibers are more abrasive on the hands and require a "break in" period to lose their stiffness.
THE TEMPO
The "Maker's Rhythm" is a psychological state where your hands move faster than your conscious thought, but it requires a disciplined timeline. For a standard three foot hanger, expect a total active build time of 90 to 120 minutes.
The Preparation Phase takes 20 minutes; this involves measuring and cutting your primary and working cords. Do not rush this, as uneven cords lead to structural instability. The Knitting Phase takes about 60 minutes. This is where you establish the "Tempo," a steady cadence of knotting that ensures uniform tension. If you pull one square knot tighter than the next, the hanger will spiral or lean. Finally, the Finishing Phase takes 15 minutes to trim the fringe, brush out the tassels, and perform a "load test" to ensure the knots are seated properly.
THE CORE METHOD
1. The Gathering Knot (The Anchor)
Start by folding your cords over the ring and securing them with a Gathering Knot, also known as a hidden wrap. Use a separate piece of cord to wind tightly around the bundle.
Mastery Tip: This knot relies on mechanical compression. By wrapping the cord tightly, you increase the surface area contact between the strands, creating enough friction to prevent the inner cords from slipping under the weight of a heavy plant.
2. The Square Knot (The Foundation)
Cross the left cord over the center filler cords, then pass the right cord over the left, under the fillers, and up through the loop. Repeat starting from the right.
Mastery Tip: The square knot is a symmetrical hitch. Its strength comes from the "interlocking bite" where the cords cross. If the tension is inconsistent, the knot will fail to distribute the load evenly across the filler cords.
3. The Spiral Stitch (The Helix)
Perform a series of half square knots repeatedly starting from the same side. The natural torque of the knot will cause the cord to rotate.
Mastery Tip: This is a lesson in torsional force. As the knots stack, the internal stress of the fibers forces the entire column to rotate. Ensure you do not fight the twist; let the cord find its natural equilibrium.
4. The Alternating Square Knot (The Net)
Connect two adjacent square knot groups by taking two cords from each and tying a new square knot below them.
Mastery Tip: This creates a lattice structure. The "gap" between knots determines the diameter of the pot the hanger can hold. Use a caliper or a spacer block to ensure every gap is mathematically identical for a level hang.
5. The Half Hitch (The Detailer)
Loop a working cord over a stationary cord and pull it through the resulting loop. This is often used for creating diagonal ribs.
Mastery Tip: The half hitch relies on capillary friction. Because the cord wraps around itself at a sharp angle, it "bites" into the grain of the stationary cord, preventing vertical slippage even under high vibration or movement.
6. The Butterfly Knot (The Decorative Spacer)
This involves leaving long loops of cord between knots to create a "winged" effect.
Mastery Tip: While decorative, these loops reduce the overall structural rigidity. Ensure the knots above and below are exceptionally tight to compensate for the lack of continuous vertical tension in these sections.
7. The Josephine Knot (The Ornamental Join)
A complex, interlocking knot that looks like two circles woven together.
Mastery Tip: This knot is about surface tension. Because it is a flat knot, it has more surface area exposed. It is prone to "stretching out" if used in a high weight area, so place it near the top where the load is more vertical.
8. The Finishing Wrap (The Base)
Gather all cords at the bottom of the pot "basket" and perform another gathering knot to secure the base.
Mastery Tip: This is the most critical point of structural integrity. The base knot supports 100 percent of the downward force. Use a bone folder or a heavy tool to burnish the wraps, pushing them closer together to maximize the grip.
THE TECHNICAL LEDGER
Maintenance & Longevity: Cotton is a porous organic fiber. It will absorb humidity and dust. To clean your Woven Macrame Plant Hangers, use a dry soft bristle brush. Avoid water, as it can cause the fibers to swell and then shrink, which may permanently distort your knot tension.
Material Variations: For a premium finish, look for mercerized cotton, which has been treated with sodium hydroxide to increase luster and dye affinity. If sustainability is your goal, recycled cotton made from garment scraps is excellent, though it may have a slightly lower tensile rating than virgin long staple cotton.
The Correction:
- The Lean: If the hanger tilts, one "leg" is shorter. Fix this by using an awl to slightly loosen the knots on the short side and "feeding" more cord through from the top.
- The Fray: If ends are unraveling, use a tiny dab of archival glue or clear nail polish on the very tip of the cord grain.
- The Slip: If a knot won't stay tight, the cord might be too "slick." Rub a bit of beeswax on the cord to increase the coefficient of friction.
Studio Organization: Store your cord in a cool, dry environment away from direct UV light, which degrades cellulose bonds. Use a pegboard to hang finished pieces so they don't develop "memory kinks" from being folded in a drawer.
THE FINAL REVEAL
There is nothing quite like the moment you slide a lush, trailing Pothos or a heavy Monstera into your finished Woven Macrame Plant Hangers. The way the cords tauten and the knots seat themselves under the weight of the soil is incredibly satisfying. You have moved beyond simple crafting into the realm of functional art. These hangers provide a vertical dimension to your indoor jungle, allowing light to hit your plants from angles they never could reach on a shelf. Your space is now a gallery of physics and fiber!
STUDIO QUESTIONS
Which macrame knot is the strongest for heavy plants?
The Square Knot is the most structurally sound. Its symmetrical design ensures that weight is distributed equally across all four strands, preventing the cord from snapping or the knot from sliding under high tension loads.
What is the best cord thickness for macrame hangers?
A 4mm to 5mm cord is the industry standard. It provides the perfect balance between aesthetic bulk and tensile strength, ensuring the hanger can support a standard 8 inch ceramic pot without excessive stretching.
How do I prevent my macrame plant hanger from stretching?
Use three ply twisted cord rather than single strand. The internal friction between the twisted plies acts as a mechanical lock, significantly reducing the amount of "creep" or permanent elongation the fiber experiences over time.
Can I wash my woven macrame plant hangers?
Spot clean only with a damp microfiber cloth. Submerging the hanger can cause the cotton fibers to lose their structural "twist," leading to a limp appearance and potentially weakening the knots once the material dries.

