
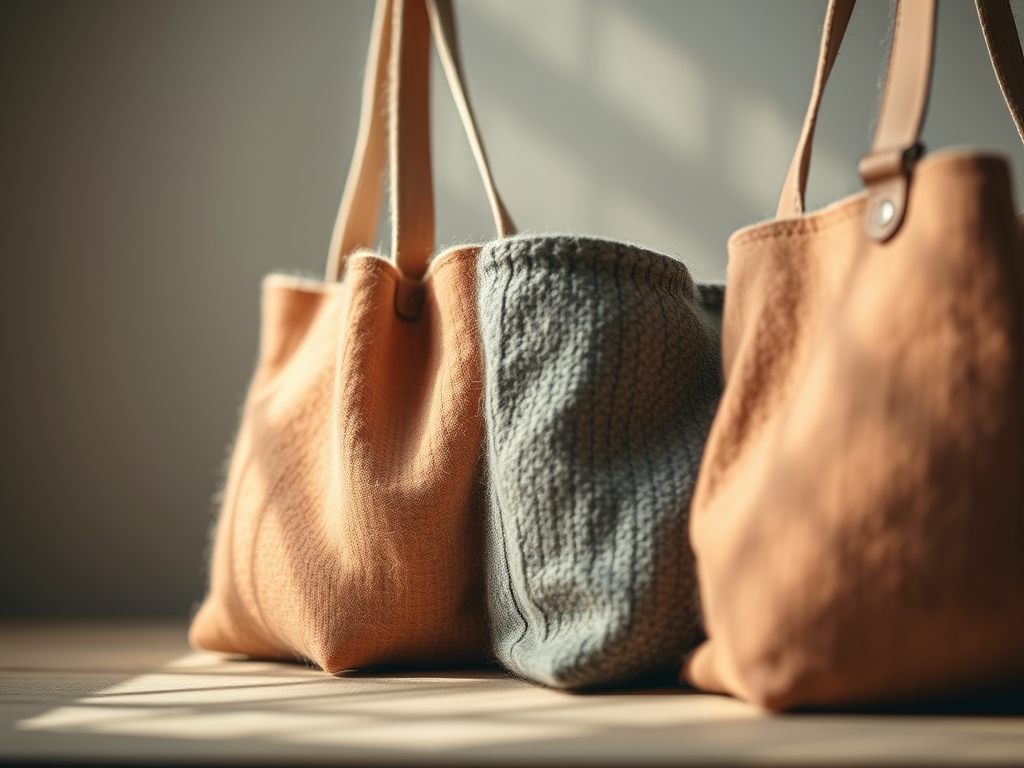
Imagine the smell of a rain-soaked earth mixed with the sharp, metallic tang of a fresh copper pot. That is the scent of a creative revolution. When you run your thumb across the weave of a heavy canvas, you feel the tensile strength of the cotton fibers resisting your touch. We are about to transform that raw, unbleached surface into a masterpiece using nothing but kitchen scraps and golden roots. Making Naturally Dyed Tote Bags is not just a craft; it is an exercise in organic chemistry and structural patience. You are essentially forcing pigment molecules into the porous interstitial spaces of the cellulose fibers. It feels gritty, it feels real, and the results are breathtakingly permanent. If you have ever stared at a dull, white bag and felt a desperate need for a saturated, sun-drenched amber or a deep, burnt sienna, you are in the right place. We are going to manipulate the capillary action of liquid dyes to ensure every single thread is saturated with color that will not fade when the sun hits it.
THE STUDIO KIT
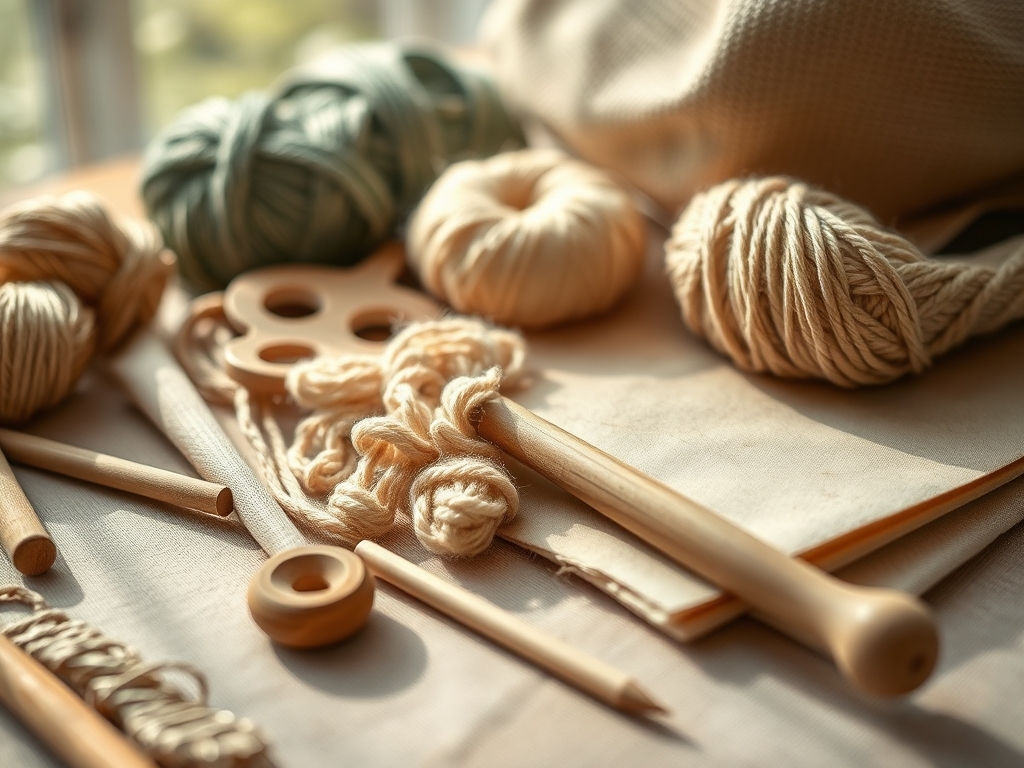
To achieve professional results, your workspace needs to function like a high-end laboratory. We are dealing with pH-sensitive pigments, so our tools must be non-reactive. You will need a large stainless steel or enamel pot; avoid aluminum as it acts as an unintended mordant and shifts your color profile. Grab a digital scale to measure your dry ingredients by weight rather than volume; this ensures the dye-to-fiber ratio is precise. You will also need a rotary cutter and a self-healing mat if you are sewing your bags from scratch, though pre-made 10oz canvas totes work beautifully.
For the chemical side, gather your alum (potassium aluminum sulfate) which acts as the bridge between the fiber and the dye. You will also need a glass stirring rod or a silicone spatula to prevent scratching your vessel. Material Substitutions: If you cannot find alum, you can use soy milk as a protein pre-treatment, which changes the surface tension of the cotton and allows it to accept color more like wool. If you lack turmeric, marigold petals offer a similar chromatic density, while red onion skins will lean into deep forest greens if shifted with an iron modifier.
THE TEMPO
The "Maker's Rhythm" is a slow, deliberate dance with thermodynamics. You cannot rush the molecular bonding of natural pigments. The scouring phase, where we strip the fabric of factory waxes and oils, takes about one hour of active boiling. The mordanting phase requires another hour of simmering followed by a cool-down period of at least twelve hours. This "overnight soak" allows the alum to deeply penetrate the lumen of the cotton fiber.
The actual dyeing process takes roughly two hours of heat followed by another twelve-hour rest. Think of it as a low-frequency vibration; the longer the fabric sits in the cooling bath, the more the pigment particles settle into the crystalline regions of the cellulose. Total project time spans about two days, but the active "hands-on" work is only about three hours. It is a lesson in delayed gratification that rewards you with a depth of color that synthetic dyes simply cannot replicate.
THE CORE METHOD
1. Scouring the Canvas
Before we talk color, we must talk cleanliness. Even "clean" bags have residual sizing. Boil your totes in water with a dash of soda ash. This increases the alkalinity of the bath, breaking down lipids and waxes that would otherwise block the dye.
Mastery Tip: This step is vital because it increases the hydrophilic properties of the cotton. If water does not soak in instantly, dye will not either.
2. The Mordant Bridge
Dissolve your alum in hot water at a ratio of 15 percent weight-of-fabric. Submerge the wet bags and simmer. The alum creates a chemical bond with the cellulose, providing an "anchor" for the dye molecules.
Mastery Tip: Use a thermometer to keep the bath at 180 degrees Fahrenheit. Exceeding this can damage the tensile strength of the cotton fibers, making the bag brittle.
3. Extracting Turmeric Gold
Simmer two tablespoons of ground turmeric in a gallon of water. The active compound, curcumin, is highly sensitive to light but incredibly potent.
Mastery Tip: Turmeric is a substantive dye, meaning it has a high affinity for fibers even without a mordant, but using one ensures the color remains lightfast for years.
4. Simmering Onion Skins
Collect the dry, papery skins of about ten yellow onions. Boil them separately to release the quercetin. This pigment creates a rich, earthy orange that feels grounded and sophisticated.
Mastery Tip: The tannin content in onion skins acts as a natural preservative, helping to protect the fabric from UV degradation over time.
5. The Immersion Bath
Combine your dye extracts or keep them separate for a dip-dyed effect. Submerge your mordanted bags, ensuring there are no air bubbles trapped in the folds.
Mastery Tip: Use a bone folder or smooth wooden spoon to press out air pockets. Trapped air prevents uniform saturation, resulting in "resists" or white spots.
6. Managing the Heat
Maintain a low simmer for sixty minutes. Do not let the water reach a rolling boil, as the agitation can cause the heavy canvas to fray or pill at the seams.
Mastery Tip: Constant, gentle movement is required to prevent "hot spots" where pigment settles unevenly due to convection currents in the pot.
7. The Cooling Phase
Turn off the heat and leave the bags in the pot until the water reaches room temperature. This slow cooling allows the fiber polymers to contract around the trapped pigment.
Mastery Tip: This phase utilizes thermal equilibrium to maximize dye take-up without using extra energy.
8. The First Rinse
Rinse the bags in lukewarm water until the runoff is clear. Avoid using harsh detergents for the first forty-eight hours to allow the bond to fully stabilize.
Mastery Tip: A final rinse in a diluted vinegar bath can shift the pH balance, often brightening turmeric yellows into a more neon hue.
9. Drying and Curing
Hang the bags to dry in a shaded, well-ventilated area. Direct sunlight during the drying phase can cause photo-bleaching before the dye has fully cured.
Mastery Tip: Iron the damp bags on a high setting. The heat helps to "set" the dye through a process of thermal fixation, locking the color into the weave.
THE TECHNICAL LEDGER
Maintenance & Longevity
Natural dyes are living colors. To maintain the chromatic integrity of your Naturally Dyed Tote Bags, wash them sparingly in cold water with pH-neutral soap. Avoid drying them in direct sunlight, as the UV rays will eventually break the molecular bonds of the organic pigments.
Material Variations
For a "Premium" version, use a heavy 18oz duck canvas; its high thread count provides a smoother surface for intricate dye patterns. For a "Sustainable" version, repurpose old flour sacks, which have a looser gauge and absorb dye rapidly, though they have less structural rigidity.
The Correction
- Splotchy Color: Usually caused by poor scouring. Fix by re-boiling in soda ash and re-dyeing.
- Dull Tones: This indicates a low mordant concentration. You can "top-dye" the bag by adding more alum to a fresh dye bath.
- Bleeding: If the color runs, the dye was not properly rinsed. Soak in a salt-water fixative to increase ionic bonding.
Studio Organization
Store your dried dyes and mordants in airtight glass jars away from moisture. Keep your "dye pots" separate from cooking pots to prevent cross-contamination. Label every bag with the date and the specific dye-to-water ratio used for future replication.
THE FINAL REVEAL
Look at that glow! Your Naturally Dyed Tote Bags should now possess a depth of color that looks like it was pulled straight from a sunset. The turmeric provides a high-energy punch, while the onion skins offer a sophisticated, savory undertone. When you pick up the bag, feel the weight of the canvas; it should feel slightly stiffer and more substantial now that it is "loaded" with pigment. This is a functional piece of art that carries the story of the earth and your own technical precision. You didn't just dye a bag; you engineered a textile.
STUDIO QUESTIONS
Can I use red onion skins for different colors?
Yes. Red onion skins contain anthocyanins. In a standard bath, they produce deep ambers, but adding a pinch of iron (ferrous sulfate) will shift the chemical composition to a stunning, moody olive green or charcoal.
Why is my turmeric bag fading in the sun?
Turmeric is notoriously fugitive, meaning it is sensitive to light. To increase lightfastness, ensure you used a strong alum mordant and consider a final dip in a clear tannin bath like oak gall or strong tea.
How do I get a "level" color without streaks?
Streaks occur when the fabric is crowded. Use a vessel that allows the bag to move freely. Constant agitation ensures the solute concentration remains even across all surfaces of the submerged textile.
Is it safe to do this in my kitchen?
While turmeric and onions are food-grade, alum should not be ingested. Use dedicated stainless steel tools for dyeing and ensure your space is well-ventilated to manage the steam and organic vapors produced during boiling.
Can I dye synthetic polyester bags this way?
No. Natural dyes require hydrophilic fibers like cotton, linen, or silk. Polyester is essentially plastic and lacks the molecular "hooks" needed for these organic pigments to attach, resulting in total color runoff.

