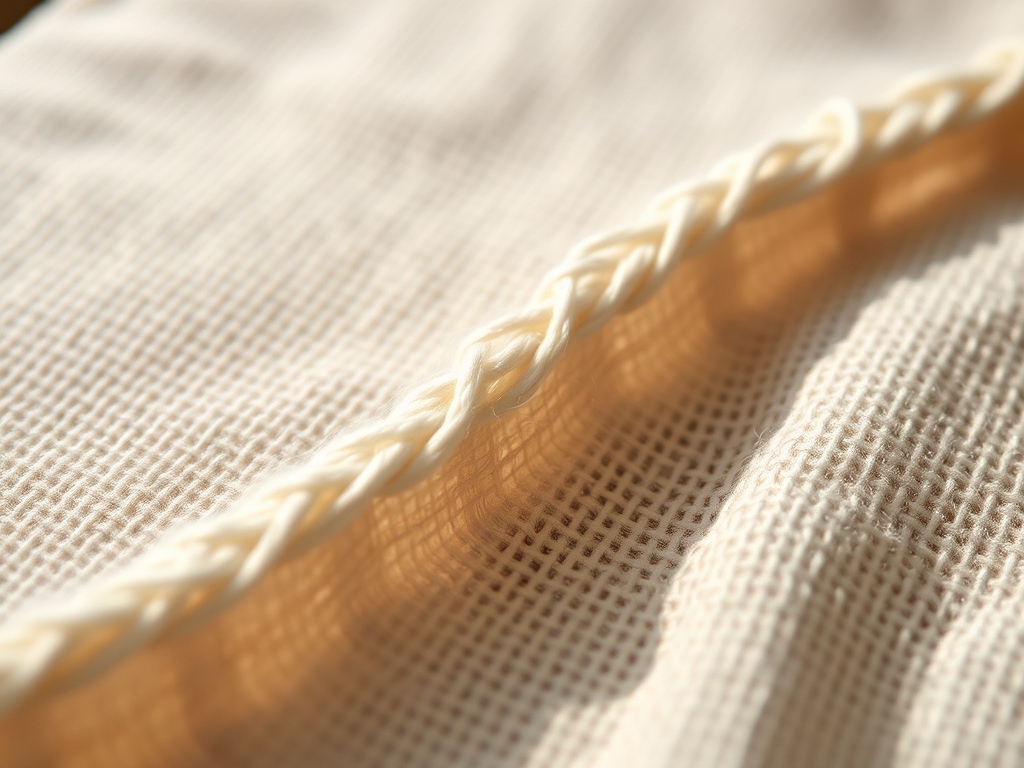
Run your thumb across the surface and you will feel it immediately; that irregular, organic grit of a textile that breathes with you. We are diving into the world of Soft Linen Embroidery today. This is not just about making pretty shapes on a hoop. It is a deep dive into the mechanical properties of flax fibers. Linen is a cellulose powerhouse with a high tensile strength that actually increases when wet. When you pull your needle through that porous weave, you are engaging in a rhythmic friction that grounds the nervous system. The fabric has a crisp hand-feel that softens over time as the pectin holding the fibers together begins to break down. We are looking for that perfect balance between structural integrity and tactile comfort. Grab your favorite mug of tea because we are about to transform a flat plane of woven plant matter into a textured masterpiece. This process is the ultimate mental reset. We are going to master nine delicate stitches that turn your Soft Linen Embroidery into a sensory sanctuary.
THE STUDIO KIT
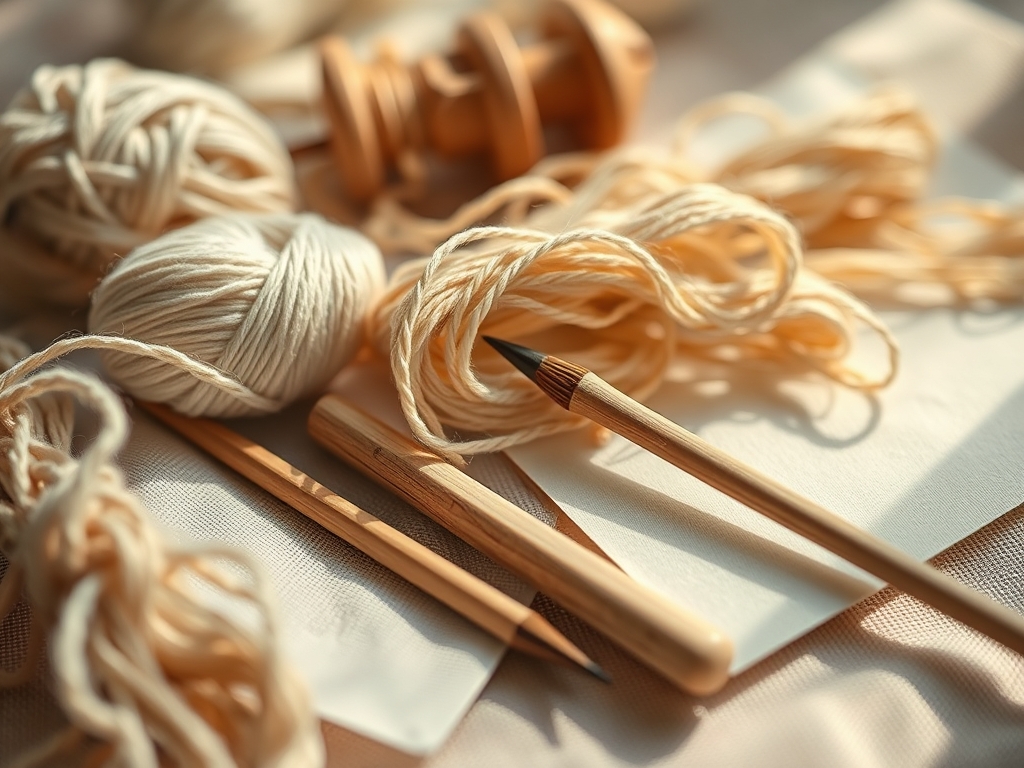
To achieve professional results, you need to curate your bench with precision. Start with a high-grade Belgian or Irish linen. Look for a medium weight, roughly 5.5 to 7 ounces per square yard. This weight provides the necessary density to support heavy thread counts without puckering. You will need a set of John James embroidery needles, specifically sizes 7 through 10. These needles are polished to reduce friction, preventing the microscopic snagging of the linen warp and weft.
Your thread selection is paramount. I recommend six-strand cotton floss or fine silk perle. Silk has a natural luster that mimics the way light hits the flax fibers. For your hoop, choose a hardwood beechwood frame with a brass tension screw. Unlike plastic, wood provides a natural grip that maintains the "drum-tight" tension required for precision. You should also keep a pair of high-carbon steel snips and a fine-point awl nearby. The awl is essential for gently moving the weave aside if you need to place a thick needle through a tight intersection.
Material Substitutions: If you cannot find pure linen, a linen-cotton blend (Essex yarn-dye) is a fantastic alternative. It offers the aesthetic of flax with the added stability of cotton. If silk thread is out of budget, mercerized cotton provides a similar sheen due to the chemical treatment that swells the fibers and increases their surface area for light reflection.
THE TEMPO
The "Maker's Rhythm" is a physiological state where your heart rate synchronizes with the repetitive motion of the needle. For a standard six-inch hoop, expect to spend approximately two hours on material preparation and transfer. This includes pre-washing the linen to account for its 3 to 5 percent shrinkage rate.
The stitching phase for these nine delicate patterns typically requires ten to fifteen hours of active needle time. Do not rush the process. Linen is a "memory" fabric; it holds the shape of every pull. If you work too fast, you risk creating uneven tension that will warp the final piece. Allow for a one-hour finishing phase where you will block the fabric and secure the back. This slow tempo is exactly what provides the meditative benefit.
THE CORE METHOD
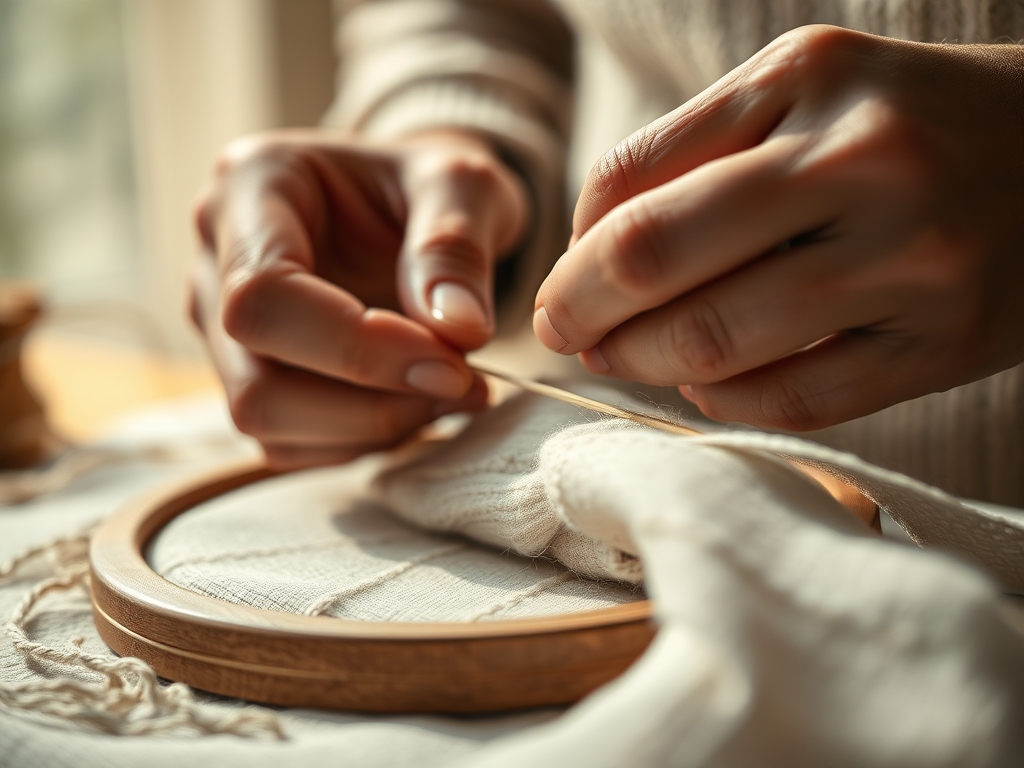
1. The Foundation Running Stitch
This is the baseline of all Soft Linen Embroidery. You are essentially mimicking the weave of the fabric itself. Pass the needle in and out of the linen at regular intervals.
Mastery Tip: Focus on thread tension. If you pull too hard, the linen will gather. The goal is to have the thread sit flush against the surface, utilizing the fabric's natural porosity to "seat" the stitch.
2. The Whipped Backstitch
Start with a standard backstitch, then weave a secondary thread through the loops without piercing the fabric. This creates a raised, rope-like texture.
Mastery Tip: This stitch relies on surface tension. By not piercing the linen a second time, you allow the whipped thread to float, creating a 3D effect that catches the light.
3. The Lazy Daisy (Detached Chain)
Create a small loop and anchor it with a tiny tack stitch. This is the hallmark of floral Soft Linen Embroidery.
Mastery Tip: Use your thumb as a gauge to hold the loop in place. This prevents the "teardrop" from collapsing, ensuring the structural integrity of the petal shape.
4. The French Knot
Wrap the thread around the needle twice before plunging it back near the entry point. This creates a concentrated point of mass.
Mastery Tip: This is a lesson in friction physics. Keep the tension on the "tail" of the thread until the very last second to prevent the knot from unraveling or becoming loose.
5. The Stem Stitch
A slanted stitch where each new entry overlaps the previous one. It creates a flexible, vine-like line.
Mastery Tip: Always keep your thread to the same side of the needle (either left or right). This maintains a consistent torque on the thread, preventing the line from looking jagged.
6. The Satin Stitch
Parallel rows of flat stitches used to fill a shape completely. It requires extreme precision.
Mastery Tip: Work from the center outward. This manages the material displacement of the linen, ensuring the fabric stays flat as you add more thread density to the area.
7. The Bullion Knot
A complex, elongated version of the French knot that creates a worm-like coil.
Mastery Tip: Use a milliners needle. The eye and the shaft are the same width, which reduces the resistance as you pull the needle through the tight coils of thread.
8. The Feather Stitch
A decorative, branched stitch that uses a "looped" mechanic to create a wide, airy path.
Mastery Tip: This stitch tests the shear strength of your linen. Ensure your anchor points are at least two threads apart to prevent the fabric from tearing under the weight of the design.
9. The Woven Wheel
A circular stitch where you weave thread over and under a set of "spokes."
Mastery Tip: Use the blunt end of your needle for the weaving portion. This avoids snagging the base linen, allowing the rose-like structure to sit cleanly on top of the substrate.
THE TECHNICAL LEDGER
Maintenance & Longevity: Linen is incredibly durable, but it is susceptible to "acid burn" from skin oils. Always wash your hands before a session. To clean a finished piece, use a pH-neutral detergent and cool water. Never wring the fabric; instead, roll it in a clean towel to extract moisture.
Material Variations:
- Sustainable: Organic GOTS-certified linen uses significantly less water during the retting process.
- Premium: Hand-dyed "over-dyed" threads offer a variegated look that adds depth to the nine stitches.
- Recycled: Upcycled vintage linen napkins provide a soft, pre-broken-in base that is a dream to stitch on.
The Correction:
- Puckering: If the fabric bunches, your tension is too high. Use a bone folder to gently stroke the stitches outward and redistribute the thread.
- Loose Knots: If a French knot is floppy, do not pull it from the back. Use a fine-point tweezer to tighten the loop on the front, then anchor it with a single strand of matching thread.
- Snagged Weave: If you accidentally pierce a linen thread, use the eye of a needle to "massage" the fibers back into their grid alignment.
Studio Organization: Store your Soft Linen Embroidery projects flat. If you must fold them, place a piece of acid-free tissue paper in the crease to prevent the fibers from snapping over time. Keep your hoops in a climate-controlled environment to prevent the wood from warping.
THE FINAL REVEAL
There is nothing quite like the moment you pop that linen out of the hoop. The fabric, once a blank canvas of plant fibers, is now a tactile map of your focus and patience. Your Soft Linen Embroidery should feel substantial; the weight of the thread adding a pleasing gravity to the textile. The way the light dances across the satin stitches and catches the shadows of the bullion knots is a testament to your technical skill. You have taken raw materials and, through the physics of tension and friction, created something that calms the mind and delights the senses. It is a masterpiece of soft engineering.
STUDIO QUESTIONS
What is the best way to transfer patterns onto linen?
Use a water-soluble marking pen or a light box. Because linen has a visible grain, ensure your pattern aligns with the warp and weft to prevent the design from looking skewed once removed from the hoop.
Why does my thread keep fraying while I stitch?
You are likely using a length of thread longer than 18 inches. The constant friction of the thread passing through the abrasive linen fibers breaks down the ply. Use shorter lengths to maintain thread integrity.
Can I use a plastic hoop for linen embroidery?
While possible, plastic lacks the coefficient of friction found in wood. Linen is slippery; a wooden hoop with a "bound" inner ring (wrapped in twill tape) provides the best grip for heavy-duty projects.
How do I fix a hole I accidentally poked in the linen?
Use your fine-point awl to gently push the surrounding threads back into the gap. If the fiber is actually broken, you can perform a "micro-darn" using a single strand of matching linen thread to bridge the gap.