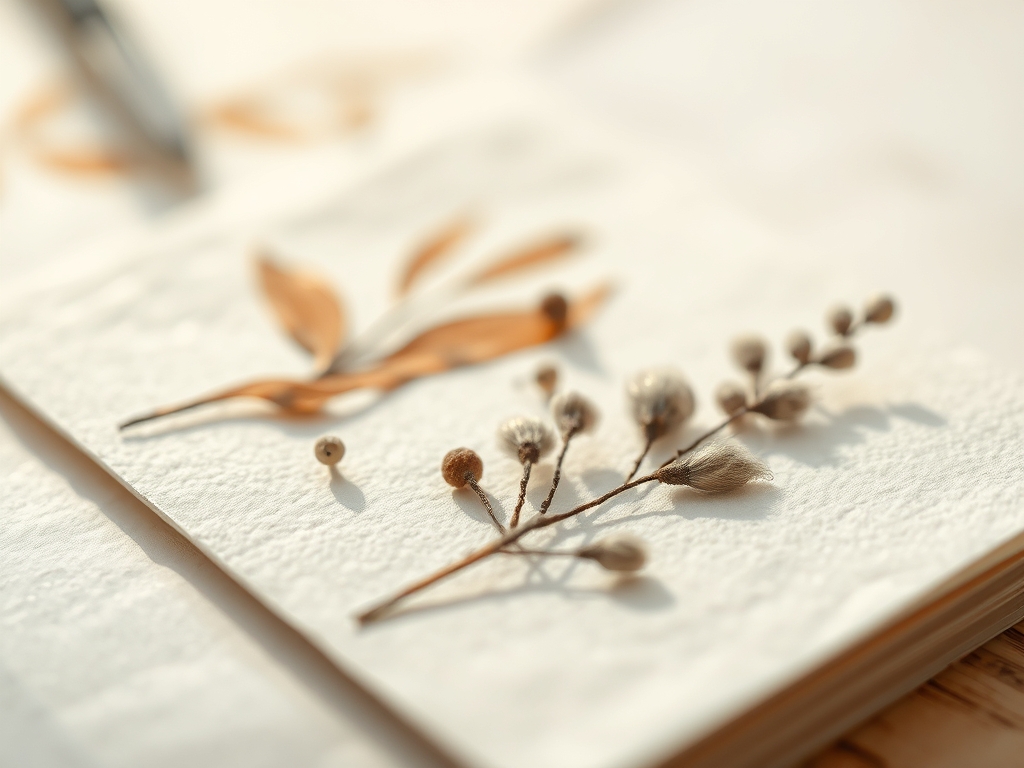
Grab your heaviest cold press block and clear the workbench because we are about to dive into the gritty, glorious physics of Watercolor Botanical Sketches. There is a specific, electric friction that happens when a thirsty brush meets a high-tooth surface. We are talking about rough paper; the kind with deep valleys and jagged peaks that challenge every drop of pigment you lay down. It is not just about painting a flower; it is about a high-stakes negotiation between fluid dynamics and cellulose fibers. When you work on a surface with this much character, the water does not just sit there. It retreats into the pores, creates microscopic dams, and forces you to think three steps ahead of the evaporation rate. This is where the magic lives. We are going to harness that tactile resistance to create organic textures that look like they were pulled straight from the forest floor. Forget smooth washes and predictable gradients. Today, we are embracing the chaos of the grain and the raw tensile strength of heavy-duty cotton rag to elevate your botanical art into a sensory experience.
THE STUDIO KIT
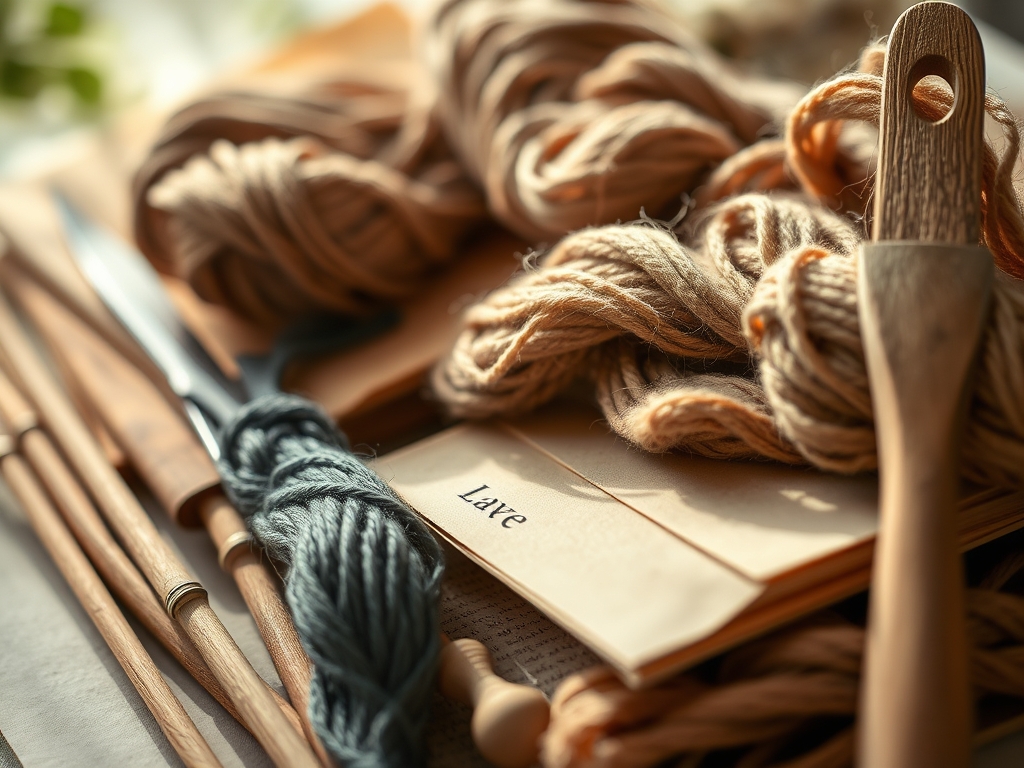
To master Watercolor Botanical Sketches on rough terrain, your standard kit needs a serious upgrade. We start with 300 GSM (140 lb) rough grain paper, preferably 100 percent cotton. The high alpha-cellulose content ensures the paper can withstand heavy scrubbing without pilling. For the pigment delivery system, skip the soft mops. You need a stiff synthetic blend round brush with high "snap" to push paint into the deep recesses of the paper tooth. I also keep a bone folder handy to burnish specific areas where I want a smoother wash; this physically compresses the fibers to change how they accept water.
For the structural phase, use a technical drawing pen with archival, waterproof ink to map out the venation patterns. If you are feeling adventurous, a jeweler's saw can be used to gently score the edges of the paper for a deckled, organic finish that mimics natural decay. Material Substitutions: If you cannot find high-tooth rough paper, you can simulate the texture by applying a thin layer of absorbent ground or gesso with a sponge to a standard hot-press sheet. This creates a synthetic "tooth" that mimics the porous nature of traditional handmade rag.
THE TEMPO
The "Maker's Rhythm" for botanical work is dictated by the hygroscopic nature of your paper. You cannot rush the saturation phase. Expect to spend 15 minutes on the initial structural mapping, followed by a 45-minute "wet-on-dry" session where we build layers. The final detailing, where we add the high-contrast veins and shadows, takes about 30 minutes of focused, high-precision work. Total studio time: 90 minutes of pure, mindful flow. The key is to wait for the paper to reach a "cool to the touch" state before layering; this indicates the internal fibers are still damp but the surface tension has stabilized.
THE CORE METHOD
1. The Skeletal Mapping
Before a single drop of water touches the page, we must establish the botanical architecture. Use a light touch to trace the central rib and lateral veins of your subject. We are looking for structural integrity here. If the skeleton is off, the fluid dynamics of the paint will only highlight the flaws.
Mastery Tip: Use a caliper to measure the proportions of your reference leaf. This ensures your sketch maintains biological accuracy. The science here is all about spatial orientation; by mapping the "high points" of the plant, you create a roadmap for where the water will naturally pool.
2. The Controlled Flood
Load your brush with a highly concentrated pigment load. We are going to perform a "dry brush" technique over the rough peaks. By dragging the brush horizontally across the grain, the pigment only hits the "mountains" of the paper, leaving the "valleys" white. This creates an instant, high-energy texture that mimics the bark of a tree or the fuzz of a stem.
Mastery Tip: This relies on surface tension. By keeping the water-to-pigment ratio low, the liquid lacks the mass to flow into the paper's pores, allowing it to "skip" across the surface.
3. Capillary Action Gradations
Now, we introduce a clean, damp brush to the edges of our dry-brushed strokes. Watch as the water pulls the pigment down into the valleys. This is where the rough paper shines. The deep texture creates a natural gradient that looks incredibly complex but is actually just physics doing the work for you.
Mastery Tip: This is capillary action in real-time. The porous fibers of the cotton rag act like tiny straws, sucking the tinted water into the depths of the paper.
4. Negative Space Carving
Instead of painting the shadow, paint the light around the stem. Use a stiff-bristled scrubber brush to lift pigment away from the edges. This defines the form without adding heavy, muddy layers. The rough paper is durable enough to handle this mechanical abrasion without tearing.
Mastery Tip: The tensile strength of 300 GSM paper allows for aggressive lifting. Because the pigment is trapped in the upper layers of the tooth, you can "carve" out highlights using nothing but clean water and friction.
5. The Final Glaze and Burnish
Once the piece is bone dry, take your bone folder and lightly rub the areas where you want the most detail, like the tip of a petal. This flattens the grain. Then, apply a final, transparent glaze of a complementary color. The flattened area will take the color differently than the surrounding rough texture, creating a focal point.
Mastery Tip: This is optical layering. By changing the physical texture of the substrate mid-process, you alter the way light reflects off the pigment particles, increasing the perceived depth of the sketch.
THE TECHNICAL LEDGER
Maintenance & Longevity: Always store your finished Watercolor Botanical Sketches in acid-free glassine sleeves. Because rough paper has so much surface area, it is more prone to collecting dust and atmospheric pollutants.
Material Variations: For a sustainable twist, try bamboo-based watercolor paper. It has a lower tensile strength than cotton but offers a unique, velvety tooth that absorbs pigment with incredible speed. For a premium experience, look for hand-molded Khadi paper which has irregular edges and a wild, unpredictable grain.
The Correction:
- The Bloom: If a "cauliflower" edge forms, wait for it to dry completely, then use a damp synthetic brush to gently agitate the edges and blend the hard line into the surrounding texture.
- The Mud: If colors become dull, you have oversaturated the fibers. Stop immediately. Use a paper towel to blot the area vertically (do not rub) to extract the excess moisture.
- The Warp: If your paper buckles, flip it over and lightly mist the back with distilled water. Place it between two heavy boards for 24 hours to re-flatten the fibers.
Studio Organization: Store your rough paper flat in a metal plan chest. Avoid vertical storage, as the weight of the heavy grain can cause the sheets to "slump" over time, creating a permanent curve in the cellulose structure.
THE FINAL REVEAL
Look at that! Your Watercolor Botanical Sketches should now vibrate with life. By leaning into the "roughness" of the paper, you have created a piece that feels three-dimensional. The way the light catches the unpainted valleys of the paper creates a natural shimmer that no smooth paper could ever replicate. It is raw, it is technical, and it is absolutely stunning. You did not just paint a plant; you engineered a masterpiece of fluid and fiber.
STUDIO QUESTIONS
Why use rough paper for botanical sketches?
Rough paper provides a high-tooth surface that creates natural highlights and deep textures. The "valleys" in the paper trap pigment, allowing for complex, organic gradients that mimic the microscopic details of real plants without requiring tedious, fine-line brushwork.
How do I prevent my colors from looking muddy?
Avoid over-working the surface. Because rough paper is highly absorbent, excessive scrubbing breaks down the pigment particles and pushes them too deep into the fibers. Apply your washes in single, confident strokes to maintain color clarity and vibrancy.
Can I use a hair dryer to speed up the process?
Yes, but use the "cool" setting. High heat can cause the cotton fibers to contract unevenly, leading to permanent warping. A cool airflow helps set the surface tension of the water without compromising the structural integrity of the heavy paper.
What is the best way to fix a mistake on rough paper?
Wait for the area to dry completely. Use a stiff, damp "scrubber" brush to gently lift the pigment from the peaks of the paper. The deep valleys often retain some color, which can be integrated into the final design as a shadow.