Imagine the cool, dense weight of a fresh wedge of stoneware resting in your palms. It is heavy, damp, and waiting for your pulse to transfer into its molecules. When we talk about Ceramic Pinch Pots, we are not just talking about making tiny bowls; we are talking about the most intimate conversation you can have with earth. Your thumb provides the internal pressure while your fingers act as the external mold, creating a structural dialogue that balances gravity against the natural elasticity of the clay. The sensation is incredibly tactile. You can feel the moisture content shifting as the heat from your hands begins the evaporation process. It is a dance of moisture and grit. We are aiming for that sweet spot where the clay is plastic enough to move without cracking, yet firm enough to hold its own weight against the pull of the earth.
THE STUDIO KIT
THE STUDIO KIT
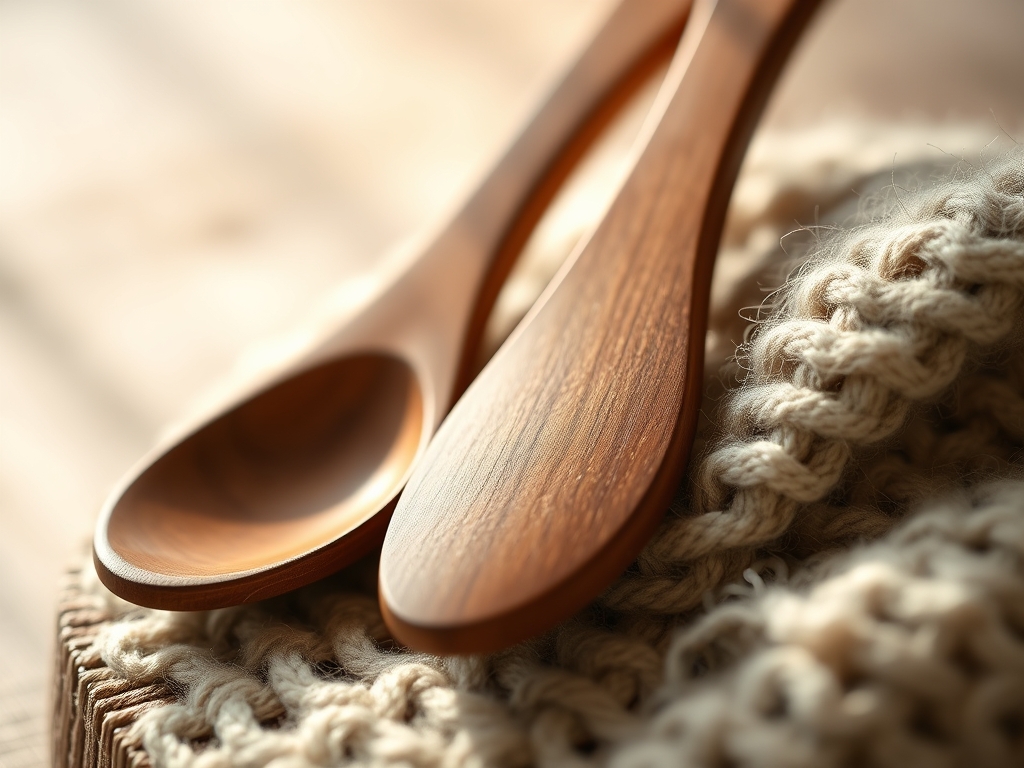
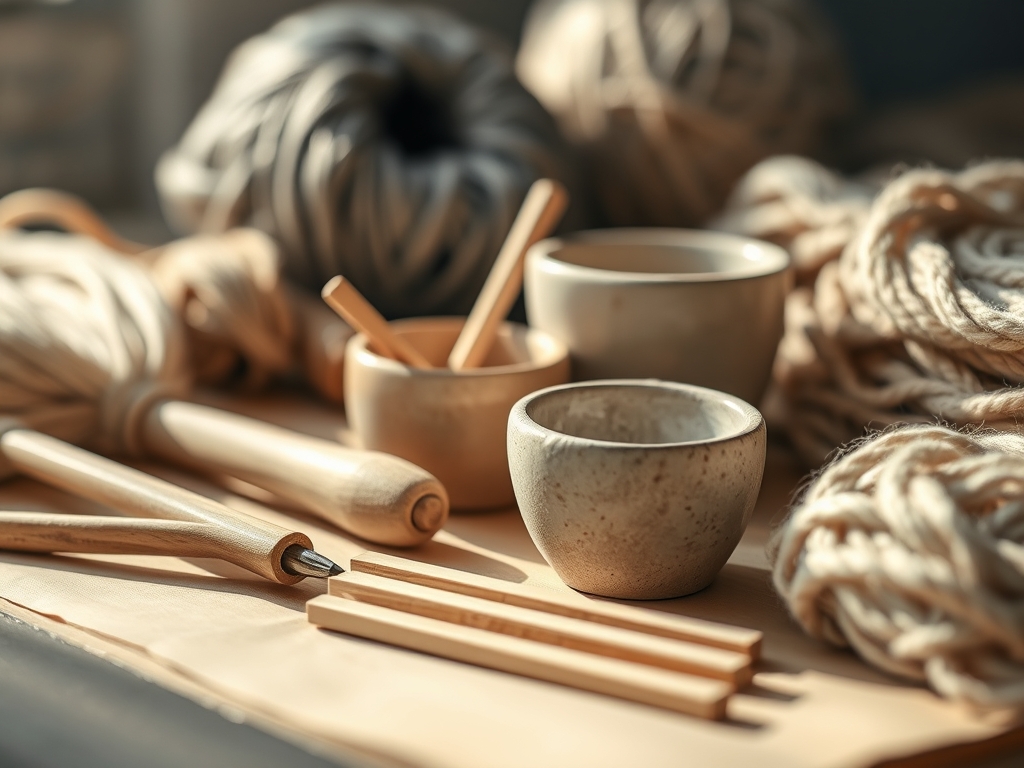
To master these organic shapes, you need more than just raw enthusiasm; you need a kit that respects the physics of the medium. Start with a high-quality stoneware clay body with a fine grog content. Grog is pre-fired clay that has been ground down; it acts like a skeletal structure inside your wet clay to reduce shrinkage and prevent warping. You will need a metal rib for smoothing surfaces and a wooden modeling tool for refining those tight interior curves where your fingers might be too bulky. A needle tool or a fine awl is essential for checking wall thickness and trimming uneven rims. For a professional finish, keep a chamois cloth or a small piece of soft leather nearby to burnish the edges.
Material Substitutions: If you cannot access a kiln, you can use a high-grade polymer clay or air-dry clay. However, keep in mind that the tensile strength of air-dry clay is significantly lower than fired stoneware. You will need to build thicker walls to compensate for the lack of vitrification. If you lack a professional rib tool, a stiff credit card or a smooth river stone can serve as an excellent ergonomic alternative for compression.
THE TEMPO
The Maker's Rhythm is not about speed; it is about synchronization with the drying cycle of the material. The initial shaping of your Ceramic Pinch Pots should take about twenty to thirty minutes per piece. This is the plastic phase, where the clay is most responsive. Once shaped, the pots must enter the "slow dry" phase. You cannot rush this. If the exterior dries faster than the interior, the resulting differential shrinkage will cause the pot to crack or "S-crack" at the base.
Expect to spend two hours on the initial build, followed by a twenty-four-hour rest period under light plastic to reach the leather-hard stage. This is when the clay is firm like cold butter, allowing you to carve, refine, and burnish without deforming the primary structure. The final bone-dry stage takes three to seven days depending on your studio's humidity. Respecting this tempo ensures the structural integrity of your organic forms.
THE CORE METHOD
1. The Spherical Foundation
Start by rolling your clay into a perfect, compressed sphere. Use the palms of your hands to eliminate any air pockets. Wedging the clay beforehand is vital to ensure a homogenous density throughout the mass.
Mastery Tip: This step relies on Centripetal Compression. By rotating the ball as you roll it, you are aligning the clay platelets into a circular pattern, which provides a stronger foundation for the walls you are about to raise.
2. The Initial Aperture
Hold the sphere in your non-dominant hand and slowly press your thumb into the center, stopping about half an inch from the bottom. Do not push all the way through.
Mastery Tip: Use your calipers to measure the floor thickness. Maintaining a consistent floor depth is crucial because the base acts as the anchor for the pot's thermal expansion during firing.
3. The Rhythmic Pinch
Starting at the base, use a gentle "pinch and turn" motion. Move in a spiral pattern upward toward the rim. Keep your fingers slightly damp but not soaking wet.
Mastery Tip: This process utilizes Capillary Action. If you use too much water, you weaken the chemical bonds between the clay particles, leading to "slumping." Aim for a uniform wall thickness to ensure even drying.
4. Refining the Organic Silhouette
Once the basic vessel is formed, use your wooden modeling tool to push the walls outward or pull them inward to create organic, asymmetrical shapes like seed pods or weathered stones.
Mastery Tip: Focus on the Hoop Stress of the rim. A flared rim is under more tension than a straight one. If the rim begins to fray, use a damp chamois to compress the particles back together immediately.
5. Compression and Burnishing
Use a metal rib to scrape away finger marks and compress the exterior surface. This creates a dense, "skin-like" finish that highlights the organic curves.
Mastery Tip: Surface Tension is your friend here. By compressing the surface, you are forcing the smaller clay particles to the exterior, creating a smoother finish that will be more resistant to thermal shock in the kiln.
THE TECHNICAL LEDGER
Maintenance & Longevity: To ensure your Ceramic Pinch Pots last for generations, they must be fired to the correct maturation temperature of the specific clay body. Under-fired clay remains porous and brittle, while over-fired clay can bloat or melt. Once fired, hand-washing is recommended for organic shapes with delicate, thin rims to prevent mechanical chipping.
Material Variations:
- Sustainable: Look for "reclaimed" clay bodies that utilize studio scraps.
- Premium: Porcelain offers incredible translucency and a fine grain but has very low green strength, making it a challenge for beginners.
- Textured: Adding sand or paper fiber (paper clay) increases the ply and allows for more extreme architectural shapes.
The Correction:
- The Slump: If the walls collapse, the clay is too wet. Fix: Let it sit in open air for fifteen minutes to regain structural stiffness.
- The Rim Crack: This happens when the rim dries faster than the base. Fix: Apply a thin layer of wax resist or "slip" (liquid clay) to the rim to slow evaporation.
- The S-Crack: A crack in the base caused by uneven compression. Fix: During the leather-hard stage, use a flat tool to firmly compress the interior floor of the pot.
Studio Organization: Store your work-in-progress on plaster bats or wooden boards. Cover them with heavy-duty plastic sheeting to create a micro-climate. This prevents the edges from becoming brittle while the base is still damp, ensuring a uniform transition to the bone-dry state.
THE FINAL REVEAL
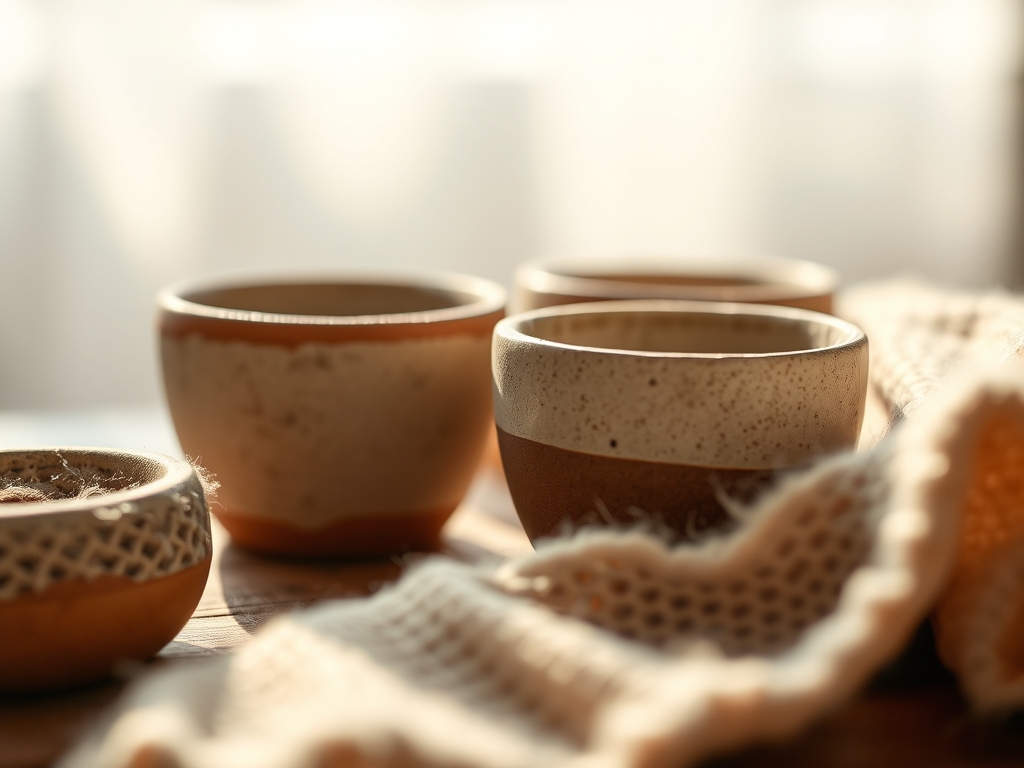
There is nothing quite like the moment you pull a finished pinch pot out of the kiln. The once-grey, heavy mud has transformed into a vitrified, stone-like object that rings like a bell when tapped. These seven organic shapes—inspired by river stones, bird nests, and falling water—bring an elemental energy into your home. They feel like home because they carry the literal imprint of your hands. The slight irregularities in the walls and the soft, burnished sheen of the stoneware create a piece that is technically sound yet vibrantly alive. Your home becomes a gallery of your own tactile history.
STUDIO QUESTIONS
Why do my pinch pots always crack at the rim?
Cracking occurs due to differential drying. The rim has more surface area exposed to air than the base. To prevent this, keep the rim covered with plastic or a damp cloth while you work on the lower sections.
Can I make large Ceramic Pinch Pots?
Yes, but you must respect gravitational load. For larger vessels, build the pot in stages, allowing the bottom half to reach a "soft leather-hard" state to support the weight of the additional clay added to the top.
How thick should the walls of my pot be?
Ideally, aim for a consistent thickness of one-quarter inch. Walls that are too thick may trap steam and explode in the kiln; walls that are too thin lack the tensile strength to survive the firing process.
What is the best way to smooth out finger marks?
Use a flexible metal or rubber rib when the clay is leather-hard. Drag the tool at a forty-five-degree angle across the surface to compress the particles and create a professional, polished finish without removing too much material.