
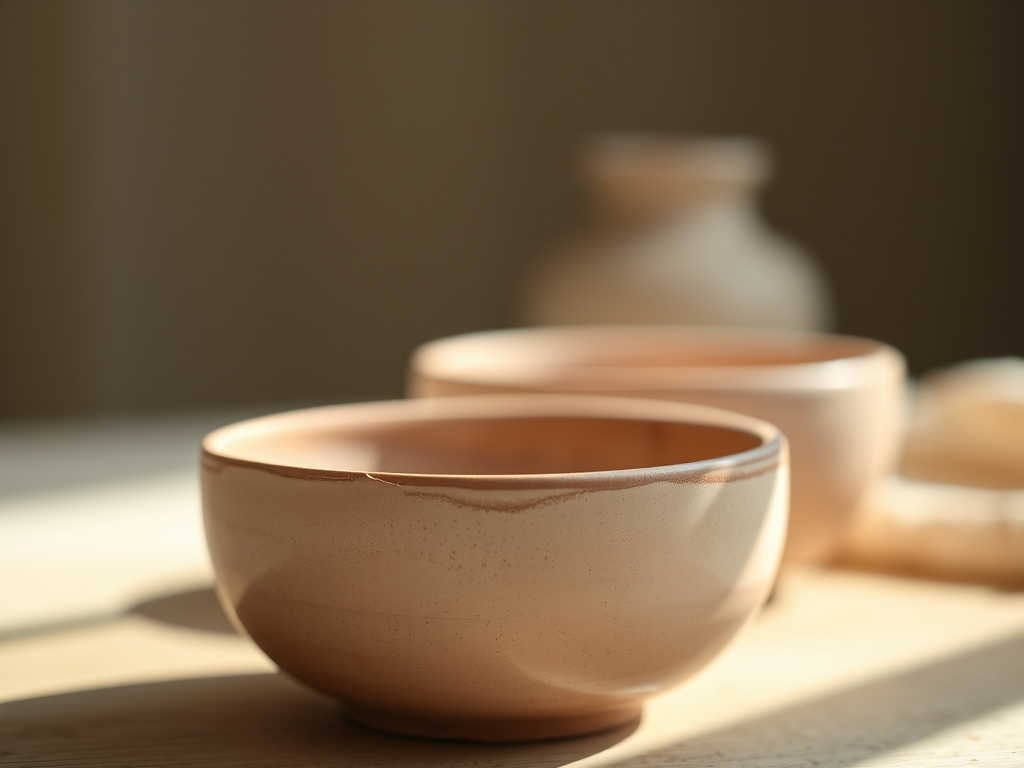
Imagine the scent of wet earth hitting your nostrils as you wedge a fresh block of stoneware on a canvas table. There is a specific, visceral thrill in the moment your thumbs first sink into the center of a cool mound of earth; it is the ultimate marriage of geological history and human intent. We are diving deep into the world of hand crafted clay bowls today. This is not just about making a vessel; it is about manipulating the molecular structure of alumina and silica to create something that survives the fire. As we work, you will feel the plasticity of the medium change under your palms. This isn't just mud. It is a suspension of fine mineral particles that respond to every micro-adjustment of your grip. We are going to harness the tensile strength of the clay body to support delicate, intricate lace impressions that look like they were woven by spiders. Grab your apron and tie your hair back because we are about to turn raw earth into a legacy piece that feels as good as it looks.
THE STUDIO KIT
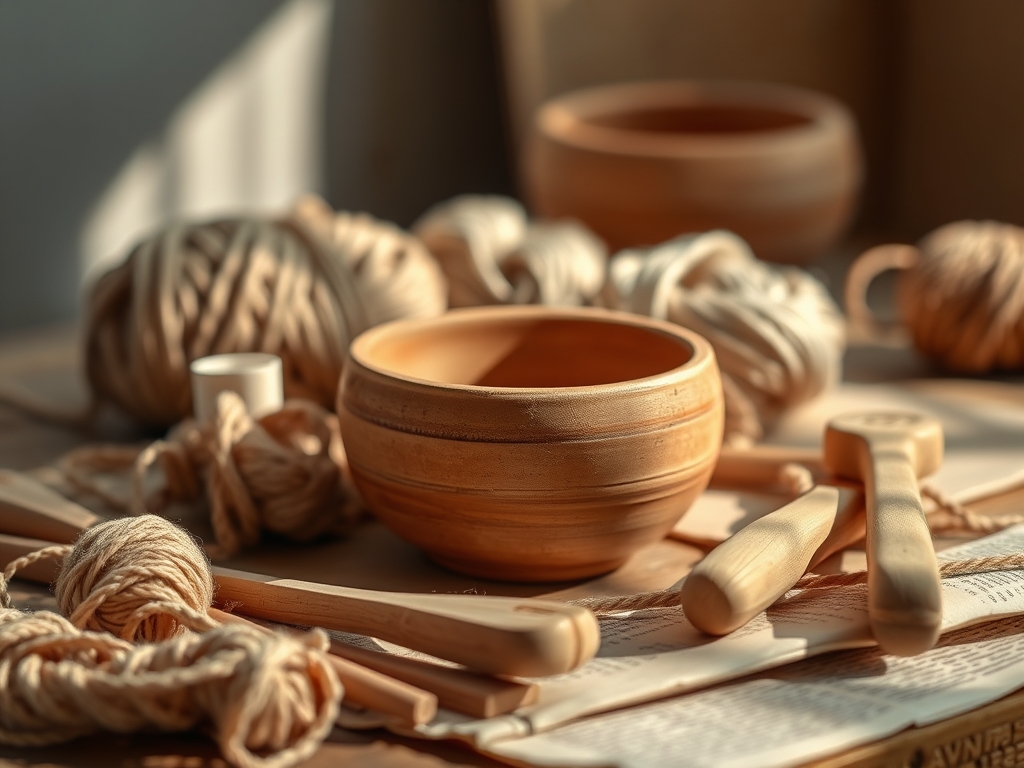
To master the art of hand crafted clay bowls, you need a kit that respects the porosity and viscosity of your medium. Start with a mid-fire stoneware clay body; it offers a high grog content which provides the structural "skeleton" needed to prevent warping during the drying phase. You will need a stainless steel rib for smoothing, a wire toggle cutter to slice your slabs, and a rolling pin with thickness spacers to ensure a uniform gauge across the entire surface. For the texture, source vintage crochet lace with high-relief stitching; the deeper the thread, the better the capillary action during the glazing process later.
If you do not have a professional studio setup, you can make some clever Material Substitutions. Instead of a specialized bat, use a smooth piece of unfinished plywood to help pull moisture away from the base of the bowl. No calipers? A set of drafting compasses can measure the diameter of your rim to ensure symmetry. If you lack a professional needle tool, a heavy-duty sewing awl works beautifully for trimming edges. Always keep a natural sea sponge nearby; synthetic sponges often hold too much water, which can oversaturate the clay and cause it to lose its structural integrity.
THE TEMPO
The "Maker's Rhythm" is a dance with evaporation. You cannot rush the chemistry of hydration. The initial shaping phase takes about forty-five minutes of active movement. However, the true work happens during the "Resting Phase." After the initial slab is rolled, it must sit for twenty minutes to reach a leather-hard state where it is firm enough to hold a shape but moist enough to accept an impression. The drying process for hand crafted clay bowls is a slow burn; expect a three to five-day window where the vessel moves from plastic to bone dry. If you force the heat, the uneven evaporation rates between the thick base and the thin rim will cause the piece to crack or "S-crack" at the bottom.
THE CORE METHOD
1. The Slab Foundation
Start by slicing a thick slab of clay using your wire cutter. Use a rolling pin to flatten the clay to a consistent quarter-inch thickness. Ensure you are rolling from the center outward to align the clay particles in a radial pattern. This prevents the clay from "remembering" a warped shape during the firing process.
Mastery Tip: The science here is all about particle alignment. When you roll in multiple directions, you are compressing the plate-like molecules of the clay, which increases the tensile strength and prevents the bowl from cracking as it shrinks.
2. The Lace Impression
Lay your lace fabric over the moist slab. Use a heavy pony roller or your rolling pin to press the lace into the surface with firm, even pressure. Do not drag the roller; use a vertical compression force to ensure the texture is deep and crisp without stretching the clay's surface tension.
Mastery Tip: This involves displacement physics. The clay must flow into the voids of the lace. If the clay is too dry, the displacement will cause micro-fractures; if it is too wet, the lace will stick and tear the surface.
3. Slumping into the Mold
Gently lift the textured slab and drape it over a plaster hump mold or into a plastic bowl lined with a thin silk cloth. Use your fingertips to press the clay against the mold's contours, starting from the center and working toward the rim to avoid trapping air pockets.
Mastery Tip: Utilize atmospheric pressure. By smoothing from the center out, you are pushing air out. Any trapped air will expand in the kiln and cause a catastrophic failure known as a "blowout."
4. Trimming the Excess
Using an awl or a sharp needle tool, trim the overhanging clay from the edge of your mold. Hold the tool at a forty-five-degree angle to create a beveled edge. This bevel provides a more ergonomic lip for the finished bowl and reduces the risk of chipping.
Mastery Tip: The angle of the cut relates to structural geometry. A beveled edge distributes mechanical stress more evenly than a blunt, square edge, making the rim less prone to impact damage.
5. Foot Ring Attachment
Roll a small coil of clay and score both the bottom of your bowl and the coil using a serrated rib. Apply a small amount of slip (liquid clay) and press the coil onto the base. Use a burnishing tool to blend the seams until they are invisible.
Mastery Tip: This is a lesson in capillary action. The scoring creates tiny channels that allow the slip to pull the two surfaces together through suction and molecular interlocking as the water evaporates.
6. Refining the Rim
Once the bowl is firm enough to be removed from the mold, use a damp sponge or a piece of chamois leather to smooth the rim. This process, known as burnishing, compresses the surface particles to create a silky, professional finish.
Mastery Tip: Burnishing creates a hydrophobic effect on the rim. By compressing the particles tightly, you reduce the surface area available for water absorption, which makes the rim stronger after the final firing.
7. Slow Curing
Place the bowl under a loose sheet of plastic for the first twenty-four hours. This slows down the evaporation rate, ensuring that the moisture leaves the clay at a uniform speed across the entire piece.
Mastery Tip: This prevents differential shrinkage. Because the edges have more surface area exposed to air, they dry faster than the center. Slowing the process allows the moisture to migrate evenly through the porous body.
8. The Final Sanding
Once the bowl is bone dry, use a fine-grit sanding pad to remove any sharp edges from the lace texture. Do this in a well-ventilated area or while wearing a respirator to avoid inhaling silica dust.
Mastery Tip: Sanding at the bone-dry stage is about mechanical abrasion. It levels the "peaks" of the lace impression, ensuring that the glaze will pool beautifully in the "valleys" for a high-contrast look.
THE TECHNICAL LEDGER
Maintenance & Longevity: To keep your hand crafted clay bowls in top condition, avoid thermal shock. Do not move them directly from a cold refrigerator to a hot oven. The coefficient of thermal expansion in stoneware can cause the piece to shatter if the temperature change is too abrupt.
Material Variations: For a premium feel, use a porcelain body. It has a smaller particle size and a higher vitrification point, resulting in a translucent, glass-like finish. For a more sustainable approach, mix your own "paper clay" using recycled cellulose fibers; this increases the green strength of the piece before it is fired.
The Correction:
- The Warp: If your bowl warps, it was likely dried too fast. Fix this by "re-humidifying" it in a damp box for two days before gently reshaping.
- The Bloat: Small bumps on the surface indicate air bubbles. Use a fine needle to pierce the bubble and then burnish the spot flat.
- The Crack: If a small crack appears at the rim, use a mixture of vinegar and clay (vinegar slip) to fill the gap; the acid helps the new clay bond to the old.
Studio Organization: Store your in-progress bowls on a wire rack inside a sealed plastic cabinet. This maintains a "micro-climate" that prevents the clay from reaching the critical moisture point too early.
THE FINAL REVEAL
Look at that! You have successfully navigated the complex physics of ceramics to create a stunning piece of functional art. Your hand crafted clay bowls now feature a delicate lace relief that captures light and shadow in a way that mass-produced items never could. The weight feels balanced in your hand; the rim is smooth and inviting; and the foot ring provides a sturdy, professional lift. You have taken raw, chaotic earth and organized it into a vessel of beauty. This is more than a bowl; it is a testament to your patience and your growing mastery over the elemental forces of the studio.
STUDIO QUESTIONS
What is the best clay for lace textures?
A fine-grained stoneware with low grog is ideal. It allows for high-definition detail in the lace impression while maintaining enough tensile strength to prevent warping during the drying and firing stages of production.
How do I prevent the lace from sticking?
Lightly dust the clay slab with cornstarch before laying down the lace. The starch acts as a dry lubricant, preventing the fibers from bonding with the moist clay particles without affecting the final glaze chemistry.
Can I use any lace for this project?
Heavily textured, synthetic, or cotton crochet lace works best. Avoid very thin machine-made lace, as it lacks the relief depth necessary to create a visible impression once the glaze is applied and fired.
Why did my bowl crack during drying?
Cracking is usually caused by uneven evaporation. If the rim dries faster than the base, the resulting mechanical stress exceeds the clay's strength. Always dry your pieces slowly under plastic to ensure a uniform moisture release.
How deep should the lace impression be?
Aim for a depth of approximately one-sixteenth of an inch. This provides enough space for the glaze to pool and create chromatic depth without compromising the structural wall thickness of your vessel.

