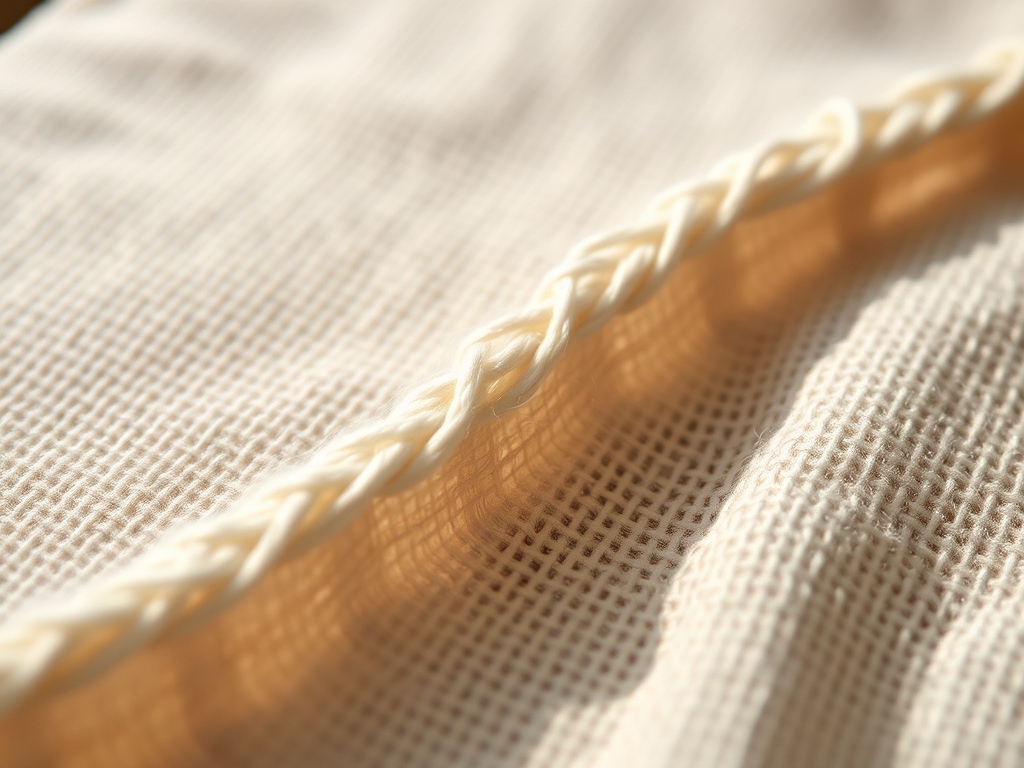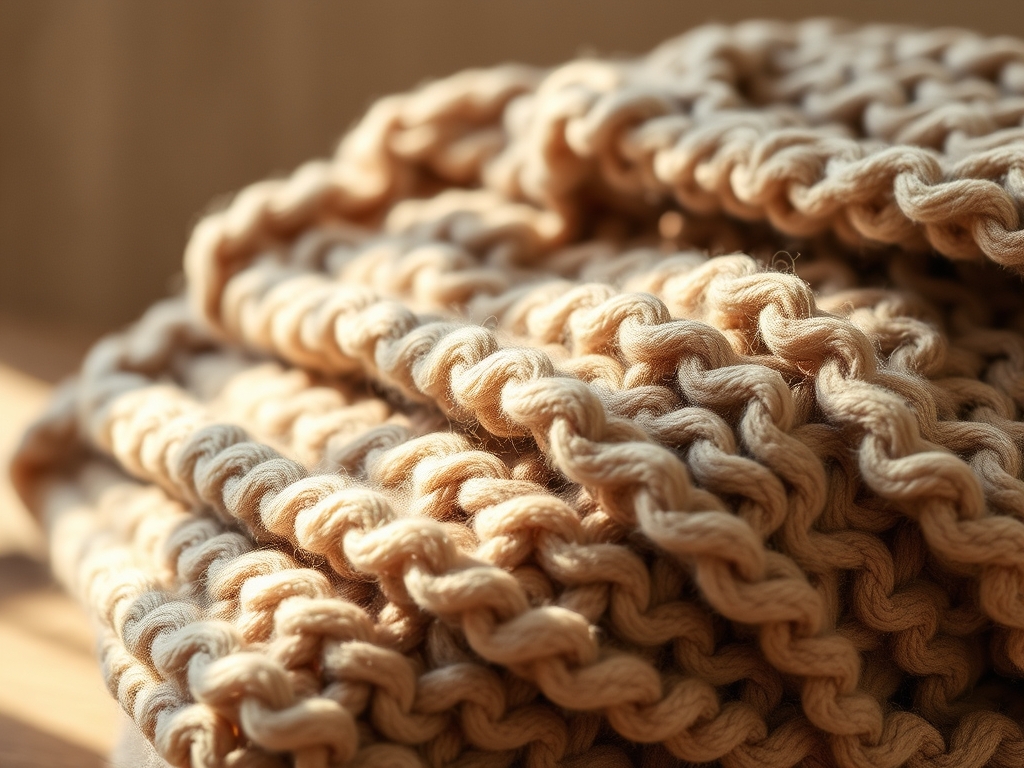
Imagine the weight of a cloud falling across your lap; it is dense and surprisingly substantial. There is a specific sensory magic that happens when you first touch unspun wool roving or high-loft chenille. It is not just soft; it is an architectural marvel of trapped air and fiber friction. We are diving deep into the world of Chunky Knit Blankets today because your living room deserves a masterpiece that you can actually finish before Sunday night. This is not your grandmother's lace knitting with tiny silver needles. This is a high-energy, full-body tactile experience where your arms become the primary tools. We are manipulating massive amounts of fiber to create a structural grid that balances heat retention with breathability. The physics of the knit stitch changes when you scale it up to this magnitude. You are no longer just making a textile; you are engineering a structural lattice that relies on the tensile strength of the yarn to maintain its loft without collapsing under its own significant gravitational weight.
THE STUDIO KIT
THE STUDIO KIT
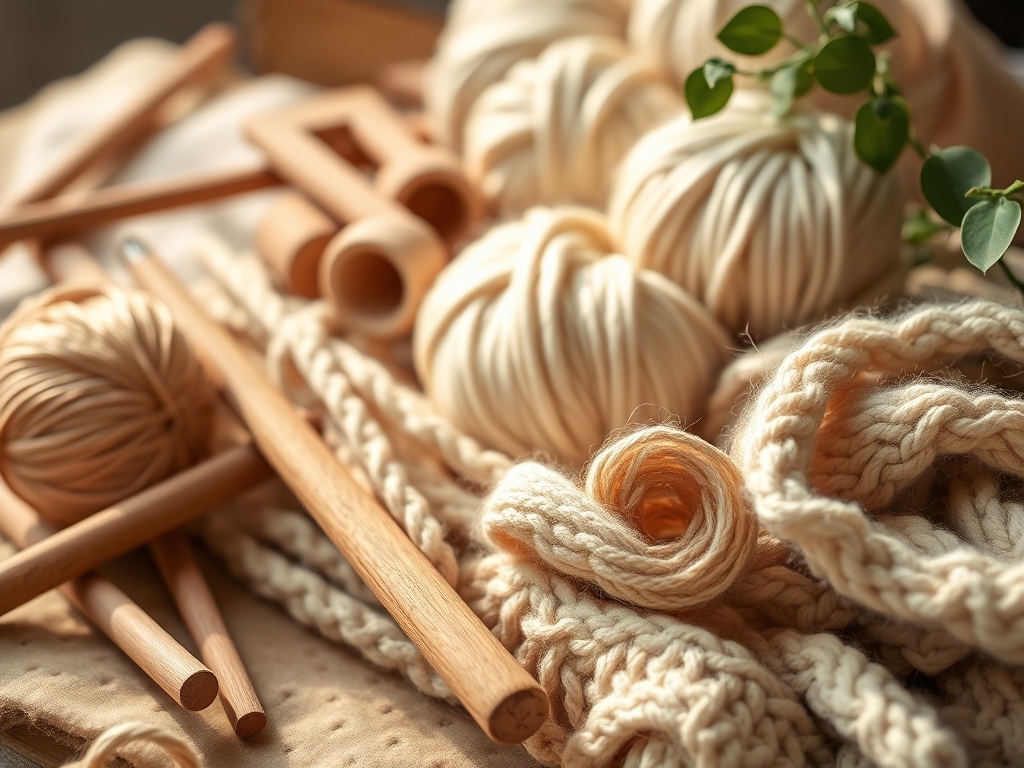
To execute these patterns with precision, you need more than just yarn. You need a dedicated workspace where the friction coefficient of your floor won't snag the delicate fibers. I recommend a clean hardwood or laminate surface. Your primary material is typically a jumbo-weight wool roving or a polyester-fill tube yarn. Wool offers incredible thermal regulation due to the microscopic scales on the fiber, but it is prone to pilling if the twist per inch is too low. If you want durability, look for a "tube" yarn which features a cotton exterior and a polyester core; this provides immense structural integrity and prevents shedding.
For your toolkit, keep a pair of high-carbon steel rotary cutters nearby for clean ends. You will also want a set of calipers if you are a perfectionist like me; measuring the diameter of your loops ensures a consistent gauge across the entire project. If you are using wool, a small felting needle is essential for seamlessly joining two ends of roving without creating a bulky knot.
Material Substitutions: If roving is too expensive, look for "super bulky" acrylic blends. While they lack the moisture-wicking properties of natural wool, they offer a higher tensile strength, making them ideal for households with pets or children who might subject the blanket to high-stress mechanical wear.
THE TEMPO
The "Maker's Rhythm" is a state of flow where your muscle memory takes over the repetitive looping process. For a standard 50 by 60 inch throw, you are looking at a total production time of about four to six hours. This is broken down into three distinct phases. The Preparation Phase (30 minutes) involves unrolling your yarn to remove "factory tension" and checking for any manufacturing defects or inconsistent thickness. The Execution Phase (3 to 4 hours) is the actual knitting. Here, you must maintain a steady ergonomic posture to avoid shoulder strain. Finally, the Finishing Phase (30 minutes) involves weaving in ends and "blocking" the blanket by hand to ensure the edges are perfectly perpendicular. Because the scale is so large, any minor deviation in loop size is magnified; consistency is your best friend.
THE CORE METHOD
1. The Foundation Chain
Everything starts with a slipknot. You will pull a loop through that knot to create your first "link." The key here is to measure the interior diameter of the loop. If your loop is six inches tall, every subsequent loop must match. This establishes the lateral tension of the blanket.
Mastery Tip: Use your forearm as a measuring jig. By pulling the yarn to a specific point on your wrist, you utilize biometric consistency to ensure every stitch in the foundation chain has the exact same volume of fiber.
2. The First Pass
Once your chain is the desired width, you will work back across it. You aren't "knitting" in the traditional sense; you are pulling the working yarn through the existing loops to create a new row. This is where the porosity of the blanket is determined.
Mastery Tip: Do not pull the yarn too tight. If the loops are constricted, the fibers lose their ability to trap air, which significantly decreases the R-value (insulation capacity) of the finished piece.
3. Maintaining the Vertical Column
As you build height, you must ensure that each "V" shape sits directly atop the one below it. This is the columnar alignment. If you skip a stitch or pull from the wrong direction, you introduce shear stress into the fabric, which will cause the blanket to skew diagonally over time.
Mastery Tip: Observe the alignment in the step-by-step photos below. The "legs" of each stitch should be symmetrical. This symmetry ensures that the load distribution is even when the blanket is draped over a sofa.
4. The Cast-Off Edge
To finish, you will pass one loop through its neighbor and then pull the working yarn through the final remaining loop. This creates a "braided" edge that locks the entire structure.
Mastery Tip: The cast-off row should actually be slightly looser than the body of the blanket. This accounts for the kinetic expansion that happens when the blanket is in use, preventing the edge from snapping under sudden tension.
THE TECHNICAL LEDGER
Maintenance & Longevity: Chunky knit blankets made of wool roving are "dry clean only." The mechanical action of a washing machine will cause the fibers to felt, turning your soft blanket into a stiff, shrunken mat. For tube yarns, a cold, gentle cycle is acceptable, but air drying is mandatory to prevent thermal degradation of the synthetic core.
Material Variations:
- Sustainable: Look for Tencel-based jumbo yarns which use a closed-loop chemical process.
- Premium: Merino wool with a micron count of 18 or lower provides the ultimate tactile experience.
- Recycled: Many manufacturers now offer "reclaimed cotton" tube yarns that repurpose textile waste.
The Correction:
- Dropped Stitch: If a loop falls out, the entire column will unravel. Use a large crochet hook to "ladder" the stitch back up to the current row.
- Thin Spots: If your roving has a narrow section, "fluff" it manually to increase the fiber density before knitting it into the row.
- Tension Pull: If one side is longer than the other, you have a tension imbalance. Manually shift the excess yarn through the loops toward the shorter side to redistribute the mass.
Studio Organization: Store your yarn in a cool, dry place. Wool should be kept in breathable cotton bags to prevent larvae infestation while allowing for air circulation. Never stack heavy boxes on top of your finished blankets; this will crush the loft and permanently deform the fibers.
THE FINAL REVEAL
When you lay that final stitch and stand back, the result is a high-impact interior design element that screams "luxury." The heavy gauge of the yarn creates deep shadows and high highlights, giving the blanket a 3D sculptural quality. It feels substantial, grounding, and incredibly cozy. Because you followed the technical rules of tension and alignment, your blanket won't just look good on Instagram; it will hold its shape through years of movie marathons and Sunday naps. You have successfully turned raw fiber into a functional piece of art using nothing but your hands and some clever physics.
STUDIO QUESTIONS
How much yarn do I need for a standard throw?
For a 50 by 60 inch blanket, you typically need 6 to 8 pounds of jumbo yarn. This mass provides the necessary surface area to cover a standard person while maintaining enough density for warmth and aesthetic drape.
Why is my wool blanket shedding so much?
Shedding occurs when short fibers escape the staple length of the roving. This is common in unspun wool. To minimize this, choose a lightly felted roving or a "core-spun" yarn that uses a center thread to anchor the fibers.
Can I use regular knitting needles for this?
Technically, you could use size 50 needles, but they are heavy and offer poor ergonomics. Arm knitting or table knitting allows for better control over the loop geometry and reduces the physical strain on your wrists and forearms.
How do I join a new ball of yarn?
For wool roving, use a felting needle to mesh the two ends together. For tube yarns, use a needle and thread to sew the ends of the fabric covers together, ensuring the internal polyester fill is securely trapped inside.
Is chunky yarn safe for baby blankets?
No. The large loops present a strangulation and entrapment risk, and the loose fibers of roving can be a choking hazard. These patterns are strictly intended for adult use or decorative purposes in a well-supervised environment.