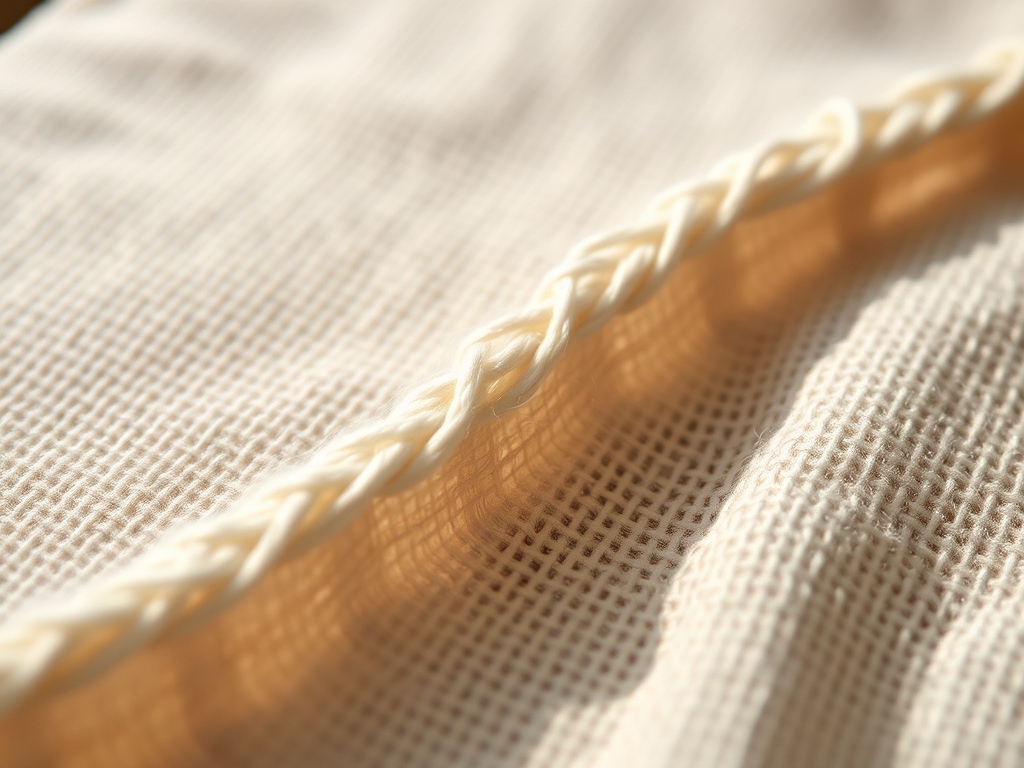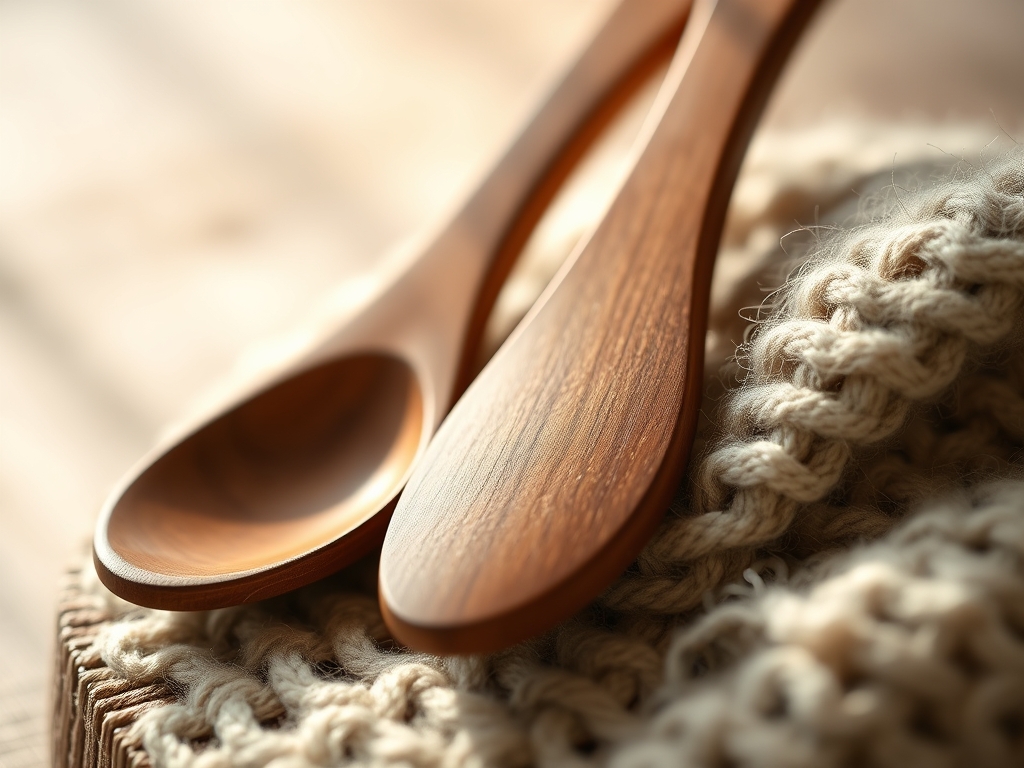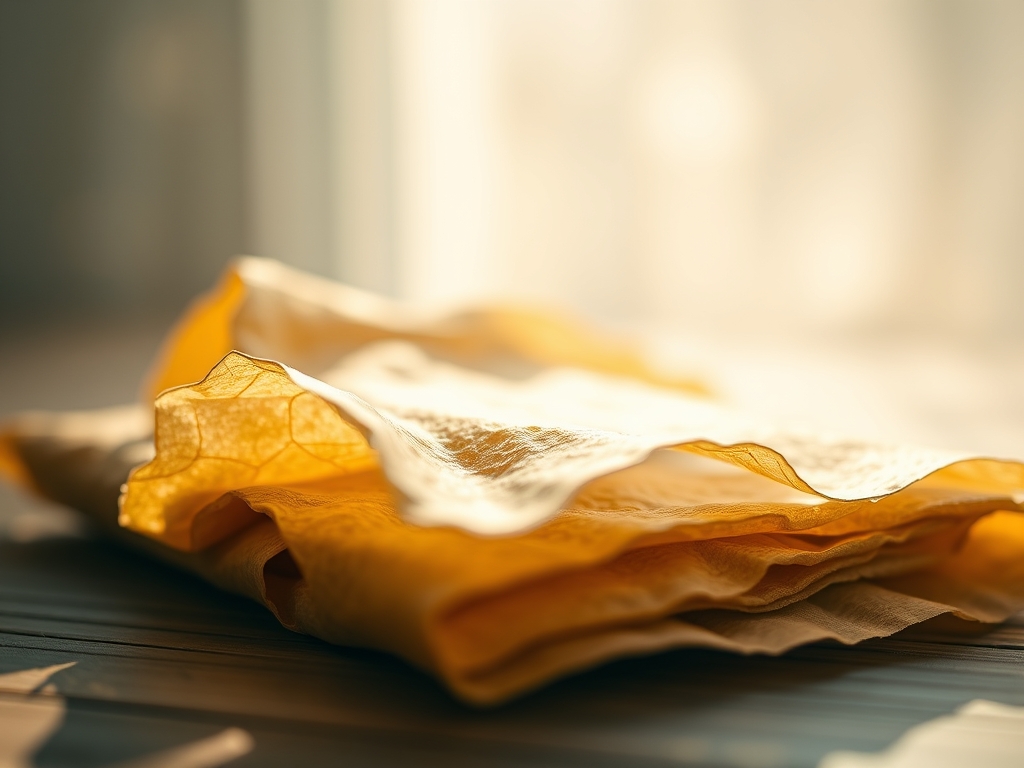
Imagine the scent of golden, unrefined resin mingling with the earthy sweetness of local pollen. You are standing in your kitchen; the light is hitting a stack of vintage cotton scraps that are just waiting to be transformed. This is where the magic happens. We are ditching the crinkly, single use plastics for something far more tactile and elegant. Making your own Beeswax Food Wraps is not just a craft project; it is a lesson in molecular bonding and surface tension. When you hold a finished wrap, it feels slightly tacky but structurally sound. It has a specific tensile strength that allows it to grip the rim of a ceramic bowl or fold tightly over a cut lemon. We are looking for that perfect balance between flexibility and seal. If the wax is too thick, it cracks. If it is too thin, it fails to create an airtight barrier. Today, we are mastering the physics of the "quiet kitchen" by creating sustainable alternatives that actually work. Let us get our hands into the texture of the process and turn these fibers into functional art.
THE STUDIO KIT
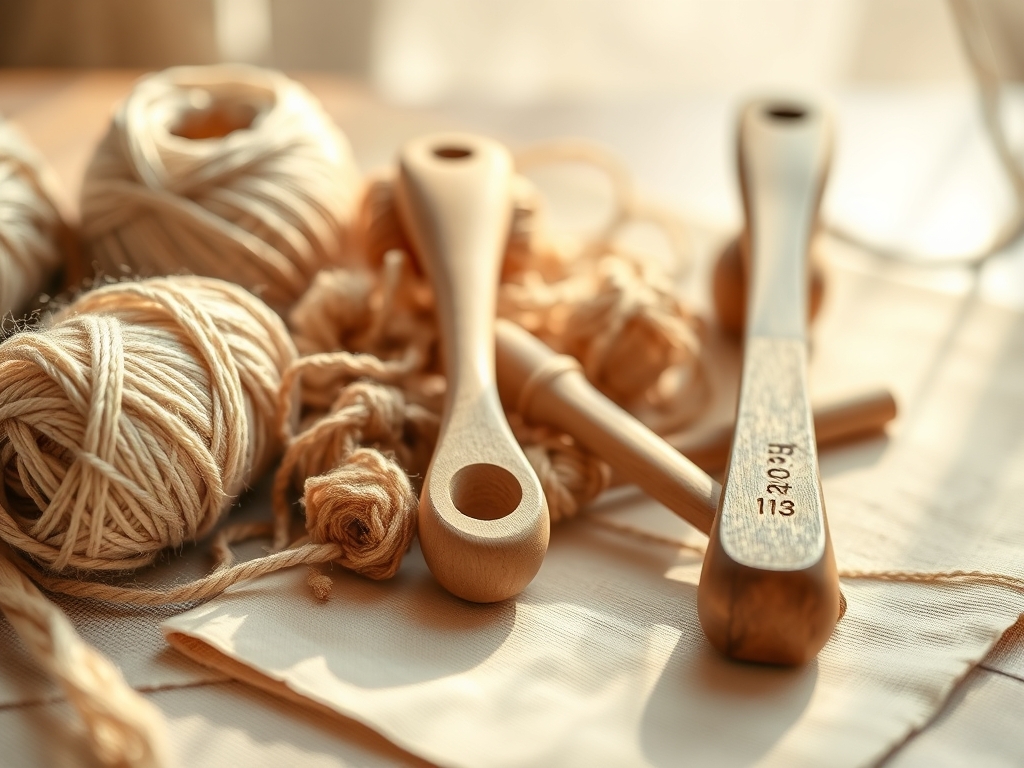
To achieve a professional finish, you need a curated selection of tools that respect the porous nature of your base materials. Start with 100 percent cotton fabric. Look for a high thread count; the tighter the weave, the less wax is required to saturate the fibers. You will need a rotary cutter and a self healing mat to ensure perfectly perpendicular edges. For the coating, source cosmetic grade beeswax pellets, pine resin for tackiness, and organic jojoba oil to prevent the wax from becoming brittle.
A dedicated silicone brush is essential for even distribution. Do not use your good pastry brushes; the resin is incredibly difficult to remove once it cools. You will also need high quality parchment paper to act as a barrier between your iron and the wax. For Material Substitutions, you can swap beeswax for candelilla wax if you want a vegan alternative. However, be aware that candelilla has a higher melting point and a different viscosity, so you may need to adjust your oil ratios. If you lack a rotary cutter, use heavy duty fabric shears, but ensure you follow the grain direction of the fabric to prevent fraying during the heating process.
THE TEMPO
The "Maker's Rhythm" is all about heat management and patience. This is not a rushed project; it is a steady flow. Total active time for a batch of six wraps is approximately forty five minutes. The first phase is the Prep Phase, which takes fifteen minutes. This involves measuring your fabric and mixing your wax blend. The second phase is the Saturation Phase, taking about five minutes per wrap. This is where you apply heat and watch the wax undergo a phase change from solid to liquid, wicking into the cotton fibers. Finally, the Curing Phase takes only two minutes. Once the wrap is lifted into the air, the rapid cooling causes the wax to solidify almost instantly. You must move with a steady, ergonomic grace to ensure the coating remains even across the entire surface area.
THE CORE METHOD
1. Precision Fabric Preparation
Use your rotary cutter to slice your cotton into various sizes. Common dimensions include small seven inch squares for jars and large twelve inch squares for bread. Ensure you are cutting along the warp and weft of the fabric. This structural alignment prevents the edges from unraveling over time. Mastery Tip: By cutting on the grain, you utilize the natural tensile strength of the cotton fibers, which ensures the wrap maintains its shape even after hundreds of uses.
2. The Resin and Wax Fusion
In a double boiler, combine your beeswax, pine resin, and jojoba oil. The resin provides the "cling" factor, while the oil ensures the final product is pliable. Use a digital thermometer to monitor the temperature. You are looking for a sweet spot between 150 and 170 degrees Fahrenheit. Mastery Tip: This temperature range ensures the viscosity is low enough for the mixture to penetrate the lumen of the cotton fiber without scorching the organic material.
3. Layering the Barrier
Place a sheet of parchment paper on your work surface, followed by the fabric, then a light sprinkling of your wax blend. Cover with a second sheet of parchment. Use a dry iron on a medium setting to melt the pellets. Move the iron from the center outward to push the liquid wax to the very edges of the fabric. Mastery Tip: This utilizes capillary action, where the liquid wax is drawn into the microscopic spaces between the threads, creating a fully saturated, waterproof membrane.
4. The Even Distribution Check
Peel back the top layer of parchment and inspect the fabric. It should look "wet" and slightly translucent. If you see opaque spots, it means the wax has not fully penetrated the interstitial spaces of the weave. Add a tiny bit more wax to those areas and re-apply heat. Mastery Tip: Ensuring total saturation is vital for structural integrity; any dry spots will become entry points for moisture and bacteria.
5. The Flash Cool
Quickly but carefully peel the fabric off the bottom parchment paper. Hold it by the corners and wave it gently in the air for thirty seconds. The wax will transition from a glossy liquid to a matte solid almost instantly. Mastery Tip: This rapid cooling, or "quenching," helps to lock the wax in a flexible crystalline structure, preventing it from becoming too crumbly when folded.
6. The Edge Burnish
Once the wrap is cool, lay it flat on a clean surface. Use a bone folder or the back of a spoon to firmly rub the edges. This creates a smooth, compressed seal that prevents the wax from flaking off at the perimeter. Mastery Tip: Burnishing the edges increases the density of the wax at the wear points, significantly extending the lifespan of the wrap.
THE TECHNICAL LEDGER
Maintenance & Longevity: To clean your wraps, use cool water and a mild, alcohol free soap. Heat is the enemy. If you use hot water, you will melt the wax and ruin the seal. With proper care, these wraps will last about a year. When they start to lose their "cling," simply place them back between parchment paper and re-iron them to redistribute the remaining wax.
Material Variations: For a premium version, use organic hemp fabric. Hemp has a higher fiber density and naturally antimicrobial properties, making it superior for long term food storage. If you are using recycled materials, ensure the fabric is 100 percent natural; synthetic blends like polyester will not absorb the wax and will likely melt under the iron.
The Correction:
- The Sticky Mess: If the wrap feels excessively gummy, you used too much resin. Fix this by sandwiching the wrap with a clean piece of fabric and re-ironing to "wick away" the excess.
- The Flake Factor: If the wax is cracking, the ratio of jojoba oil is too low. Add a few drops of oil directly to the wrap and reheat.
- The Uneven Seal: If the wrap won't stick to itself, the wax layer is too thin. Add a fresh sprinkle of the wax blend and re-saturate.
Studio Organization: Store your completed wraps flat or rolled in a cool, dark drawer. Do not fold them into tight squares for long term storage, as this can create permanent creases in the wax coating. Keep your leftover wax blend in a sealed glass jar away from direct sunlight to prevent the oils from going rancid.
THE FINAL REVEAL
Look at that! You have successfully navigated the thermodynamics of wax and the structural properties of textiles. Your kitchen is now equipped with beautiful, hand crafted Beeswax Food Wraps that smell like a summer meadow and work like a dream. The way the fabric yields to the warmth of your hands before cooling into a rigid seal is pure engineering brilliance. You have taken simple, sustainable ingredients and turned them into a high performance kitchen tool. It is quiet, it is tactile, and it is perfectly executed.
STUDIO QUESTIONS
How do I fix wraps that have lost their stickiness?
Place the wrap between two sheets of parchment paper and run a medium iron over it. This redistributes the existing wax. If it is still not tacky, sprinkle a small amount of fresh resin and wax blend before reheating.
Can I use these wraps for raw meat or fish?
No. Because these wraps cannot be washed in hot water, they cannot be properly sanitized after contact with raw proteins. Use them for vegetables, cheese, bread, or covering bowls. Stick to glass or stainless steel for raw meats.
Why is my beeswax wrap flaking off in small pieces?
Flaking usually occurs when the wax coating is too thick or the mixture lacks enough jojoba oil. To fix this, place the wrap between parchment and iron it to remove excess wax, or add a little oil.
How do I choose the best fabric for wraps?
Select 100 percent cotton or hemp with a fine, tight weave. Avoid thick denim or loose muslin. A higher thread count ensures even wax absorption and a smoother finish, which improves the overall seal and durability.
What is the best way to clean my wraps?
Rinse them in cool water using a tiny drop of eco friendly dish soap. Use your hands or a soft sponge to gently wipe away debris. Never scrub or use hot water, as this will strip the wax from the fibers.