Imagine standing over a steaming cauldron where the liquid looks like a swirling galaxy of crushed velvet and midnight oil. Your fingers tingle as you smooth out the porous surface of a raw linen scarf; it feels cool, crisp, and ready to be transformed. This is the ancient, scientific alchemy of Indigo Vat Dyeing, a process that turns light into shadow through the magic of oxidation. We are not just splashing pigment onto cloth here. We are manipulating the molecular bond between fiber and oxygen to create a blue so deep it feels like you could fall right into it.
The air in the studio smells earthy and sharp, a mix of fermented plants and wet stone. You can feel the tensile strength of the fabric in your hands as you prepare to submerge it. Unlike synthetic dyes that sit on top of the fiber like a coat of paint, indigo requires a literal chemical reduction to become soluble. It is a temperamental beast that demands respect, patience, and a little bit of swagger. If you have ever wanted to feel like a textile wizard wielding the power of the deep sea, you are in exactly the right place. Grab your apron and let us get messy.
THE STUDIO KIT
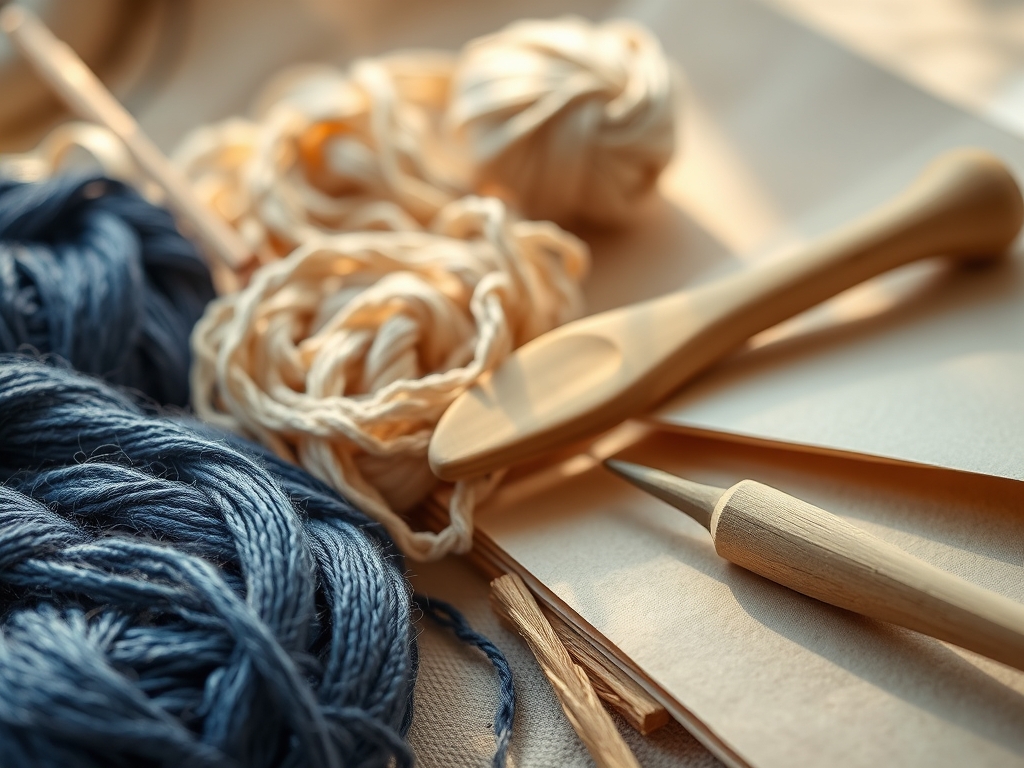
To master Indigo Vat Dyeing, you need more than just a bucket; you need a precision laboratory setup. Start with your indigo source. Professional makers use pre-reduced indigo crystals or natural indigo paste. You will also need a reducing agent like thiourea dioxide or sodium hydrosulfite to strip the oxygen from the water. To balance the pH, keep a bag of soda ash or pickling lime nearby. A digital pH meter is your best friend here; you are aiming for a highly alkaline environment between 10 and 11.
For handling the textiles, reach for a pair of long-handled stainless steel tongs and a set of heavy-duty rubber gloves that reach your elbows. You will also need a fine-mesh strainer and a stirring rod that reaches the bottom of your vat without creating excessive turbulence. For the fabric itself, stick to high-quality natural fibers. A high-thread-count cotton or a heavyweight silk works best because their capillary action allows the dye to penetrate deep into the core of the yarn.
Material Substitutions: If you cannot find soda ash, baked baking soda works in a pinch to raise the alkalinity. Instead of professional clamps for resist dyeing, you can use C-clamps from your woodshop or even heavy-duty binder clips to create crisp, geometric patterns. Just ensure any metal tools are stainless steel to prevent rust contamination in your beautiful blue brew.
THE TEMPO
The "Maker's Rhythm" in indigo work is less of a sprint and more of a rhythmic dance. Building a vat takes roughly one hour of active prep, but the liquid needs to "sleep" for at least four to six hours to reach chemical equilibrium. Once the vat is "live," the actual dipping process is a cycle of minutes. You will spend five minutes submerged, followed by twenty minutes of oxidation in the open air.
Expect to spend a full afternoon if you want a truly dark, midnight hue. Each "dip" adds a layer of color, and the most stable blues are built through six or seven light layers rather than one heavy soak. This slow buildup ensures the colorfastness of the textile, preventing the blue from rubbing off on your skin later. Patience is your most valuable tool in the studio.
THE CORE METHOD
1. Hydrating the Fiber
Before the fabric ever touches the blue, it must be scoured and pre-soaked in warm water. This opens the cuticle of the fiber, ensuring that the dye can flow evenly into the interstices of the weave. If the fabric is dry, air bubbles will get trapped in the threads, leading to splotchy, uneven color.
Mastery Tip: Use a neutral detergent to remove any factory waxes or oils. The surface tension of the water must be broken so the indigo can bypass the natural water-repellency of raw cotton.
2. Awakening the Vat
Mix your indigo, reducing agent, and alkali in a small jar of hot water first to create a "mother" solution. Gently pour this into your main vat. You must stir in a slow, circular motion to avoid introducing oxygen. You are looking for a "flower" to form on the surface; a metallic, coppery scum that indicates the oxygen has been successfully removed.
Mastery Tip: The science here is redox chemistry. Indigo is only soluble in an oxygen-free environment. If your vat looks bright blue, it is "dead" because it is too oxygenated. It should look yellowish-green beneath the surface foam.
3. The First Submersion
Lower your fabric into the vat with the grace of a submarine. Do not drop it in; slide it along the side of the container. Massage the fabric under the surface with your gloved hands to ensure the dye reaches every fold. Keep the fabric submerged for three to five minutes, ensuring it never touches the "sludge" at the very bottom of the vat.
Mastery Tip: Control the hydrostatic pressure by keeping the fabric flat. If you bunch it up, the dye will not reach the center, resulting in "ghosting" or unintended resist marks.
4. The Green Reveal
This is the most addictive part of the process. When you pull the fabric out, it will not be blue. It will be a ghostly, neon lime green. This is the indigo in its "leuco" or reduced state. Hang the fabric up immediately, ensuring it is spread wide so every inch is exposed to the air.
Mastery Tip: This is atmospheric oxidation. As the indigo molecules hit the oxygen in the air, they transition from a soluble green state to an insoluble blue state, locking themselves inside the fiber's molecular structure.
5. The Layering Cycle
Once the fabric has turned completely blue with no green patches remaining, it is time to go back in. Repeat the dipping and oxidizing process multiple times. Each dip builds the pigment density. For a pale sky blue, two dips might suffice. For a deep navy, you are looking at eight or more.
Mastery Tip: Always wait at least twenty minutes between dips. This allows the indigo to "set" so the next dip doesn't wash away the previous layer of color.
6. The Neutralizing Bath
After your final oxidation, the fabric is still highly alkaline, which can damage the protein bonds in silk or wool over time. Submerge the textile in a bath of cool water with a splash of white vinegar. This neutralizes the pH and helps "lock" the color.
Mastery Tip: Watch for the effervescence. The vinegar reacts with the residual soda ash, helping to flush out any unattached dye particles from the porous fibers.
7. The Final Scour
Wash the fabric in a gentle cycle with a dedicated textile detergent. This removes any "crocking" (excess dye that rubs off). Rinse until the water runs crystal clear. Hang your masterpiece in the shade to dry, as direct UV rays can degrade the indigo before it has fully cured.
Mastery Tip: Use a centrifuge or a high-speed spin cycle to remove excess water quickly. This prevents "bleeding" where the dye might settle in the lowest point of the hanging fabric due to gravity.
THE TECHNICAL LEDGER
Maintenance & Longevity: Indigo is incredibly lightfast, but it is sensitive to acids. Avoid wearing your indigo pieces if you are working with citrus or harsh cleaners. To maintain the tactile quality of the fabric, hand wash in cool water with a pH-neutral soap.
Material Variations:
- Sustainable: Use a "fructose vat" which utilizes fruit sugars and lime instead of harsh chemicals.
- Recycled: Indigo loves old denim or vintage hemp sheets; the weathered grain of the fabric takes the dye beautifully.
- Premium: Try dipping hand-spun mulberry silk. The luster of the silk combined with the matte depth of the indigo creates a stunning visual contrast.
The Correction:
- The Problem: The fabric has white spots. The Fix: This is caused by air bubbles. Use a bone folder to press out air from folds before dipping.
- The Problem: The dye is rubbing off on everything. The Fix: You skipped the wash. Re-scour the fabric with a hot water wash to remove loose pigment.
- The Problem: The vat turned blue and won't dye. The Fix: It is over-oxidized. Add a teaspoon of reducing agent and wait thirty minutes for it to return to a green state.
Studio Organization: Store your vat in a heavy-duty plastic bin with a tight-sealing lid. To prevent degradation, place a layer of plastic wrap directly on the surface of the liquid before sealing the lid to minimize the air gap.
THE FINAL REVEAL
Look at that! You have successfully navigated the cosmic depths of Indigo Vat Dyeing. Your fabric is no longer just a piece of cloth; it is a layered record of time and chemistry. The blue is rich, complex, and has a "living" quality that synthetic dyes can never replicate. When you hold it up to the light, you can see the subtle shifts in tone where the oxygen hit the fibers first. It feels soft, smells like the earth, and carries the weight of a craft perfected over thousands of years. You didn't just dye something; you conducted a symphony of molecules.
STUDIO QUESTIONS
How do I know if my indigo vat is healthy?
A healthy vat has a coppery, metallic sheen on the surface and a clear, yellowish-green liquid beneath. The pH should measure between 10 and 11 on a digital gauge, and the smell should be earthy rather than sulfurous or rotten.
Can I dye synthetic fabrics like polyester with indigo?
No. Indigo relies on the porous nature of natural cellulose or protein fibers. Synthetic fibers lack the necessary "hooks" for the indigo molecules to lodge themselves into, resulting in the dye simply sliding off during the first rinse cycle.
Why does my indigo look purple in the vat?
This usually indicates a high concentration of indigo or a slight shift in the light refraction through the metallic surface scum. As long as the liquid underneath is green, the purple "flower" is actually a sign of a very strong vat.
How many times can I reuse an indigo vat?
A well-maintained vat can last for months or even years. You simply need to "sharpen" it by adding more indigo and reducing agents periodically. Always monitor the pH and sediment levels to ensure the chemical balance remains stable for dyeing.