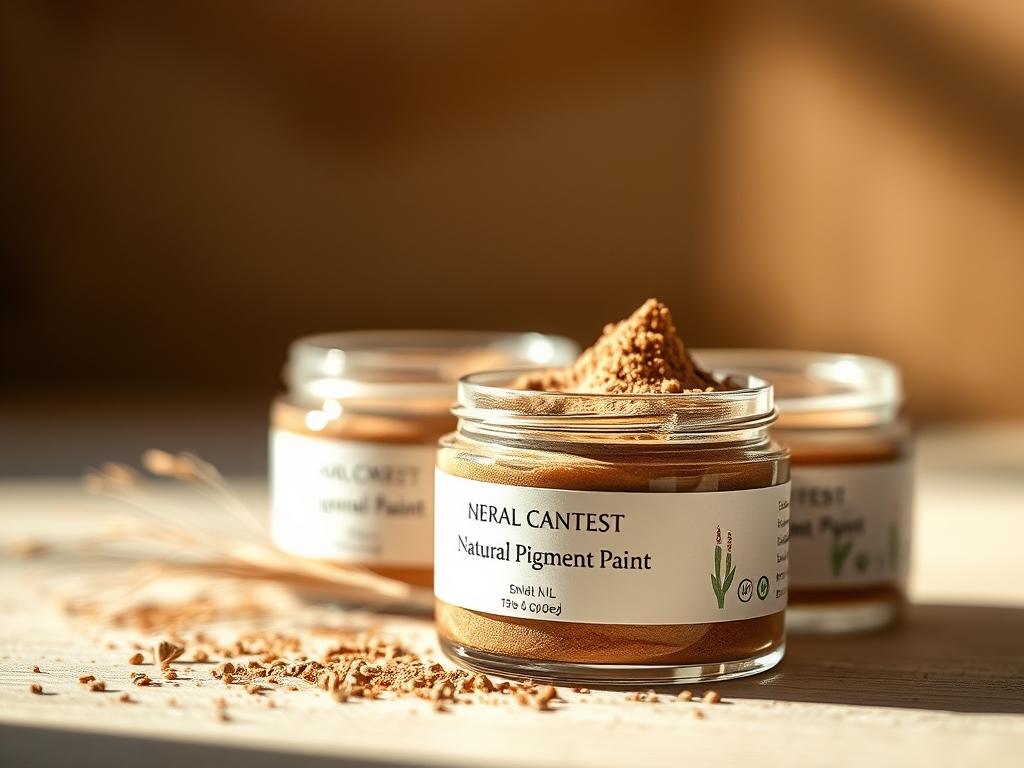
Imagine the grit of raw earth beneath your fingernails and the cooling sensation of damp clay against your palms. Making your own Natural Pigment Paints is not just a craft; it is a deep dive into the geological history of your own backyard. When you crush a sun-bleached stone or sift through charred oak remains, you are interacting with the molecular stability of minerals that have remained unchanged for millennia. The tactile experience of grinding these raw materials into a fine, impalpable powder is incredibly satisfying. It feels like unlocking a secret code hidden within the landscape. As you fold these powders into a binder, the transformation from dull debris to vibrant, lightfast medium happens right before your eyes. This process demands a connection to the physical world that digital art simply cannot replicate. We are going to harness the chemical properties of iron oxides, tannins, and carbonates to create a palette that is entirely unique to your local geography. Grab your apron and clear your workbench; we are about to turn dirt into fine art.
THE STUDIO KIT
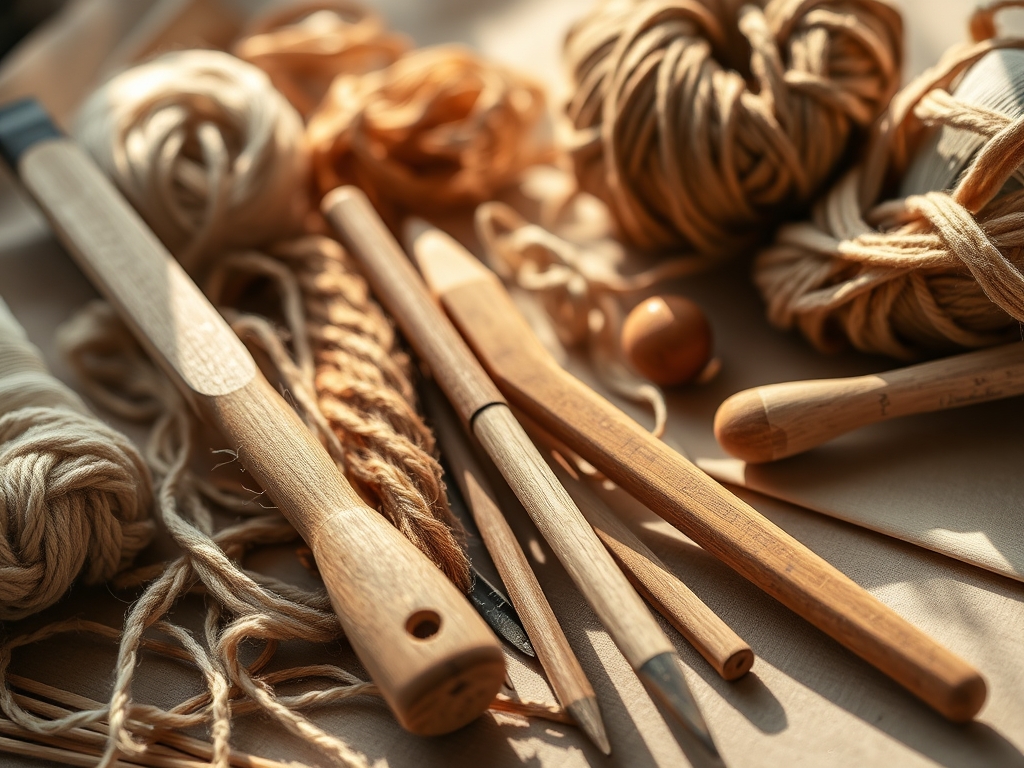
To master the extraction of Natural Pigment Paints, your studio requires tools that can handle high-friction grinding and precise liquid suspension. You will need a muller and glass slab for the levigation process. This tool set ensures that pigment particles are evenly coated in the binder without air pockets. A 50-mesh stainless steel sieve is essential for the initial separation of organic debris from mineral deposits. For fine-tuning the particle size, keep a set of digital calipers nearby to measure the thickness of your dried paint films; this helps in assessing the pigment-to-binder ratio. You will also need a glass mortar and pestle for the primary crushing phase, as its non-porous surface prevents cross-contamination between colors.
Material Substitutions: If you lack a professional glass muller, a flat-bottomed heavy glass jar can serve as a functional alternative for mulling on a smooth tile. Instead of gum arabic, you can utilize honey or egg yolk as a traditional tempera binder. For sifting, a fine-weave silk screen or even discarded nylon stockings can act as a high-gauge filter to catch larger aggregates that would otherwise ruin the smooth application of the paint.
THE TEMPO
The Maker's Rhythm for creating pigment is a slow, methodical dance between mechanical force and chemical patience. Expect to spend approximately two hours on the "Harvest Phase," where you scout and collect your eight sources. The "Refinement Phase" takes the longest, requiring about four to six hours of manual grinding and washing to ensure the tensile strength of the resulting paint film is not compromised by large, jagged particles. Finally, the "Setting Phase" requires twenty-four hours for the pigments to fully saturate within the binder. This tempo allows the surface tension of the liquid to stabilize, preventing the pigment from crashing out of the suspension.
THE CORE METHOD
1. Iron-Rich Red Clay
Search for deep orange or red veins in exposed soil banks. These are rich in hematite and goethite. Dig a small sample and dry it completely before processing.
Mastery Tip: The capillary action of water helps separate fine clay particles from heavy sand. Use a process called levigation by stirring the clay into water and pouring off the top layer after the sand settles; this ensures a smooth, buttery texture.
2. Charred Hardwood Carbon
Collect charcoal from a clean wood fire, specifically targeting oak or maple for a dense, neutral black. Avoid wood that has been treated with chemicals or accelerants.
Mastery Tip: Carbon is hydrophobic, meaning it resists mixing with water-based binders. To fix this, use a drop of high-proof alcohol to break the surface tension before adding your gum arabic; this allows the pigment to integrate rather than float on top.
3. Oxidized Copper Scrap
If you find old copper wiring or flashing in the garden shed, allow it to weather or accelerate the process with vinegar to create verdigris. This provides a stunning, albeit reactive, turquoise.
Mastery Tip: Copper pigments are chemically active and can change color over time. To preserve the structural integrity of the hue, ensure the pigment is thoroughly neutralized with a distilled water rinse before mulling it into a binder.
4. Dried Marigold Petals
Yellows can be harvested from dense floral heads. Dry the petals until they are brittle and grind them into a fine dust. These organic pigments offer a translucent quality unlike mineral earths.
Mastery Tip: Organic lake pigments require a mordant like alum to "fix" the dye onto a physical substrate. This increases the lightfastness of the pigment, preventing the ultraviolet rays from breaking down the delicate molecular bonds of the color.
5. Shale and Soft Slate
Look for sedimentary rocks that flake easily. These can be ground into sophisticated grays and muted blues. Use a heavy hammer to break them into manageable gauges before using the mortar.
Mastery Tip: Slate contains high levels of silicates which can be abrasive. Use a burnish technique when applying the finished paint to flatten the microscopic plates of the mineral; this creates a natural sheen and improves the durability of the dried surface.
6. Black Walnut Hulls
The outer husks of fallen walnuts produce a rich, permanent sepia. Harvest them when they are soft and black, then boil them to extract the concentrated tannins.
Mastery Tip: Tannins are highly acidic. When creating a pigment from the extract, you must balance the pH to prevent the porous paper fibers from degrading over time. A small amount of calcium carbonate can act as a buffer.
7. Yellow Ochre Silt
Check creek beds for soft, yellow-tinted mud. This is hydrated iron oxide. Once dried and powdered, it provides one of the most stable and opaque pigments available in nature.
Mastery Tip: The grain direction of your brushstrokes will be more visible with ochre due to its high refractive index. Mulling the pigment for an extra thirty minutes will reduce the particle size to a sub-micron level, resulting in a professional-grade finish.
8. Chalk or Limestone Deposits
White pigment is essential for creating pastels and highlights. Soft limestone can be crushed and sifted to create a bright, opaque white that acts as an excellent filler.
Mastery Tip: Limestone is calcium carbonate, which has a high alkalinity. When mixing, be aware that it can react with certain organic pigments, potentially shifting their hue. Always perform a small swatch test to observe the chemical compatibility.
THE TECHNICAL LEDGER
To maintain the longevity of your Natural Pigment Paints, store them in airtight glass vials away from direct sunlight. Organic pigments, such as those from flowers or hulls, are prone to biological growth; adding a single drop of clove oil acts as a natural preservative.
Material Variations: For a premium experience, use a honey-based binder to increase the humectant properties of the paint, keeping it moist on the palette. Sustainable practitioners might use recycled glass jars for storage, ensuring the seals are tight to prevent evaporation.
The Correction:
- The Gritty Wash: If the paint feels scratchy, your particle size is too large. Fix: Re-grind the dried paint on the glass slab with more binder until the friction disappears.
- The Cracking Film: If the paint flakes off the paper, the binder is too weak. Fix: Increase the concentration of gum arabic to improve the tensile strength of the dried layer.
- The Mold Bloom: If a fuzzy layer appears on your liquid paints, they were stored with too much moisture. Fix: Dry the pigments into solid "pans" or cakes to remove the environment needed for spores to thrive.
Studio Organization: Arrange your pigments by chemical family (oxides, carbonates, organics) rather than just color. This helps you predict how they will behave when mixed. Use a labeling system that notes the date and specific backyard coordinate of the harvest.
THE FINAL REVEAL
Look at that palette! You have successfully distilled the raw energy of the earth into a sophisticated suite of artist materials. The depth of color in these Natural Pigment Paints is breathtaking; there is a vibrating, organic quality to the ochres and carbons that synthetic paints simply cannot match. When you brush these onto a heavy-gauge watercolor paper, you can feel the tactile connection between the landscape and your creativity. Your backyard is no longer just a plot of grass; it is a limitless reservoir of artistic potential. You have mastered the physics of grinding, the chemistry of binders, and the art of the harvest. Now, go create something that only your specific piece of the earth could produce!
STUDIO QUESTIONS
Why is my natural paint fading so quickly?
This is likely due to low lightfastness in organic pigments like flower petals. To fix this, use a mordant during extraction or protect the finished work with a UV-resistant archival spray to shield the molecular bonds.
Can I use a blender instead of a mortar and pestle?
While a blender handles bulk breakdown, it cannot achieve the micron-level fineness required for professional paint. The ergonomic motion of a muller is necessary to fully coat each pigment particle in the binder for a smooth finish.
Is it safe to harvest any rock for pigment?
Most earth minerals are safe, but avoid bright greens or yellows near industrial sites, as these can contain heavy metals like arsenic or lead. Stick to identified clays and stones to ensure your studio safety remains uncompromised.
How do I know if I added enough binder?
Perform a "smear test" by painting a small patch and letting it dry. If the pigment rubs off on your finger, the tensile strength is too low; add more gum arabic to properly anchor the particles to the substrate.
Why does my black paint look gray when dry?
Carbon pigments often require a higher pigment-to-binder ratio because they are incredibly lightweight. If it looks gray, the binder is over-diluting the carbon. Increase the pigment density during the mulling phase for a deeper, midnight black.