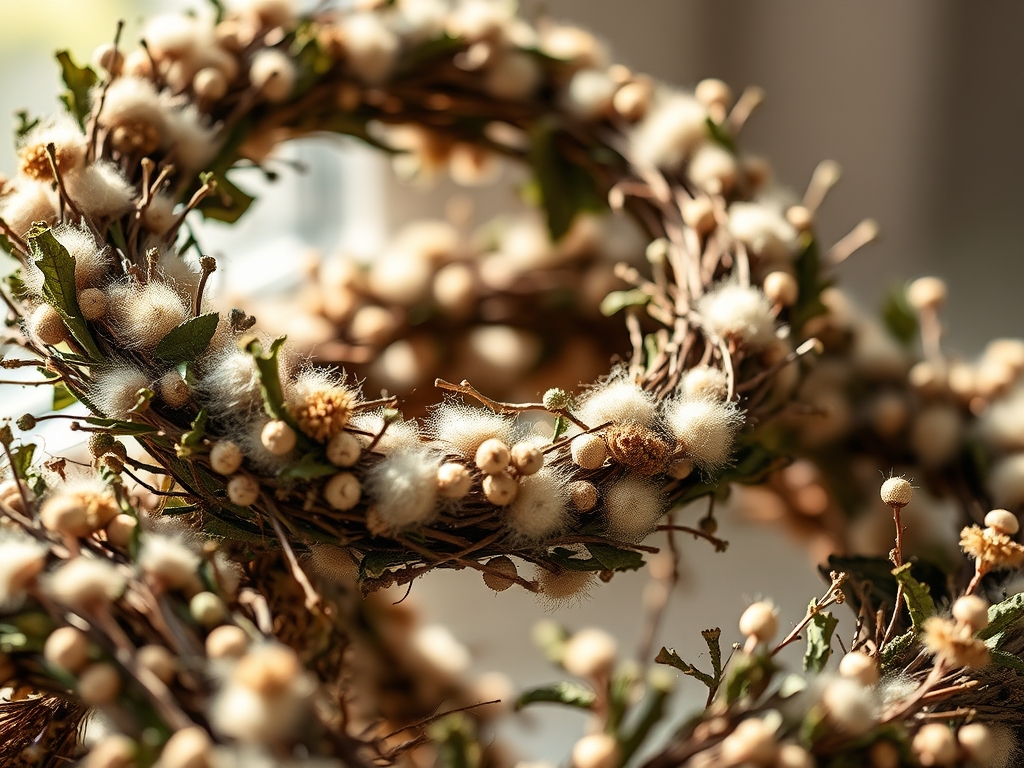
The air outside is sharpening into a blade of frost; it is the perfect moment to step into the woods and claim your materials. When you set out to create Hand Foraged Wreaths, you are not just gathering greenery; you are harvesting the structural integrity of the forest itself. There is a specific, tactile thrill in feeling the tensile strength of a fresh willow branch or the sticky, resinous coating of a pine bough that promises a scent profile capable of filling a room for weeks. We are looking for more than just aesthetics. We are hunting for vascular health in the stems and a variety of needle densities that will provide both volume and shadow. As you clip your first branch, notice the snap of the wood; it tells you everything you need to know about the moisture content and how long that branch will remain vibrant before the needles begin to desiccate. We are building a living sculpture that breathes.
THE STUDIO KIT
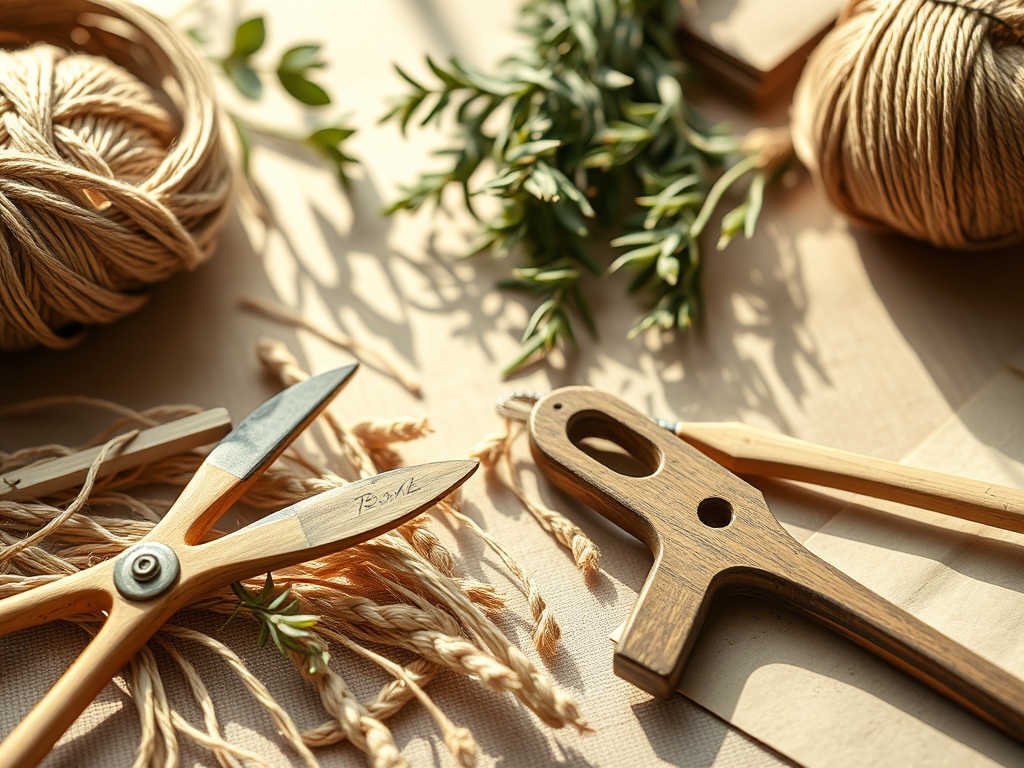
To master the art of Hand Foraged Wreaths, your toolkit must prioritize ergonomic efficiency and precision. You will need a pair of high carbon steel bypass pruners to ensure clean cuts that do not crush the xylem and phloem of the stems. Grab a spool of 22 gauge paddle wire; this thickness offers the ideal balance of flexibility and tensile strength to secure heavy boughs without snapping under tension. For the base, you can use a pre-made grapevine frame or, for the purists, fresh dogwood or willow whips that you will burnish and weave yourself.
Material Substitutions are vital if your local ecology differs. If you lack heavy evergreens, use dried eucalyptus or bay laurel; these offer a similar porous surface area for scent retention. If paddle wire is unavailable, high-strength jute twine works, though it lacks the mechanical grip of coated metal. Always keep a small awl or a pair of needle-nose pliers handy to tuck stray wire ends back into the foliage to prevent scratching your studio surfaces.
THE TEMPO
The "Maker's Rhythm" for this project is divided into three distinct phases. First is the Harvest Phase (60 to 90 minutes), where you scout and clip. This requires a slow pace to ensure you are selecting branches with consistent internodal spacing. Second is the Processing Phase (45 minutes), where you strip the lower two inches of every stem and group your materials by texture. Finally, the Assembly Phase (60 minutes) is where the magic happens. This is a repetitive, meditative flow. You will find that as you find your groove, your hands will begin to intuitively measure the mass and distribution of each bundle, ensuring the wreath remains balanced and does not lean once hung.
THE CORE METHOD
1. Constructing the Foundation
Your base is the skeleton of the entire operation. If you are using fresh willow, you must wrap the branches while they are still green and pliable to take advantage of their natural elasticity. Overlap the ends by at least six inches and secure them with wire, creating a circle that can withstand the downward force of gravity once the heavy greens are added.
Mastery Tip: Understand the structural integrity of your base. A wreath is a cantilevered system; if the top anchor point is weak, the weight of the bottom will cause the circle to warp into an oval over time.
2. Creating the Bundles
Pick three different species of greens for each bundle to create a gradient of texture. For example, layer a flat cedar branch behind a tuft of white pine, then top it with a sprig of berried juniper. Each bundle should be roughly six inches long. Ensure the stems are aligned so that when you wrap them, the wire hits the thickest part of the wood.
Mastery Tip: Use the principle of friction coefficients. By mixing smooth needles with rough bark, the bundles "lock" together more effectively under the pressure of the wire, preventing individual stems from sliding out as they dry and shrink.
3. The Shingling Technique
Place your first bundle against the frame and wrap the wire around the stems three times, pulling tight to compress the fibrous tissues. Place the second bundle so it overlaps the stems of the first, just like shingles on a roof. This hides your mechanics and creates a seamless, lush appearance.
Mastery Tip: Watch your radial symmetry. If you place more mass on the outer edge than the inner edge, the wreath will appear "heavy." Use a pair of calipers or simply your hand span to check the width of the wreath at the 12, 3, 6, and 9 o'clock positions.
4. Integrating the Final Bundle
The last bundle is the most technical. You must lift the "head" of the very first bundle you attached and tuck the stems of the final bundle underneath it. This creates a continuous loop with no visible beginning or end. Secure the wire to the back of the frame by twisting it into a tight coil and burying the sharp end into the wood.
Mastery Tip: This step relies on capillary action management. By tucking the stems tightly, you create a micro-climate of humidity within the foliage, which helps the needles retain their moisture and scent for a longer duration.
THE TECHNICAL LEDGER
Maintenance & Longevity: To keep your wreath from becoming a fire hazard, mist it every two days with room temperature water. The stomata on the underside of the needles will absorb the moisture, maintaining the internal turgor pressure of the plant cells.
Material Variations: For a premium look, integrate "Silver Fir" for its high albedo (reflectivity) or "Incense Cedar" for its heavy resin load. If you want a sustainable approach, use reclaimed copper wire from old electronics to bind your bundles; it adds a beautiful, hidden industrial gleam.
The Correction:
- The Sag: If the wreath looks bottom-heavy, your wire tension was too loose. Fix it by adding "booster bundles" to the top and securing them with a secondary layer of wire.
- The Shed: If needles are falling immediately, the branch was already in a state of senescence. Replace those specific sections with fresh hemlock or spruce.
- The Gap: If you see the wire, your overlap was insufficient. Use a hot glue gun to "plug" the hole with small tufts of moss or lichen.
Studio Organization: Store your leftover greens in a cool, dark place with the stems submerged in an inch of water. This prevents oxidative stress and keeps your "inventory" ready for repairs or smaller projects like garlands.
THE FINAL REVEAL
Stand back and take a breath; that hit of forest floor and crisp winter air is the result of your hard work. Your Hand Foraged Wreaths should look like a slice of the wilderness brought into focus. The tactile contrast between the feathery cedar and the rigid pine creates a visual rhythm that draws the eye in a perfect circle. Because you respected the physics of the materials, this piece will age gracefully, transitioning from a vibrant green to a sophisticated, muted sage as it dries. It is a testament to your skill as a maker and your connection to the seasonal cycle.
STUDIO QUESTIONS
Which greens last the longest indoors?
Fraser Fir and Douglas Fir have the highest needle retention rates. Their vascular structure allows them to hold moisture even in dry, heated indoor environments, making them the gold standard for longevity in hand foraged wreaths.
How do I prevent my wreath from dripping sap?
Sap is a result of high resin pressure. To mitigate drips, let your cut branches sit in a cool garage for 24 hours before assembly. This allows the resin to crystallize slightly at the cut site, sealing the wound.
Can I use a metal frame instead of wood?
Yes, a wire frame offers high tensile strength and a consistent shape. However, you must use more material to cover the "industrial" look of the metal, whereas a wood base blends into the natural aesthetic seamlessly.
What is the best way to hang a heavy wreath?
Use a heavy-duty "S" hook or a dedicated wreath hanger. Ensure the anchor point is attached to the structural frame of the wreath, not just a few branches, to distribute the weight and prevent tearing.
How do I revive a dry wreath?
If the needles feel brittle, the cellular walls are collapsing. You can briefly submerge the entire wreath in a tub of cold water for one hour. This rehydrates the tissues via osmosis, though it only works once or twice.