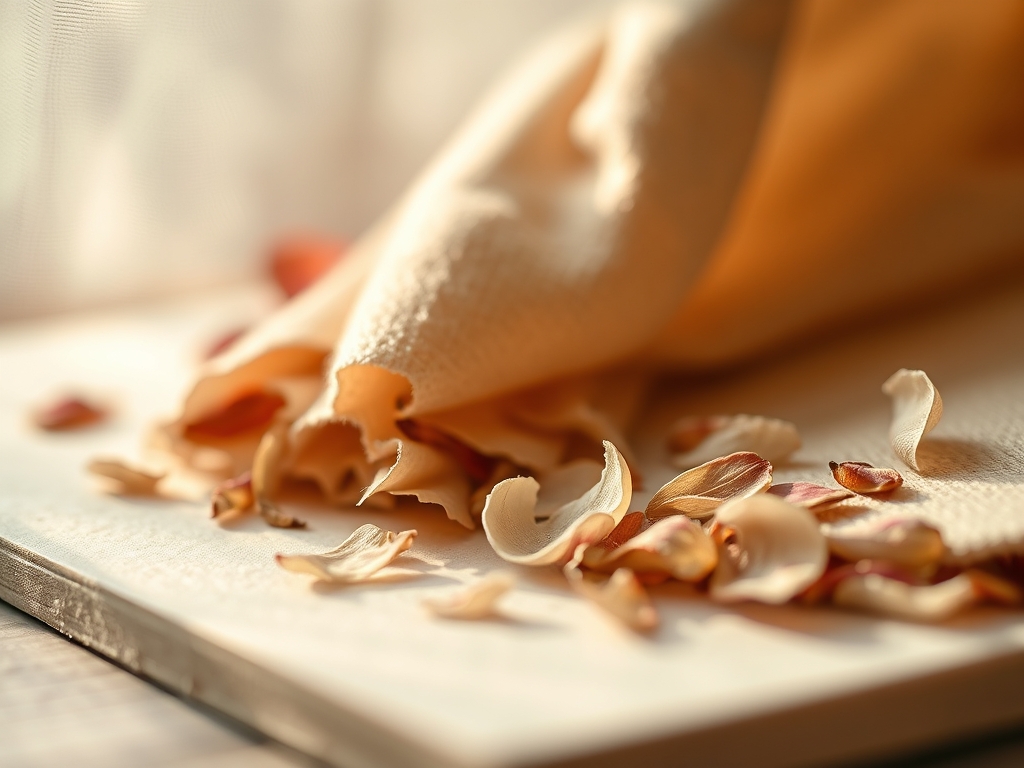
Imagine the crisp snap of a dried hydrangea petal or the velvet resistance of a damp cotton rag. We are diving deep into the tactile world of Paper Making With Petals today. It is more than just a craft; it is a literal restructuring of cellulose fibers to create a bespoke canvas. You are not just recycling; you are performing a chemical and mechanical transformation that results in a high-tensile, organic medium.
THE STUDIO KIT
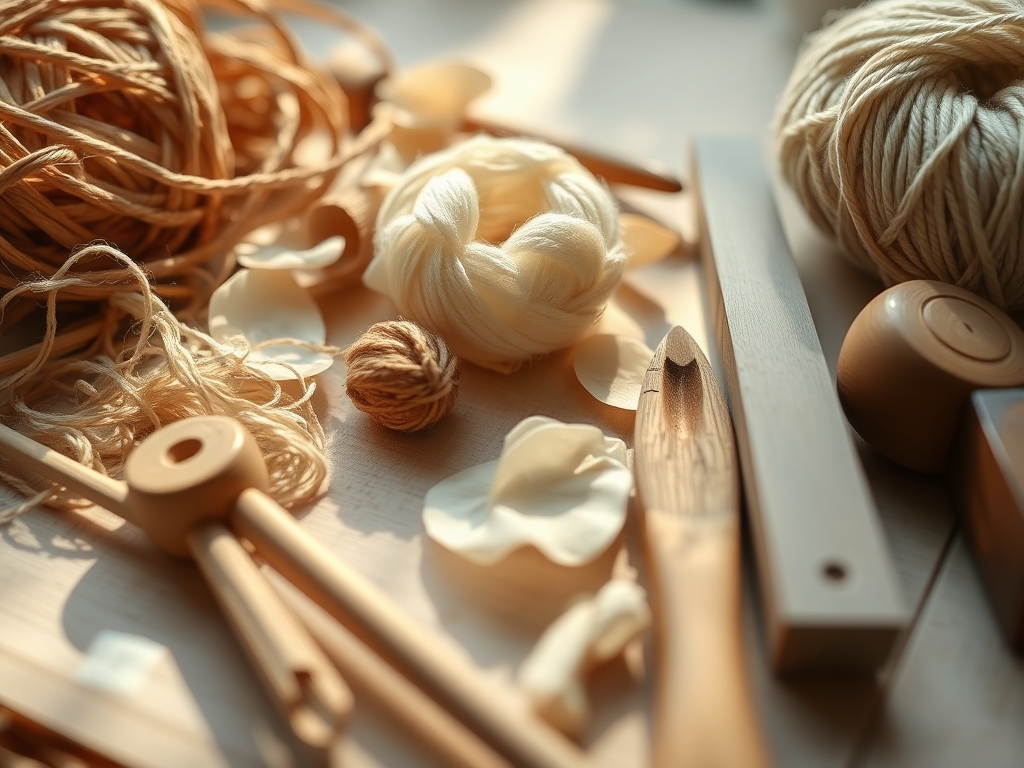
To master this process, you need a kit that respects the physics of fluid dynamics. Your primary tool is the mould and deckle, a two-part frame system that uses a fine mesh screen to filter water while retaining solids. You will also need a high-speed blender to achieve a consistent pulp suspension, a large vat (deeper than a standard basin to allow for proper agitation), and a stack of wool felts or "couching" cloths.
Technical Fact: The mesh size on your deckle determines the porosity and surface texture of the final sheet. A finer mesh results in a smoother finish but requires a slower "pull" to prevent suction tears.
Material Substitutions:
If you lack a professional mould, a fine window screen stapled to a wooden frame works. Instead of expensive cotton linters, use non-glossy junk mail or egg cartons. For the floral elements, ensure they are dried or pressed; fresh petals contain high moisture levels that can cause localized rot if the drying process is too slow.
THE TEMPO
The maker's rhythm is dictated by the evaporation rate and the saturation point of your fibers. Preparing the pulp takes approximately thirty minutes of active blending and hydration. The actual "dipping" phase is a fast-paced, rhythmic dance that lasts about an hour for a dozen sheets. However, the maturation phase is where the science happens. Your sheets will need twenty-four to forty-eight hours to achieve full structural integrity as the hydrogen bonds lock together during the drying process.
THE CORE METHOD
1. The Pulp Liquefaction
Begin by shredding your recycled base material into one-inch squares. Submerge these in warm water for at least two hours to break down the existing sizing agents. Transfer the mixture to a blender, using a ratio of two parts water to one part fiber. Pulse until the mixture reaches the consistency of watery oatmeal.
Mastery Tip: This is about interlocking morphology. The longer the fibers remain intact, the higher the tensile strength of your paper. Over-blending creates "short" fibers, which results in a brittle, fragile sheet that will crack when folded.
2. The Floral Infusion
Pour your pulp into the vat and add your dried petals and wildflower seeds. Use a wooden paddle to agitate the water, ensuring the petals are evenly distributed throughout the suspension. Do not blend the seeds; the mechanical heat of the blades can damage the embryo, rendering them sterile.
Mastery Tip: This step relies on buoyancy control. If your petals sink too quickly, your pulp is too thin. Adding a small amount of liquid cornstarch acts as a "retention aid," helping the heavy seeds stay suspended in the fiber matrix.
3. The Vertical Pull
Submerge your mould and deckle vertically into the vat, then turn it horizontally and lift it straight up in one fluid motion. Give it a gentle "shake" side-to-side and front-to-back as the water drains. This aligns the fibers in a multi-directional grid.
Mastery Tip: This movement utilizes surface tension to create an even "mat." The shaking motion is critical because it prevents the fibers from all laying in one direction, which would create a weak "grain" susceptible to tearing.
4. The Couching Transfer
Once the water stops dripping, remove the deckle frame. Flip the mould onto a damp felt sheet with a confident, rolling motion. Use a sponge to press firmly against the back of the screen, suctioning out excess moisture before lifting the mould away.
Mastery Tip: This is a lesson in capillary action. The felt is more absorbent than the mesh, so the water moves toward the felt, pulling the pulp with it. This transfer is the most common point of failure for beginners.
5. The Final Compression
Stack your wet sheets between layers of felt and plywood. Apply heavy pressure using a book press or a set of C-clamps. This forces the fibers into intimate contact, creating a dense, professional ply. After pressing for six hours, remove the sheets and lay them flat to air dry.
Mastery Tip: Compression increases the bulk density of the paper. Without this mechanical force, the paper remains "fluffy" and porous, which causes ink to bleed or "feather" when you try to write on it later.
THE TECHNICAL LEDGER
Maintenance & Longevity:
Your mould and deckle must be rinsed with distilled water and dried away from direct sunlight to prevent the wooden frames from warping. Store your mesh screens vertically to avoid "sagging," which would result in uneven paper thickness in future batches.
Material Variations:
- Sustainable: Use harvested invasive species like garlic mustard for a high-cellulose, eco-friendly pulp.
- Recycled: Old denim scraps provide incredible durability, though they require a heavy-duty industrial blender.
- Premium: Adding abaca or kozo fibers creates a translucent, "washi" style finish that is incredibly strong despite its thin gauge.
The Correction:
- Lumpy Surface: Your pulp is too thick. Add more water to the vat to allow the fibers to disperse.
- Petals Falling Out: You added the petals after the sheet was formed. They must be integrated into the slurry so the fibers can lock them in place.
- Tearing During Couching: The felt was too dry. Always pre-soak and wring out your couching cloths to ensure a smooth release.
Studio Organization:
Keep your dried petals in airtight glass jars organized by color and weight. Store your finished Paper Making With Petals sheets in a cool, dark drawer with acid-free glassine paper between them to prevent the natural pigments from fading or transferring.
THE FINAL REVEAL
Look at that texture! You have successfully trapped a moment of spring inside a structural matrix of recycled fiber. The way the light catches the translucent edges of the petals against the matte, organic background is pure studio magic. These sheets feel substantial in the hand; they have a "rattle" and a weight that mass-produced paper simply cannot replicate. Whether you use them for botanical prints or as plantable gift tags, you have mastered the physics of the pour.
STUDIO QUESTIONS
How do I keep the seeds from sprouting early?
Avoid using hot water during the pulping process. Excessive heat and prolonged moisture trigger germination. Dry your finished sheets quickly in a well-ventilated area or near a fan to ensure the seeds remain dormant until they are planted.
What is the best way to write on this paper?
Because handmade paper is porous, use a bone folder to burnish the surface first. This flattens the fibers. Use high-pigment acrylic ink or a felt-tip pen; fountain pen ink may "feather" due to the lack of chemical sizing.
Can I use any flower for paper making?
Most flowers work, but those with low moisture content like marigolds, cornflowers, and lavender hold their color best. Avoid succulents or very fleshy flowers, as their high water content can lead to browning and mold during the long drying phase.
Why is my paper brittle once it dries?
Brittleness usually indicates your fibers are too short or you used paper with high clay content, like magazine pages. Mix in some long-fiber material like cotton scraps or raw hemp to increase the overall tensile strength and flexibility.