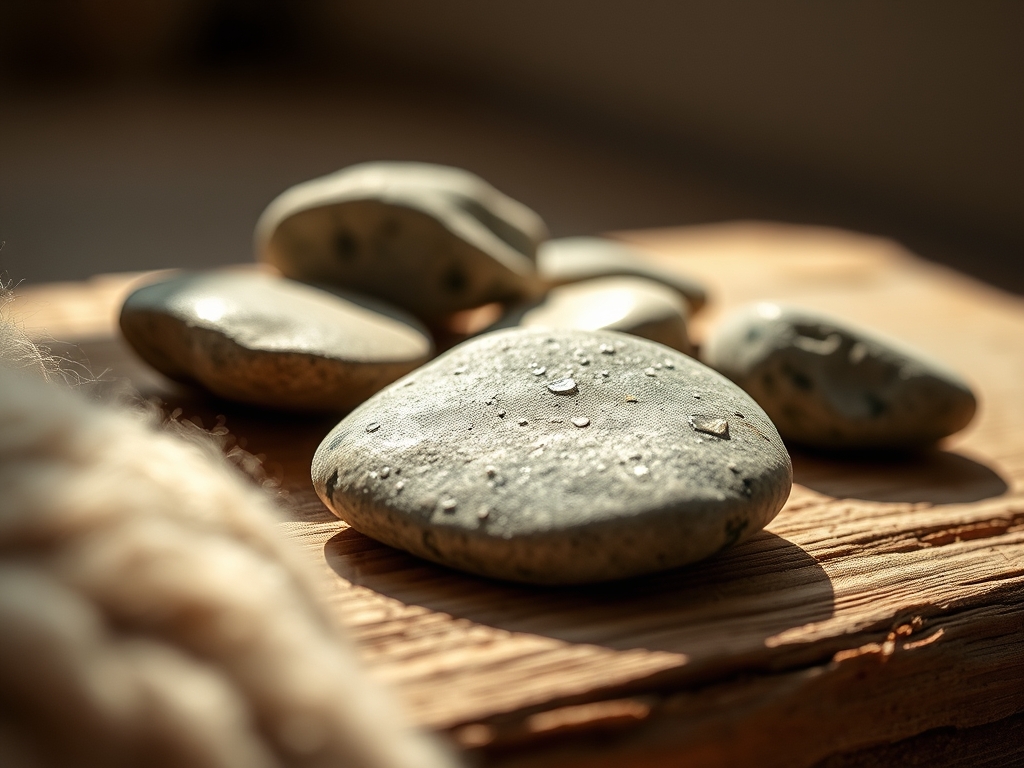
Grab a seat at my workbench because we are about to turn literal dirt into diamonds; or at least into the most satisfying, glass-smooth Hand Polished Stones you have ever felt. There is a specific, primal electricity that happens when you pick up a raw, jagged river rock and realize that hidden beneath that dusty crust is a universe of crystalline structures waiting for a spotlight. We are talking about tactile magic here. As you run your thumb over a finished piece, the friction coefficient drops so low it feels like holding a drop of frozen water. This project is not just about aesthetics; it is about the physics of abrasion and the meditative rhythm of the grind. We are going to use high-grit silicon carbide and a little bit of elbow grease to transform ordinary minerals into pocket charms that carry the weight of the earth and the shine of a mirror. Forget the loud, clattering rock tumblers that take weeks. We are going deep into the manual art of the hand-rub, where you feel every microscopic peak of the stone being leveled into a perfect, ergonomic plane.
THE STUDIO KIT
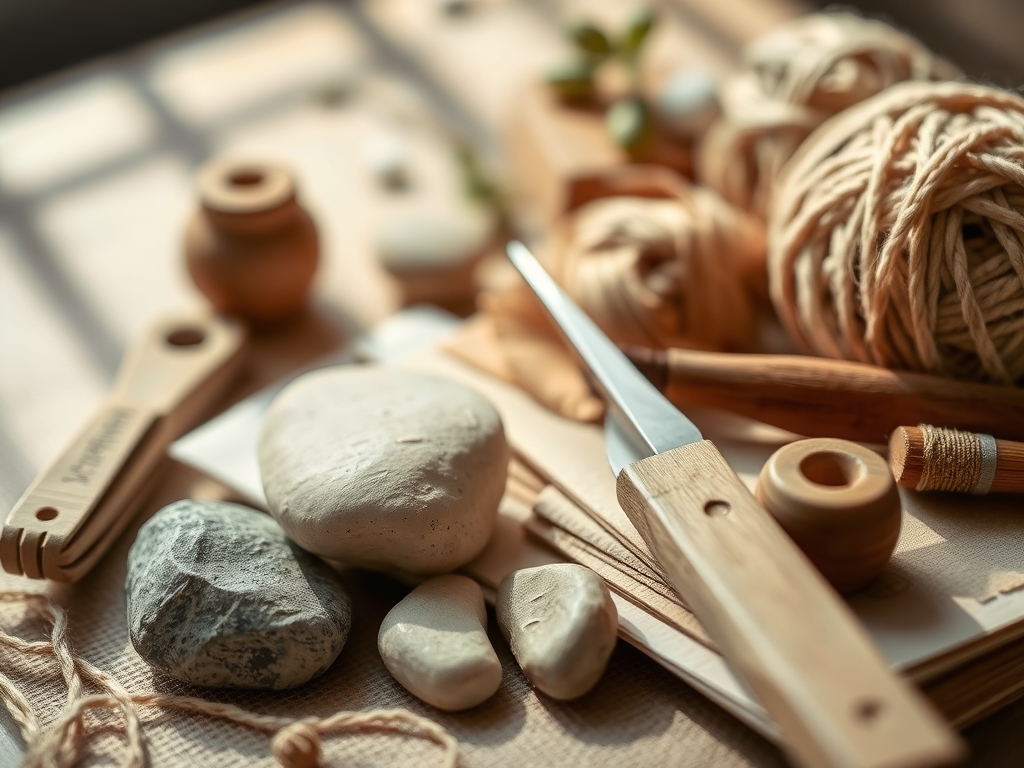
To master the art of Hand Polished Stones, your kit needs to be a balance of grit and grace. You will need a set of **silicon carbide sandpaper** ranging from 80 grit for heavy material removal up to 3000 grit for that final optical clarity. Grab a **digital caliper** to measure your progress; precision matters when you are aiming for perfect symmetry. You will also need a **tempered glass plate** or a flat granite slab to act as your leveling base. For the final stage, a **leather strop** or a piece of heavy denim paired with **cerium oxide polishing powder** is non-negotiable for achieving a professional luster. If you are working with softer minerals like fluorite or calcite, keep a **jeweler’s saw** nearby to trim away unwanted host rock.
Material Substitutions: If you cannot find cerium oxide, a high-grade aluminum oxide powder or even a whitening toothpaste (the gritty kind) can work in a pinch for softer stones. No granite slab? Use the back of a ceramic floor tile. Just ensure the surface is perfectly flat to avoid creating unwanted facets on your stone.
THE TEMPO
The "Maker's Rhythm" is a three-act play. Act one is the Coarse Reduction, which takes about forty minutes of vigorous circular motion. This is where you fight the stone's natural resistance. Act two is the Refinement Phase, a steady, two-hour climb through the mid-range grits. This is the most meditative part; your ears will tune into the changing pitch of the friction as the surface becomes smoother. Act three is the Polishing Peak, a thirty-minute sprint where the stone finally "pops." Total active time is roughly four hours per stone. Do not rush the transition between grits. If you leave a single 200-grit scratch and move to 1000-grit, that scratch will haunt your finished piece like a ghost in the machine.
THE CORE METHOD
1. The Foundation Grind
Start with your 80-grit paper submerged in a shallow tray of water. Place the paper on your glass plate and move the stone in a figure-eight pattern. This motion ensures even wear on the paper and prevents you from favoring one side of the stone.
Mastery Tip: This step relies on hydrodynamic lubrication. The water flushes away "swarf" (the stone dust), preventing the sandpaper from clogging and ensuring the abrasive grains can bite deeply into the mineral surface.
2. Eliminating the Micro-Fractures
Switch to 220-grit. You are looking for a uniform, matte finish. Dry the stone frequently to inspect it under a bright light. If you see any shiny spots or deep pits, go back to the previous grit.
Mastery Tip: At this stage, you are managing surface tension. The water should sheet off the stone evenly. If it beads, you still have irregular textures or oils that will prevent a uniform polish later.
3. The Smoothing Transition
Move through 400, 600, and 800 grits. Spend exactly ten minutes on each. The stone will start to feel "soapy" or slick against the paper.
Mastery Tip: This is the science of mechanical abrasion. Each subsequent grit replaces the deep scratches of the previous one with shallower ones. By the time you hit 800, the scratches are smaller than the human eye can easily perceive.
4. Refining the Geometry
At 1200-grit, use your calipers to check the thickness and curvature. This is your last chance to fix the shape before the final shine.
Mastery Tip: Use ergonomic pressure. Do not white-knuckle the stone; instead, let the weight of your hand do the work. Excessive pressure can cause "plucking," where tiny chunks of the crystal lattice are ripped out instead of being sanded down.
5. The Pre-Polish Glow
Step up to 3000-grit. The stone should now have a soft, satiny sheen even when dry. It should feel almost soft to the touch, despite its geological hardness.
Mastery Tip: We are entering the realm of capillary action. The fine particles of stone dust and water create a slurry that acts as a secondary abrasive, further refining the surface at a molecular level.
6. The Cerium Charge
Create a paste with your cerium oxide and a few drops of water on your leather strop. Rub the stone with intense, fast strokes. The friction will generate slight heat; this is good.
Mastery Tip: This is the Beilby Layer phenomenon. The heat and friction actually cause a microscopic flow of the surface molecules, creating a "glassy" amorphous layer that gives the stone its ultimate mirror finish.
7. The Final Burnish
Clean the stone with a microfiber cloth and a drop of mineral oil. Use a bone folder or a smooth piece of hardwood to burnish any tiny edges if you are setting the stone into a bezel later.
Mastery Tip: The oil fills any remaining micro-porosity in the stone, enhancing the "chatoyancy" or the way light reflects off the internal layers of the mineral.
THE TECHNICAL LEDGER
Maintenance & Longevity: Hand Polished Stones are durable but not invincible. To maintain the luster, avoid harsh chemicals. A simple wipe with a damp cloth followed by a buff with a silk scrap will keep the Beilby layer intact for years.
Material Variations:
- Sustainable: Hunt for local river quartz or jasper; it reduces the carbon footprint of shipping heavy minerals.
- Premium: Source "A" grade Labradorite or Moonstone for incredible internal light play.
- Recycled: You can actually polish thick chunks of discarded sea glass using this exact same method.
The Correction:
- The Scuffed Face: If a scratch appears mid-polish, you must drop back two grit levels. Do not try to "buff it out" with the high grit; it will only create a dip in the surface.
- The Dull Finish: If the stone won't shine, your slurry is too dry. Add water to reactivate the cerium oxide.
- The Cracked Edge: If the stone chips, use an oscillating tool with a diamond bit to grind the chip into a new decorative facet, then restart the sanding sequence.
Studio Organization: Store your sandpaper in labeled, airtight bins to prevent "grit contamination." A single grain of 80-grit falling into your 3000-grit bin will ruin your next project. Store finished stones in individual soft pouches to prevent them from scratching each other.
THE FINAL REVEAL
Look at that! You have successfully manipulated the physical properties of a rock to reveal the masterpiece inside. Your Hand Polished Stones should now look like liquid captured in a solid state. When you hold them, they should warm up quickly in your palm, a sign of their dense thermal conductivity. These are not just trinkets; they are a testament to your patience and your mastery over the elements. The way the light dances off the surface is pure physics in action. Now, go put that charm in your pocket and feel the results of your hard work every time you reach for your keys.
STUDIO QUESTIONS
What is the best stone for beginners to polish?
Start with Mohs scale 6 or 7 minerals like Jasper or Agate. They are hard enough to take a brilliant shine but forgiving enough that they won't crumble under the pressure of manual sanding.
Can I polish stones without water?
Dry sanding is dangerous because it creates airborne silica dust, which is a respiratory hazard. Water acts as a coolant and a dust suppressant, making the process safer and more efficient for the abrasive.
How do I know when to switch to the next grit?
When the stone has a completely uniform matte appearance and no visible scratches from the previous grit remain. Use a magnifying loupe to inspect the surface texture before advancing to ensure total consistency.
Why does my stone look cloudy after polishing?
Cloudiness usually indicates that the sub-surface damage from coarser grits wasn't fully removed. You likely jumped to a high grit too soon. Drop back to 400-grit and work your way up again with more patience.
Is mineral oil necessary for the final step?
While not strictly necessary for the shine, a tiny amount of oil protects the porous structures of certain stones from skin oils and moisture. It provides a final protective barrier that stabilizes the stone's appearance.