Close your eyes and listen to the sound of raw potential. It is the rhythmic, hollow clack of kiln dried maple rolling across a workbench. When you run your thumb over the surface of high quality Wooden Bead Garlands, you are feeling the result of precision lathing and a perfectly closed grain structure. This is not just home decor; it is a study in tactile geometry. We are taking the organic warmth of cellulose fibers and turning them into a fluid architectural accent that drapes with the grace of a heavy silk ribbon. The magic happens when these spheres catch the light reflected from a mirror, creating a secondary visual layer that doubles the texture of your room. We are looking for that sweet spot where the weight of the wood meets the tension of the cord to create a drape that feels intentional and expensive.
THE STUDIO KIT
THE STUDIO KIT
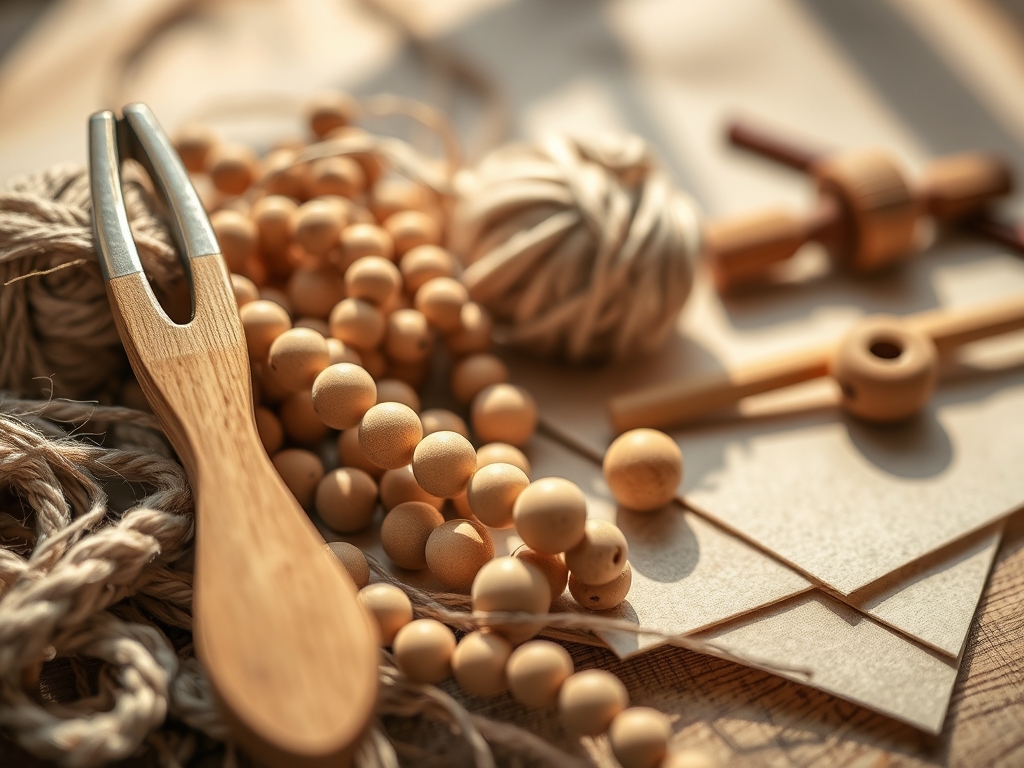
To execute these eight minimal designs, we need to respect the physics of our materials. You will need a set of digital calipers to ensure your bead diameters are consistent; even a 0.5mm variance can disrupt the visual rhythm of a repeating pattern. Our primary structural element is braided nylon cord or waxed linen thread. Unlike twisted cotton, braided nylon offers superior tensile strength and won't fray under the constant friction of the bead bores.
You also need a fine-point awl to clear any stray wood fibers from the internal channels and a sharp jeweler's saw if you plan to customize bead shapes. For the finish, a high grit sandpaper (400 grit or higher) is essential to burnish the wood surface until it glows without the need for heavy varnishes.
Material Substitutions: If you cannot find maple, birch is an excellent alternative due to its similar porosity and tight grain. If you want a vegan alternative to leather tassels, use high-gauge hemp twine. It provides the same structural stiffness but with a more rugged, matte aesthetic.
THE TEMPO
The "Maker's Rhythm" is all about finding the flow between the technical prep and the assembly. Expect to spend about 30 minutes in the Calibration Phase, where you sort your beads by grain pattern and size. The Threading Phase is the heart of the project, taking roughly 45 minutes per garland. This is where you establish the tension equilibrium; too tight and the garland will kink; too loose and the cord will peek through. Finally, allow 15 minutes for the Finishing Phase, which involves securing the terminal knots and treating the wood if desired. Total active time per piece is roughly 90 minutes.
THE CORE METHOD
1. The Monochromatic Cascade
Select beads of a single species and size for a seamless look. Use your calipers to verify that every sphere is exactly 20mm. This design relies on linear consistency to create a minimalist shadow line against the mirror frame.
Mastery Tip: Check the bore alignment. If the holes are not perfectly centered, the garland will "wiggle" rather than hang in a straight line. Use your awl to ensure the entry and exit points are clean.
2. The Fibonacci Sequence
Create a graduated effect by increasing the bead size toward the center of the drape. Start with 10mm beads at the ends and work up to a 35mm "hero" bead at the midpoint.
Mastery Tip: This design manipulates gravitational pull. The heavier center beads act as a plumb bob, ensuring the garland maintains a perfect "U" shape even in drafty hallways.
3. The Alternating Species Contrast
Mix dark walnut with pale maple in a 3:1 ratio. The contrast in pigment density creates a visual heartbeat.
Mastery Tip: Different woods have different expansion coefficients. Since mirrors are often in bathrooms with high humidity, ensure both wood types are sealed with a light butcher block oil to prevent uneven swelling.
4. The Raw and Burnished Hybrid
Leave half of your beads in their raw, sanded state and burnish the other half using a piece of canvas. This creates a subtle play between light-absorbing and light-reflecting surfaces.
Mastery Tip: Surface tension is key here. A burnished bead has a compressed outer cellular layer, making it more resistant to skin oils during handling.
5. The Leather Cinch
Instead of traditional tassels, use strips of top-grain leather to create "stoppers" between every five beads. This introduces a new coefficient of friction, holding the beads in place.
Mastery Tip: Use a bone folder to crease the leather before threading. This ensures the leather sits flush against the wood's curve without buckling.
6. The Asymmetrical Weighted Loop
Thread a long strand but cluster the largest beads on only one side. This creates a modern, "unbalanced" look that feels incredibly high-end.
Mastery Tip: To keep the garland from sliding off the mirror corner, use a hidden friction knot inside the last bead to anchor it against the frame.
7. The Geometric Spacer Design
Interspersed between your spheres, add a few hexagonal or cube-shaped beads. The flat planes provide a sharp contrast to the roundness of the primary Wooden Bead Garlands.
Mastery Tip: Pay attention to torque. Square beads tend to rotate; use a thicker 1.5mm cord to fill the bore and prevent the shapes from spinning out of alignment.
8. The Bleached Scandi Minimalist
Use a diluted wood bleach on pine beads to achieve a bone-white finish. This is the ultimate "quiet luxury" look for a bright, airy studio.
Mastery Tip: Bleaching affects the lignin in the wood, making it slightly more brittle. Handle these beads gently and avoid over-tightening the cord to prevent structural failure.
THE TECHNICAL LEDGER
Maintenance & Longevity: To keep your wood from drying out, wipe the beads once a year with a microfiber cloth dampened with a tiny drop of mineral oil. Avoid chemical sprays, as the porous nature of the wood will soak up the scent and potentially discolor.
Material Variations:
- Sustainable: Look for FSC-certified beechwood.
- Recycled: Repurpose old wooden bead car seat covers for a vintage, weathered patina.
- Premium: Use exotic woods like Ebony or Rosewood for a heavy, luxurious feel.
The Correction:
- The Sag: If the garland stretches over time, it is likely the cord's elastic deformation. Fix: Re-string using a pre-stretched polyester cord.
- The Kink: Beads are too tight. Fix: Hold the garland vertically and "massage" the beads to create a 1mm gap of total play.
- The Fray: The cord is rubbing against a rough bore. Fix: Use a tapered reamer to smooth the inside of the bead holes before re-stringing.
Studio Organization: Store your unfinished beads in airtight glass jars organized by diameter. This prevents oxidization and keeps dust out of the pores. For finished garlands, hang them on a pegboard to maintain their "drape memory" rather than coiling them in a drawer.
THE FINAL REVEAL
There is nothing quite like the moment you drape that final strand over the corner of a floor-length mirror. The way the wood warms up the glass and the way the shadows play behind each sphere is pure design magic. You have taken simple components and, through the power of physics and a little bit of maker's intuition, created a piece that feels both ancient and incredibly modern. These Wooden Bead Garlands are a testament to the beauty of raw materials and the precision of your own two hands.
STUDIO QUESTIONS
What is the best cord for heavy beads?
Use a 1.5mm braided nylon masonry line. It has a high tensile strength and zero stretch, ensuring your garland maintains its shape over time without sagging under the weight of larger maple or oak spheres.
How do I prevent the wood from cracking?
Maintain a consistent humidity in your studio. Wood is hygroscopic, meaning it absorbs moisture. Applying a light coat of beeswax or mineral oil seals the pores and prevents the rapid moisture loss that causes structural checking.
Can I paint the beads without them sticking?
Yes, use a drying rack made of thin wire. Thread the beads onto the wire so they do not touch each other. This allows for even airflow and prevents the paint from pooling at the bore holes.
How long should a mirror garland be?
Measure the top and one side of your mirror. A standard "graceful" drape usually requires a length that is 1.5 times the width of the mirror to allow for a natural, elegant curve without looking strained.
What tool is best for clearing bead holes?
A diamond-tipped bead reamer or a simple fine-point awl works best. These tools remove burrs and sawdust trapped during the manufacturing process, ensuring your cord slides through the longitudinal axis without snagging or fraying.