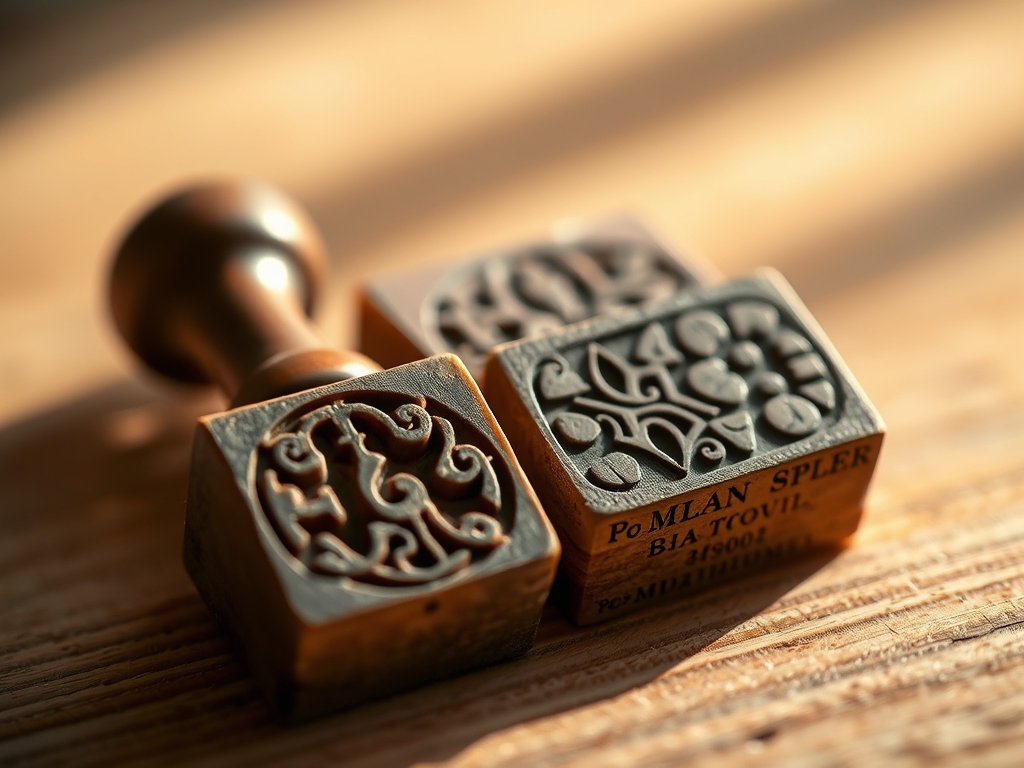
Grab your linoleum cutter and clear the table because we are about to dive into the addictive world of Hand Carved Stamps for your personal stationery. There is a specific, visceral thrill that happens when the sharp steel of a V-gouge meets the buttery surface of a high density rubber block. You can feel the resistance of the polymer molecules before they give way to a clean, curling ribbon of material. It is a tactile conversation between your hand and the medium. When you press that finished block into a pool of pigment and then onto a crisp sheet of cotton paper, the transfer of ink is pure magic. We are not just making crafts; we are engineering miniature printing presses. Hand Carved Stamps allow you to bypass the mass-produced aesthetic of digital printing in favor of something with soul, texture, and structural integrity. Whether you are a seasoned printmaker or a curious beginner, the physics of the carve will change how you view every petal and leaf in your garden.
THE STUDIO KIT

To master this craft, you need a kit that respects the tensile strength of your carving medium. Your primary surface should be a high quality, PVC-free carving block. These blocks are engineered to be firm enough to hold a fine line without crumbling but soft enough to allow for smooth, continuous strokes. You will need a lino handle with interchangeable blades, specifically a #1 small V-gouge for fine details and a #5 large U-gouge for clearing away negative space.
Precision is non-negotiable, so keep a pair of calipers nearby to measure the depth of your cuts; you generally want to stay between 1mm and 2mm to ensure the structural integrity of the stamp base. For the transfer process, a bone folder is essential for burnishing your design from the tracing paper onto the block. If you want to get fancy with your mounting, a small jeweler's saw can be used to trim wooden backing blocks to size.
Material Substitutions: If you cannot find professional carving blocks, you can use high density white erasers, though they have a lower tear resistance. For ink, if you lack a brayer and block printing ink, a high quality pigment ink pad will suffice, provided it has a high enough viscosity to sit on the surface of the stamp rather than soaking into the pores.
THE TEMPO
The "Maker's Rhythm" is a three phase cycle that balances mental focus with physical repetition. Phase one is the Design and Transfer, which usually takes about 20 minutes. This is the intellectual phase where you map out your floral geometry. Phase two is the Primary Carve, the longest stretch lasting 45 to 60 minutes. This is where you enter a flow state, rotating the block rather than your wrist to maintain a consistent angle of attack.
Phase three is the Refinement and Proofing, taking about 15 minutes. This involves taking test prints and shaving down "chatter" (the accidental marks left by the edges of your tools). Total time for one intricate floral stamp is roughly 90 minutes. Respecting this tempo prevents hand fatigue and ensures that your ergonomic grip remains steady, reducing the risk of slips that could ruin hours of work.
THE CORE METHOD
1. Sketching the Floral Blueprint
Begin by drawing your floral design on tracing paper using a soft lead pencil (2B or 4B). Focus on the negative space; remember that whatever you carve away will be white, and whatever you leave behind will carry the ink. For flowers like peonies or ranunculus, simplify the petals into bold, overlapping shapes to ensure the rubber walls do not become too thin and prone to collapsing under pressure.
Mastery Tip: Understand capillary action. If your lines are too close together, the ink will bridge the gap between them, resulting in a blurry print. Maintain at least a 0.5mm distance between carved channels to keep your image crisp.
2. The Kinetic Transfer
Flip your tracing paper pencil-side down onto the carving block. Use your bone folder to burnish the back of the paper with firm, even strokes. The friction and pressure transfer the graphite molecules onto the porous surface of the block. This creates a mirrored image, which is vital if your stationery includes any lettering.
Mastery Tip: The coefficient of friction between the paper and the block is high. Hold the paper perfectly still; any shifting during burnishing will create a "ghosting" effect that makes precise carving nearly impossible.
3. Outlining with the V-Gouge
Using your smallest V-gouge, carve the outline of your floral design. Always push the tool away from your body. The goal is to create a "V" shaped trench. The depth should be consistent; if you go too deep, you risk weakening the ply of the material.
Mastery Tip: Use your non-dominant hand as a pivot point to rotate the block. This allows the tool to maintain a constant tangential path, resulting in smoother curves and more organic petal shapes.
4. Clearing the Negative Space
Switch to the wider U-gouge to remove the material around your design. This is called "clearing the fields." You do not need to carve the entire block down to the base; you only need to remove enough height so that the brayer or ink pad does not touch the background.
Mastery Tip: Leave "buttresses" of material near the edges of your design. This provides structural reinforcement, preventing the stamp from wobbling or tilting when you apply downward force during printing.
5. Beveling the Edges
Once the main design is clear, use a rotary cutter or a sharp utility knife to trim the excess rubber from around the design at a 45-degree angle. This beveled edge prevents the corners of the block from picking up stray ink.
Mastery Tip: A beveled edge improves the load distribution across the stamp face. This ensures that the pressure you apply is concentrated on the design itself rather than being wasted on the empty perimeter.
6. The First Proof
Apply a thin, even layer of ink to your stamp. Place it face down on a scrap piece of the same stationery you plan to use. Apply firm, vertical pressure without rocking the stamp. Lift it straight up to reveal your work.
Mastery Tip: Observe the ink saturation. If the center is pale, your block may be slightly concave. You can fix this by adding a small piece of tape to the back of the block in the center to "shim" it up.
7. Final Refinement and Mounting
Look for any "chatter" lines in the background and shave them away with your smallest gouge. If you want a professional feel, use a strong adhesive to mount your rubber onto a wooden block. This adds weight and makes the stamp easier to grip.
Mastery Tip: Use a square or level to ensure the stamp is perfectly aligned with the wooden base. Proper alignment is the difference between a crooked mess and a professional-grade personal stationery set.
THE TECHNICAL LEDGER
Maintenance & Longevity: To keep your Hand Carved Stamps in peak condition, clean them immediately after use with a soft, damp cloth or a specialized stamp cleaner. Avoid oil-based cleaners, as they can break down the polymer bonds in the rubber over time. Store them in a cool, dry place away from direct sunlight to prevent UV degradation and brittleness.
Material Variations:
- Sustainable: Look for natural linoleum made from linseed oil and cork dust. It is harder to carve but offers incredible detail.
- Recycled: Some brands offer blocks made from pre-consumer recycled rubber.
- Premium: High-density blue or gray "easy-carve" blocks provide the best balance of flexibility and detail retention.
The Correction:
- The Slip: If your tool slips and gouges a petal, use a tiny drop of super glue to reattach the fragment. Once dry, gently sand the seam.
- The Shallow Cut: If the ink is filling in your lines, your channels are too shallow. Re-carve the lines focusing on a consistent 1.5mm depth.
- The Over-Ink: If your print looks "mushy," you are using too much ink. Use a clean brayer to roll off the excess until the texture of the stamp is visible through the ink.
Studio Organization: Store your stamps in a single layer. Never stack them; the weight of the top stamps can cause the bottom ones to compress or "set," permanently distorting the carved surface. Use acid-free tissue paper between stamps if you must store them in a drawer.
THE FINAL REVEAL
There is nothing quite like seeing your custom floral designs blooming across a stack of envelopes. The crispness of the lines, the slight variation in ink density, and the physical indentation in the paper all scream "bespoke craftsmanship." You have successfully navigated the physics of carving, from managing surface tension to mastering structural integrity. Your personal stationery is no longer just a way to send a message; it is a showcase of your technical skill and artistic vision. Go ahead, send that first letter and let the world see what happens when science meets style!
STUDIO QUESTIONS
What is the best material for Hand Carved Stamps?
High-density rubber carving blocks are best for beginners due to their soft tensile strength. For advanced detail, traditional linoleum offers more resistance and sharper edges, though it requires more physical force and sharper tools to navigate.
How do I stop my stamp from slipping?
Use a non-slip mat or a bench hook to secure your block. This stabilizes the kinetic energy of your carving strokes, ensuring the block stays stationary while your hand moves, which significantly reduces the risk of accidental slips.
Can I use acrylic paint for stamping?
Acrylic paint dries too quickly and can clog fine details. It lacks the viscosity and open time of true block printing inks. If you must use it, add a retarder medium to keep the paint fluid during the transfer.
Why are my stamp edges blurry?
Blurry edges usually result from "ink creep" or uneven pressure. Ensure you have a beveled edge around your design and apply vertical force. Avoid rocking the stamp, as this shifts the load distribution and smears the pigment.
How long do hand carved stamps last?
With proper care, a high-quality rubber stamp can last for hundreds of impressions. Avoid harsh chemicals and store them flat in a temperature-controlled environment to prevent the polymer from becoming brittle or losing its shape over time.