Grab your heavy-duty gloves and clear the workbench because we are about to manipulate the very spectrum of light. There is a specific, electric thrill that comes from holding a piece of cold-pressed watercolor paper; you can feel the porous tooth of the cotton fibers just waiting to drink up a chemical solution. We are diving deep into the world of Botanical Sun Prints, a process that marries high-level chemistry with the raw, structural beauty of your backyard greenery. This is not just a craft; it is a photographic reaction that captures the tensile strength of a leaf and the delicate, skeletal veins of a fern. As the UV rays hit the sensitized surface, a molecular shift occurs right before your eyes, turning pale green shadows into deep, Prussian blue masterpieces. It is fast, it is tactile, and it is scientifically satisfying. We are going to master the physics of shadow and light to create archival-quality art that looks like it belongs in a Victorian botanist's private collection.
THE STUDIO KIT
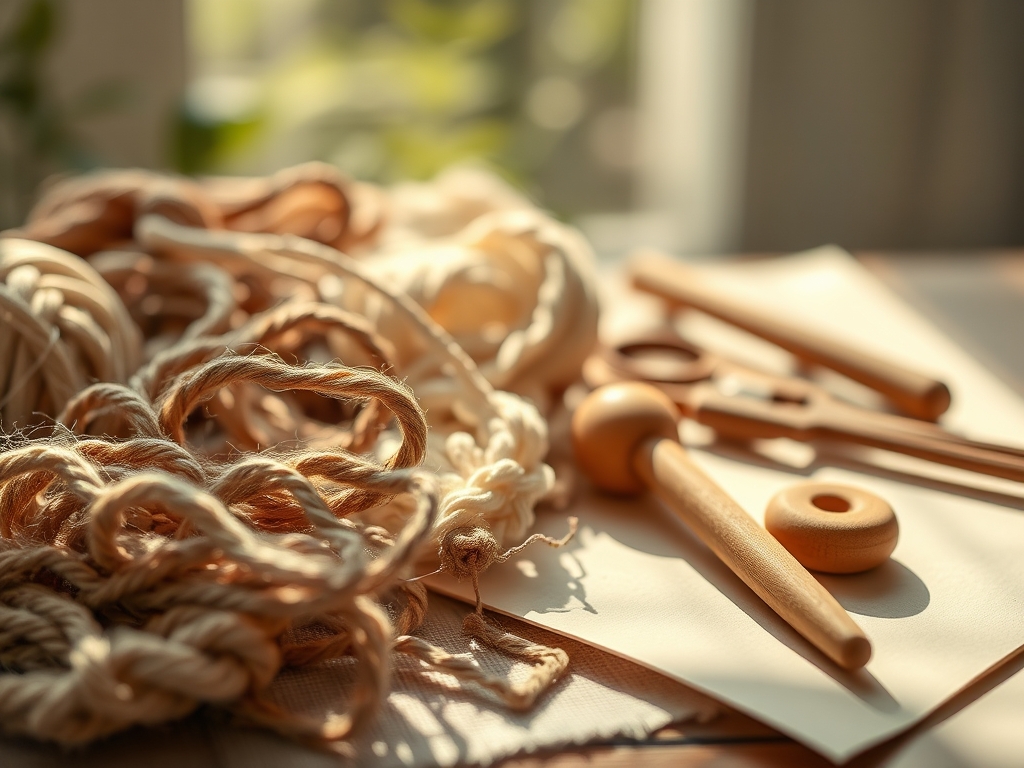
To achieve professional-grade Botanical Sun Prints, your toolkit must be precise. Start with a high-quality cyanotype kit consisting of Potassium Ferricyanide and Ferric Ammonium Citrate. You will need a bone folder to crisp your paper edges and a rotary cutter for exact dimensions. The substrate is critical; use 300gsm cold-pressed paper because the capillary action of the cotton fibers ensures the chemicals penetrate deeply rather than sitting on the surface. You will also need a heavy sheet of tempered glass or a contact print frame to maintain structural integrity during exposure.
Material Substitutions: If you lack heavy watercolor paper, you can use raw linen or unbleached cotton muslin. These natural fibers have a high ply count that holds the sensitizer well. Instead of a professional UV lamp, the sun acts as your primary oscillating energy source. If you do not have a glass pane, a clear acrylic sheet works, though you must monitor it for static electricity which can attract dust and mar your tactile finish.
THE TEMPO
The "Maker's Rhythm" for cyanotypes is a game of two speeds: the slow, meditative prep and the frantic, high-energy development. Coating your paper takes roughly fifteen minutes, but the drying phase requires a dark, climate-controlled environment for at least two to four hours to ensure the moisture has completely evaporated from the porous core. Once you head outside, the exposure window is tight, usually between three to ten minutes depending on the UV index. The final rinse is a five-minute mechanical wash. Total active studio time is about one hour, but the chemical curing process demands patience.
THE CORE METHOD
1. Sensitizing the Substrate
Mix your chemicals in a dim environment to prevent premature activation. Use a hake brush to apply the solution in even, horizontal strokes, then vertical ones, ensuring total saturation of the paper's grain direction.
Mastery Tip: This is all about surface tension. If you apply too much liquid, it will pool and create "bronzing." You want a thin, even layer that allows the fibers to absorb the sensitizer without drowning the internal sizing of the paper.
2. Selecting Botanical Specimens
Choose plants with interesting silhouettes and varying densities. A thick succulent will block all light, while a thin, translucent petal allows some UV through, creating beautiful tonal gradients.
Mastery Tip: Consider the moisture content of your clippings. Freshly cut stems can off-gas or leak sap under the heat of the sun, which can interfere with the chemical bond. Pressing your plants for an hour beforehand flattens the cellulose structure for sharper contact.
3. The Contact Pressure Phase
Layer your sensitized paper, your botanicals, and then your glass sheet. Use heavy-duty binder clips to clamp the edges. This ensures the plant is flush against the paper.
Mastery Tip: This step relies on eliminating the "parallax effect." Any gap between the plant and the paper allows light to bleed underneath, blurring your edges. High mechanical pressure creates that crisp, high-definition botanical silhouette.
4. Solar Exposure
Place your frame in direct, overhead sunlight. Watch as the paper transforms from neon green to a dull, metallic bronze. This is the visual signal that the photochemical reaction is reaching completion.
Mastery Tip: Use a light meter or a UV index app to calculate timing. On a high-UV day, the photon density is much higher, meaning your exposure time must be slashed to prevent over-saturation of the shadows.
5. The Water Kinetic Wash
Submerge the print in a tray of cool, running water. The unexposed chemicals will wash away, revealing the white paper beneath, while the exposed areas turn blue.
Mastery Tip: This is a lesson in solubility. You must wash until the highlights are perfectly clear. If any yellow tint remains, the residual salts will continue to react over time, eventually darkening your entire print.
6. The Oxidation Boost
Add a capful of hydrogen peroxide to your final rinse bath. The print will instantly deepen from a pale denim to a rich, midnight Prussian blue.
Mastery Tip: This is rapid oxidation. The peroxide introduces an immediate surge of oxygen to the iron compounds, skipping hours of natural air-drying time to lock in the final color grade.
7. Blotting and Leveling
Carefully remove the wet print and place it between two sheets of clean blotting paper. Use a bone folder or a heavy roller to press out excess moisture.
Mastery Tip: As the paper dries, the fibers will naturally want to curl due to hygroscopic expansion. Drying the prints under weight ensures they remain flat and dimensionally stable for framing.
8. Toning for Depth
If the blue is too clinical, submerge the dry print in a bath of black tea or coffee. The tannins will react with the iron to create earthy blacks and sepia tones.
Mastery Tip: This involves a secondary chemical displacement. The tannins bond with the iron ions, altering the light-reflective properties of the surface and increasing the visual density of the image.
9. Final Burnishing
Once completely dry, use a clean cloth to lightly burnish the surface of the print. This flattens any raised fibers and gives the blue areas a slight, professional sheen.
Mastery Tip: This mechanical action smooths the micropores of the paper surface, which enhances the contrast and makes the botanical details pop against the deep blue background.
THE TECHNICAL LEDGER
Maintenance & Longevity: Cyanotypes are remarkably hardy, but they are sensitive to alkaline environments. Avoid framing them with "buffered" mat boards, which contain calcium carbonate. Over time, the alkalinity will cause the blue to fade. Use acid-free, non-buffered materials to protect the chemical stability.
Material Variations: For a sustainable approach, use recycled cotton rag paper. For a premium, high-contrast look, look for "Platinotype" grade papers which have a very tight weave density. You can also experiment with different gauges of fabric, from sheer silk to heavy canvas.
The Correction:
- Blurry Images: Cause: Poor contact. Fix: Increase clamping pressure with more clips or heavier glass.
- Faded Blue: Cause: Insufficient washing. Fix: Rinse in cool water for a full ten minutes until the water runs clear.
- Brown Stains: Cause: Old chemicals or contaminated brushes. Fix: Use a dedicated stainless steel or plastic tray and fresh distilled water for mixing.
Studio Organization: Store your sensitized, unexposed paper in a light-proof "black bag" or a dedicated drawer. Keep your chemicals in amber glass bottles to prevent photo-degradation. Label everything with the date of mixing, as the potency of the solution decreases after six months.
THE FINAL REVEAL
Look at that! You have successfully harnessed the power of the sun to create a permanent record of the season. The way the light caught the asymmetrical balance of those leaves is stunning. Your finished Botanical Sun Prints should have a deep, velvety texture that makes people want to reach out and touch the page. The contrast between the crisp, white silhouettes and the complex blue depths is a testament to your mastery of exposure timing and chemical application. These prints are ready to be matted, framed, and displayed as high-end gallery pieces.
STUDIO QUESTIONS
How long do botanical sun prints last?
When processed correctly and kept away from alkaline materials, these prints are archival and can last for over a century. If they fade due to bright light, simply move them to a dark room to "regenerate" their color.
Can I make prints on a cloudy day?
Yes, but you must account for the lower UV density. Cloudy day exposures can take thirty minutes or more. The resulting prints often have softer contrast and a more ethereal, muted blue tone.
What is the best paper for cyanotypes?
A heavy, 300gsm cold-pressed watercolor paper is ideal. It has the tensile strength to withstand multiple water baths without disintegrating and a porous surface that absorbs the sensitizing chemicals evenly for a deep finish.
Is the cyanotype process toxic?
The chemicals are generally considered low-toxicity, but you should always wear gloves to avoid skin irritation. Never ingest the materials, and ensure your studio has adequate ventilation to manage any chemical particulates during the mixing phase.