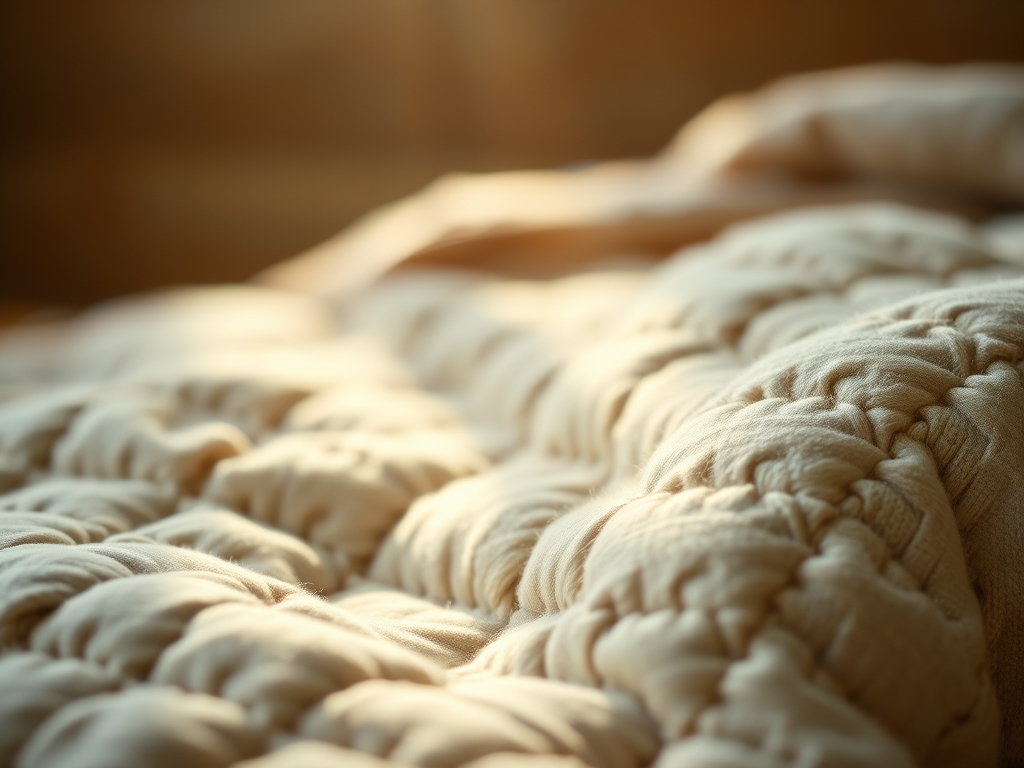
The scent of sun-bleached cotton and the metallic tang of a fresh thimble are the first things that hit you when you step into the studio. There is a specific, grounding weight to Hand Stitched Quilts that machine-made blankets simply cannot replicate. When you hold a stack of vintage calico, you are feeling the tensile strength of individual fibers woven into a story. We are not just sewing fabric together; we are engineering a functional piece of art that survives generations. Every tug of the thread involves a calculated tension that binds layers of history into a single, cohesive plane. It is about the resistance of the needle against the porous weave and the way a heavy cotton batting compresses under your palm. You can feel the quality in the gauge of the thread and the density of the weave. This is high-stakes crafting where every millimeter of movement counts toward the structural integrity of the final heirloom. We are building something meant to be used, washed, and loved until the edges soften into a perfect, tactile memory.
THE STUDIO KIT
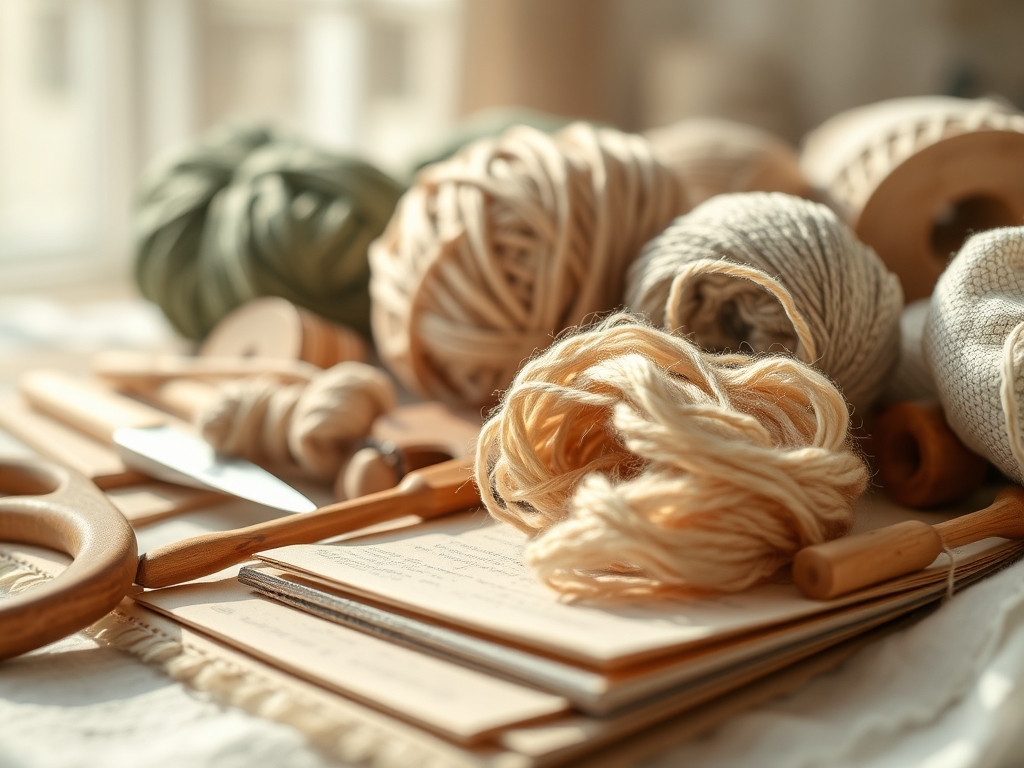
To master the art of the heirloom, you need tools that respect the physics of the fabric. Your primary weapon is a set of between needles, which are shorter and stronger than standard sharps, allowing for quick, precise movements through multiple layers. Use a rotary cutter with a fresh tungsten carbide blade to ensure the edges of your fabric do not fray before they are joined. For marking, a silver marking pencil or a fine-line chalk tool is essential for visibility without damaging the cellulose structure of the fibers.
You must also consider the loft of your batting. Wool batting offers incredible thermal regulation and bounce, while cotton batting provides a flatter, more traditional weight. For those looking for Material Substitutions, you can swap traditional cotton thread for a high-strength silk thread if you are working with delicate satins, or use a bamboo-blend batting for a more sustainable, antimicrobial interior. Always keep a bone folder nearby to crisp your seams; the mechanical pressure aligns the fibers far better than finger-pressing alone.
THE TEMPO
The "Maker's Rhythm" is a physiological state where your heart rate slows to match the cadence of the needle. For a standard throw-sized project, expect to spend approximately 15 to 20 hours on the cutting and curation phase. This is where you audit your fabric for grain direction to prevent warping. The assembly of the quilt top, or "piecing," can take anywhere from 40 to 60 hours depending on the complexity of your chosen pattern.
The final stage, the actual hand-quilting, is the longest marathon. You are looking at 100 plus hours of focused labor. This tempo is dictated by the density of the stitches. A high stitch count per inch increases the durability of the quilt but requires more physical stamina. Breaking this down into two-hour "sprints" prevents hand fatigue and ensures that your stitch consistency remains uniform from the center to the binding.
THE CORE METHOD
1. The Geometric Audit
Before a single stitch is placed, you must align your fabric with the warp and weft. Using a transparent ruler, verify that your patches are cut exactly on the grain. If you cut on the bias, the fabric will stretch and distort under the tension of the thread, leading to a puckered finished product. Mastery Tip: Understanding the coefficient of friction in your fabric helps you decide how much "seam allowance" is necessary; slicker fabrics like silk require a wider allowance to prevent the weave from unraveling under stress.
2. The Tension Anchor
When you begin piecing the top, use a tailor's knot to secure your thread. As you move the needle through the fabric, maintain a consistent tensile pull. If the thread is too loose, the seam will gap; if it is too tight, the fabric will gather. Mastery Tip: This process relies on capillary action when you eventually wash the quilt; the fibers will swell and "lock" around the thread, creating a permanent bond that machine stitching often lacks.
3. The Layering Sandwich
Lay your finished top, the batting, and the backing fabric on a flat surface. Use curved safety pins to baste the layers together starting from the center and working outward. This prevents the "shifting" that occurs due to gravity and the fluidity of the textile layers. Mastery Tip: The surface tension of the batting acts as an anchor; by smoothing from the center, you are removing air pockets that would otherwise cause the quilt to drape unevenly.
4. The Rocking Stitch
The hallmark of Hand Stitched Quilts is the running stitch. Position your dominant hand above the quilt and your non-dominant hand underneath. Use a rocking motion to load multiple stitches onto the needle before pulling the thread through. Mastery Tip: This technique utilizes the lever principle, using the needle as a fulcrum to pierce the dense layers with minimal force, protecting the small muscles in your hand from repetitive strain.
5. The Binding Burnish
The final edge, or binding, must be doubled over for maximum protection against wear. Use a blind stitch to secure the binding to the back. Mastery Tip: Use a bone folder to burnish the edge before sewing. This mechanical compression flattens the bulk, allowing the needle to pass through the ply of the fabric with significantly less resistance.
THE TECHNICAL LEDGER
Maintenance & Longevity: Never hang a hand-stitched quilt in direct sunlight, as UV rays break down the molecular bonds of the dye and weaken the cotton fibers. Wash only when necessary using a pH-neutral detergent to prevent acidic degradation of the organic materials.
Material Variations:
- Sustainable: Repurposed linen or organic hemp provides a rugged, high-tensile finish.
- Premium: Long-staple Egyptian cotton offers a smoother surface with less "pilling" over time.
- Recycled: Using "scraps" from previous projects creates a multi-textural surface with varying denier counts.
The Correction:
- Puckering: Usually caused by uneven tension. Snip the thread, relax the fabric, and re-stitch with a lighter touch.
- Needle Deflection: If the needle feels "clunky," you are likely hitting a dense patch of batting. Switch to a higher-gauge needle to slice through the fibers rather than pushing them.
- Thread Shredding: This happens when the thread is too long. Friction through the fabric wears down the protective coating. Keep your thread lengths under 18 inches.
Studio Organization: Store your materials in acid-free tissue paper inside breathable cotton bags. Avoid plastic bins, which can trap moisture and lead to mildew spores colonizing the porous batting.
THE FINAL REVEAL
There is an electric feeling when you shake out a finished quilt for the first time. The way the light catches the undulating surface of the hand-stitching creates a topography that is unique to your hand. It is heavy, warm, and structurally sound. You have transformed flat, two-dimensional planes of cotton into a three-dimensional vessel for comfort. The ergonomic weight of the piece feels like a physical manifestation of the hours you poured into it. It is more than a blanket; it is a high-performance textile engineered to last a century.
STUDIO QUESTIONS
How do I choose the right thread weight?
Select a thread weight based on your fabric's denier. A 50wt cotton thread is the industry standard for Hand Stitched Quilts, providing a perfect balance between invisibility and high tensile strength without bulk.
Why does my hand cramp during stitching?
Cramping occurs when you grip the needle too tightly, causing lactic acid buildup. Use an ergonomic thimble and employ the "rocking stitch" method to let the needle's leverage do the heavy lifting for you.
Can I mix different fabric types?
Yes, but you must account for shrinkage rates. Pre-wash all materials to ensure the dimensional stability remains constant. Mixing silk and cotton requires careful tension adjustments to handle the differing elasticity of the fibers.
How do I ensure my quilt stays square?
Always cut your patches following the straight grain. Use a calibrated cutting mat and check your alignment every five rows. Constant measurement prevents the cumulative error that leads to a skewed or "wonky" final shape.