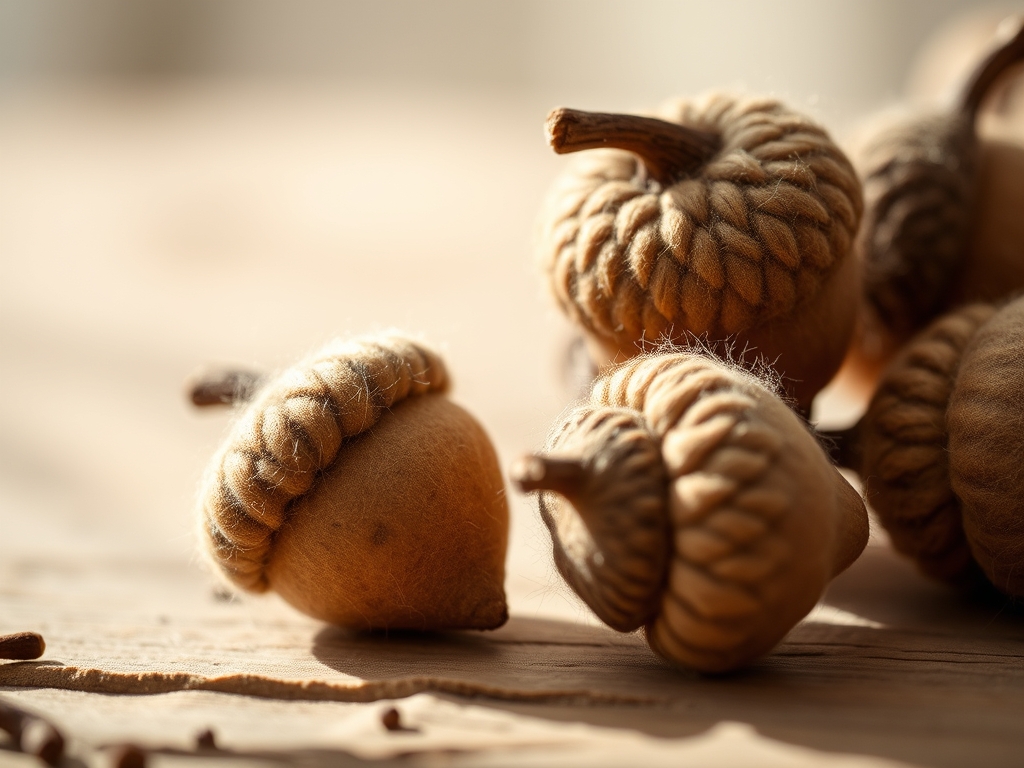
Imagine the sharp, crisp scent of dry leaves and wood smoke settling over your workbench as you prepare for the ultimate autumn transformation. We are diving deep into the tactile world of Felted Wool Acorns today. There is something deeply satisfying about the contrast between the rough, woody texture of a real oak cap and the soft, dense core of carded wool. As we manipulate these fibers, we are not just crafting; we are engaging in a process of mechanical bonding where thousands of microscopic scales on the wool fibers interlock. This creates a structural integrity that is surprisingly durable. The weight of the wool in your hand feels substantial yet airy, a perfect mimicry of nature's own design. We are going to harness the friction of needle felting or the thermal shock of wet felting to create these little treasures. Grab your favorite mug of cider because we are about to turn raw fleece and forest floor finds into high-end seasonal decor that will last for years.
THE STUDIO KIT
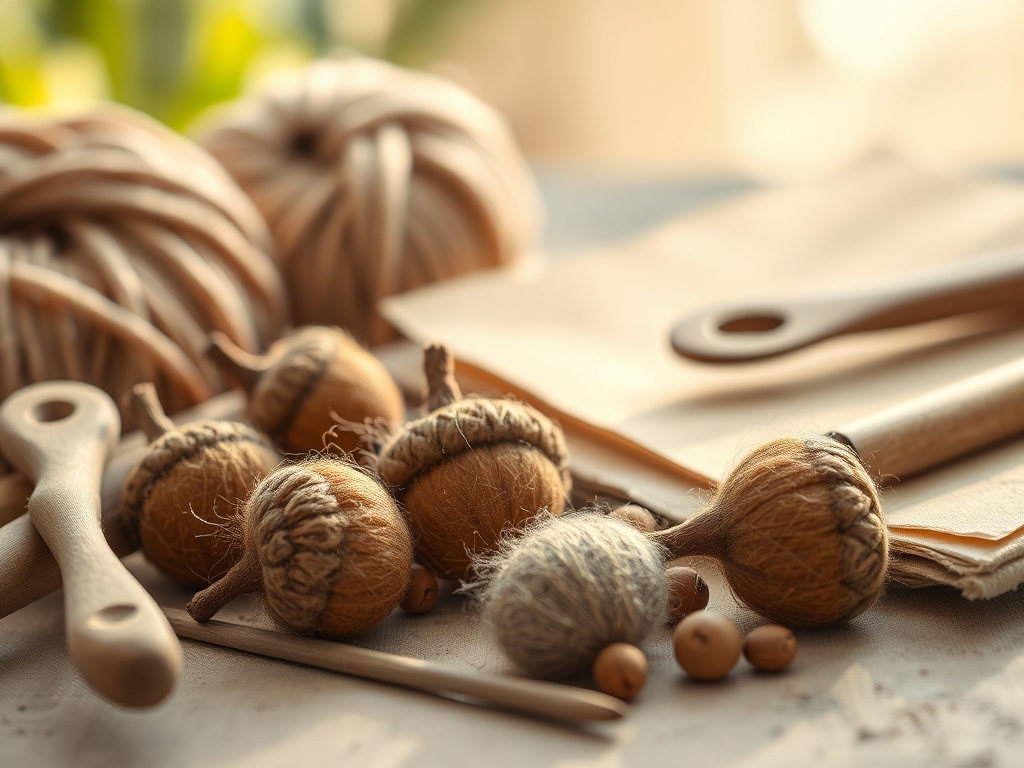
To execute these projects with professional precision, you need a kit that respects the material physics of protein fibers. Start with high-quality **carded wool roving** or batting. Look for a micron count between 25 and 30 for the best balance of softness and structural “grab.” You will need a set of **triangular or star-point felting needles** in various gauges; a 36-gauge is perfect for bulk shaping, while a 40-gauge handles the refined surface finishing.
For the caps, collect real oak caps that have been cleaned and dried. Use a digital caliper to measure the internal diameter of the caps so you can size your wool inserts perfectly. You will also need a high-viscosity cyanoacrylate adhesive or a professional-grade hot glue gun for the final assembly. For the "wet" method, a simple solution of warm water and olive oil soap acts as a lubricant to reduce surface tension, allowing fibers to slide and then lock.
Material Substitutions: If you cannot find raw roving, use 100 percent wool yarn scraps unraveled into a cloud. If real oak caps are unavailable in your region, you can use a jeweler's saw to carve caps from acorns found in craft stores or even use heavy-duty acorn-shaped brass beads for a metallic twist.
THE TEMPO
The "Maker's Rhythm" for Felted Wool Acorns is a three-phase cycle: Preparation, Agitation, and Integration. The preparation phase, which includes cleaning the caps and weighing out your wool portions, takes about 20 minutes for a batch of twenty. The agitation phase is where the magic happens. If you are needle felting, expect to spend 5 to 7 minutes per acorn to reach the desired density. Wet felting is faster for large batches, requiring about 15 minutes of collective rolling. Finally, the integration phase—gluing and setting—takes roughly 30 seconds per piece, followed by a 24-hour cure time for the adhesive to reach maximum tensile strength.
THE CORE METHOD
1. Fiber Preparation and Volumetric Scaling
Begin by pulling a length of roving. Do not cut it with scissors; pulling preserves the tapered ends of the fibers, which aids in seamless blending. Roll the wool into a tight, cylindrical bud.
Mastery Tip: Use a small kitchen scale to weigh each tuft. Consistency in mass ensures that your finished acorns have a uniform density, preventing some from feeling "squishy" while others are rock hard.
2. The Primary Compression
Insert your 36-gauge needle into the wool bundle, moving in a vertical, rhythmic motion. As the needle's barbs catch the fibers, they push them into the center of the mass.
Mastery Tip: Rotate the wool constantly to avoid flat spots. This utilizes centripetal compression, ensuring the core becomes a solid anchor for the outer layers.
3. Surface Refinement and Sculpting
Switch to your 40-gauge needle once the acorn shape is roughly 10 percent larger than the oak cap opening. Focus on the "tail" of the acorn, tapering it slightly to mimic the organic growth pattern of a real nut.
Mastery Tip: The science here is all about fiber migration. Finer needles create smaller entry points, resulting in a smooth, pill-free surface that resists fraying over time.
4. Thermal Bonding and Cap Fitting
Test the fit of your wool insert against your measured oak cap. If it is too large, continue felting. If it is too small, wrap a thin "veil" of wool around the middle and felt it into place.
Mastery Tip: Before gluing, use an awl to roughen the interior of the oak cap. This increases the surface area for the adhesive, creating a superior mechanical bond between the porous wood and the wool.
THE TECHNICAL LEDGER
Maintenance & Longevity: Wool is naturally resilient due to its lanolin content, which repels moisture. However, to prevent dust buildup, use a soft-bristled brush or a quick blast of compressed air. Store your acorns in a cedar-lined box to deter moths, which are attracted to the keratin in the wool.
Material Variations: For a sustainable approach, use recycled wool dryer balls cut into segments as your core. For a premium look, use merino silk blends to give your acorns a subtle luster that catches the light during golden hour.
The Correction:
- The "Soft Core" Issue: If the acorn feels hollow, you haven't felted deep enough. Fix: Use a long, heavy-gauge needle to reach the center and condense the core.
- The Adhesive Failure: If the cap pops off, the wood was likely too smooth or oily. Fix: Sand the interior of the cap with 80-grit sandpaper and re-apply glue.
- Fuzziness: If the surface looks "hairy," you used too thick a needle. Fix: Use a heat gun on a low setting for a split second to singe off micro-fibers, or "shave" the acorn with a sharp rotary cutter.
Studio Organization: Keep your wool sorted by staple length and color in clear, airtight bins. This prevents cross-contamination of fibers and ensures your "autumn palette" remains vibrant and free of debris.
THE FINAL REVEAL
There is a moment of pure alchemy when that soft, hand-sculpted wool meets the rugged, weathered oak cap. The result is a piece of decor that feels both sophisticated and grounded. These Felted Wool Acorns are more than just ornaments; they are a celebration of fiber science and forest aesthetics. Whether you scatter them across a linen table runner, string them into a garland using a heavy-gauge upholstery needle, or nestle them in a hand-turned wooden bowl, they bring a refined, tactile warmth to your home. You have successfully manipulated raw protein fibers into a permanent, sculptural form. That is the power of a master maker!
STUDIO QUESTIONS
What is the best wool for felted acorns?
Carded wool roving with a medium micron count (25-30) is ideal. It provides enough "tooth" for the needle barbs to catch easily while maintaining a smooth, professional finish that resists pilling over time.
How do I attach the wool to the cap?
Use a high-viscosity cyanoacrylate adhesive or professional hot glue. Ensure the interior of the oak cap is clean and slightly abraded with an awl to create a strong mechanical bond between the wood and the wool fibers.
Can I wash my felted acorns?
Avoid full immersion. The real oak caps can swell or crack when saturated. If the wool becomes soiled, spot clean with a damp cloth and a drop of pH-neutral soap, then air dry away from direct heat.
Why do my acorns look fuzzy?
Fuzziness occurs when the needle gauge is too large or the felting is incomplete. Switch to a 40-gauge finishing needle to tuck in stray fibers, or carefully use a sharp pair of embroidery scissors to trim the surface.
How do I find real oak caps?
Forage for them in late summer or early autumn after a windstorm. Look for caps that are intact and free of mold. Ensure you bake them at a low temperature (200F) for 30 minutes to eliminate any hidden hitchhikers.