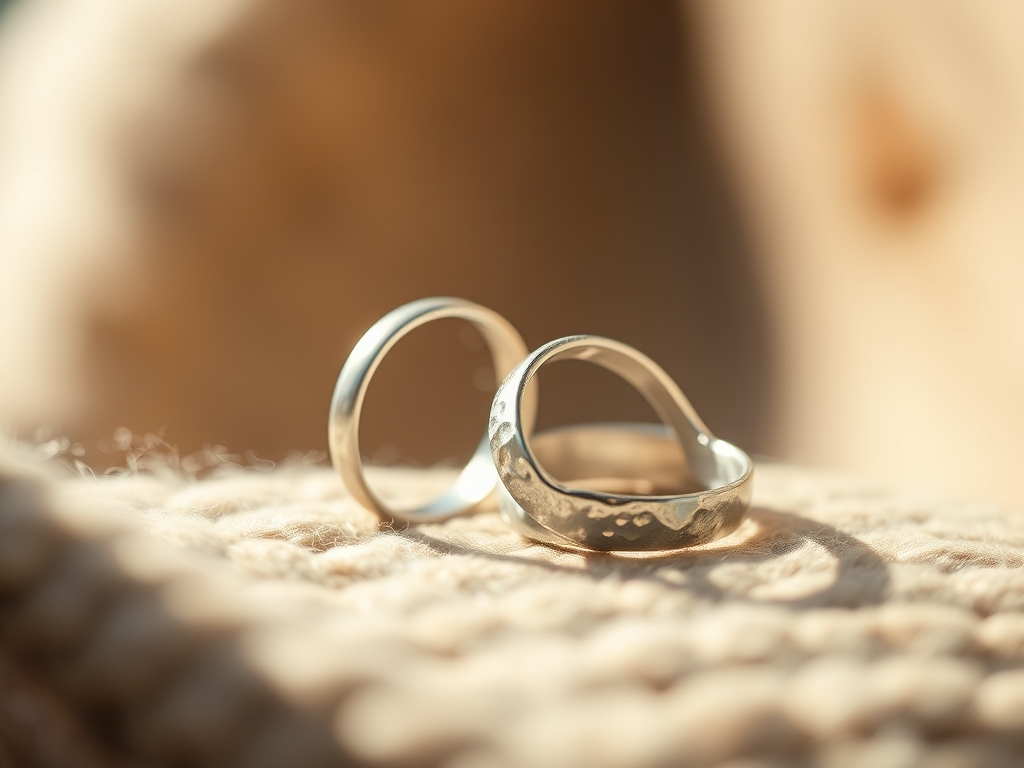
Imagine the sharp, metallic scent of fine silver meeting the heat of a butane torch. It is a scent that feels like potential. Your fingertips trace the cool, smooth surface of a nine gauge wire before you begin the transformation into Hammered Silver Rings. There is a specific, visceral thrill in feeling the metal resist your initial strike, only to yield as the molecular structure shifts under the force of your mallet. We are not just making jewelry; we are manipulating the crystalline lattice of precious metals to capture light in a way that feels ancient and raw. The tactile feedback of the metal hardening under your hammer is your first lesson in material science. It is heavy, it is honest, and it is about to become your favorite accessory. We are diving deep into the physics of the forge to ensure your rustic finish looks intentional rather than accidental. Grab your safety glasses and clear your workbench; we are about to turn static silver into a rhythmic masterpiece of texture and light.
THE STUDIO KIT
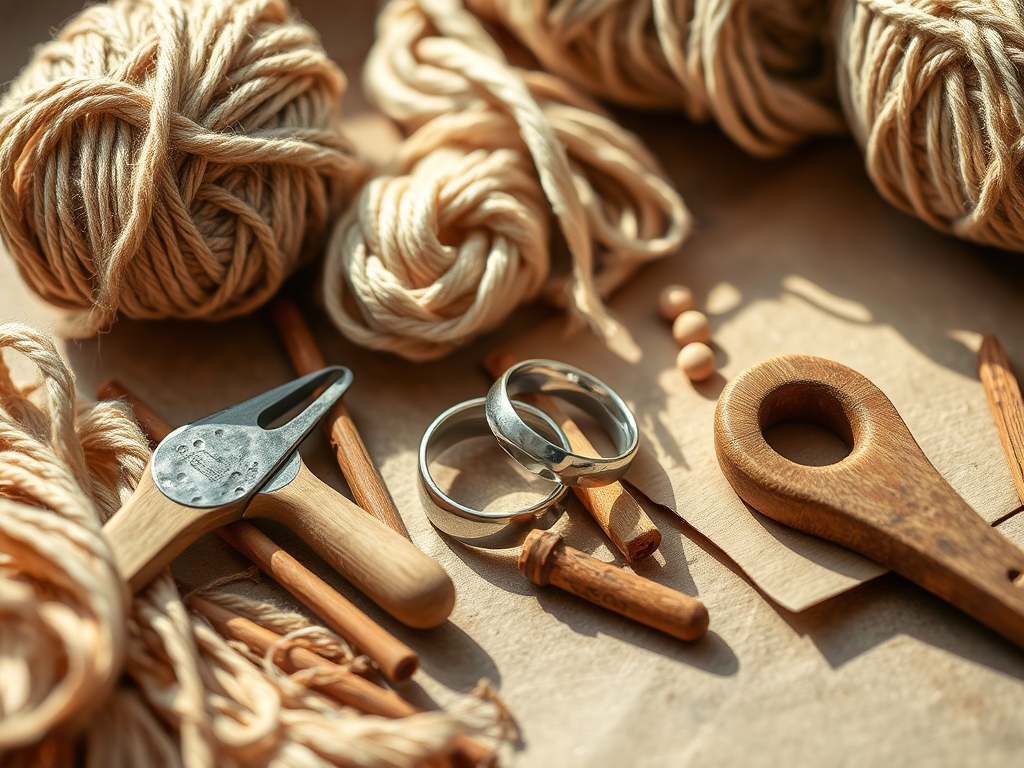
To achieve professional results, you need a kit that respects the tensile strength of your material. Silver is ductile, meaning it can be stretched, but it also work-hardens quickly. You will need a jeweler's saw with 2/0 blades for precision cutting; using a standard hacksaw will result in a jagged kerf that ruins your seam. A steel ring mandrel is non-negotiable for maintaining circular integrity, while a rawhide mallet allows you to shape the ring without marring the surface before you are ready for the texture. For the actual "hammered" effect, a chasing hammer with a highly polished ball-peen head is essential. You will also require a bench block made of hardened steel to provide the necessary rebound for your strikes.
Material Substitutions: If you cannot source sterling silver wire, you can practice your strike patterns on dead-soft copper. Copper has a similar brinell hardness to silver, making it an excellent surrogate for mastering your swing. Instead of a professional pickle pot for cleaning, a mixture of warm water and citric acid works as a sustainable, non-toxic alternative to remove firescale after soldering.
THE TEMPO
The "Maker's Rhythm" is a balance between aggressive force and delicate refinement. Expect to spend approximately twenty minutes on the initial prep, which includes measuring and cutting your stock with calipers for sub-millimeter accuracy. The soldering phase is a quick, high-intensity three minutes where you must manage thermal conductivity to prevent melting your piece. The most time-consuming phase is the texturing and finishing, which takes about forty minutes of rhythmic, focused striking. Total studio time for a single high-quality ring is roughly one hour. Do not rush the cooling process; allowing the metal to air-cool slightly before quenching prevents internal stress fractures in the silver's grain.
THE CORE METHOD
1. Precision Sizing and Cutting
Use your calipers to measure the circumference of your finger, then add two millimeters to account for the thickness of the metal. Mark your silver wire with a fine-point scribe. Secure the wire in a bench pin and use your jeweler's saw to cut a perfectly vertical line. Mastery Tip: The saw blade should do the work; applying too much downward pressure increases friction and leads to blade breakage. Maintaining a 90-degree angle ensures the ends meet perfectly for a seamless solder joint.
2. Squaring the Join
Even the best saw cut leaves microscopic irregularities. Use a flat needle file to square the ends of the wire. Hold the wire in a pair of parallel pliers to ensure the ends are perfectly flush when pressed together. Mastery Tip: Light must not pass through the join when held up to a lamp. This creates capillary action, which allows the molten solder to be pulled through the entire seam for a bond that is as strong as the rest of the ring.
3. The Controlled Burn
Apply a drop of liquid flux to the join and place a tiny "pallion" of hard silver solder on the seam. Use your torch to heat the entire ring evenly. Silver is a fantastic conductor of heat; if you only heat the join, the rest of the ring will act as a heat sink and the solder won't flow. Mastery Tip: Watch for the "flash." Solder follows heat. Once the ring reaches the flow point, the solder will liquefy and zip into the seam. This is the moment where surface tension is overcome by the heat of the torch.
4. Shaping the Round
After quenching and pickling the ring to remove oxidation, slide it onto your steel mandrel. Use the rawhide mallet to strike the metal, moving it down the taper until it is perfectly round. Mastery Tip: Flip the ring frequently on the mandrel. Because the mandrel is tapered, striking it only from one side will result in a cone-shaped ring rather than a perfect cylinder.
5. Executing the Rustic Texture
Switch to your chasing hammer. This is where we create the Hammered Silver Rings aesthetic. Start at the center of the band and work your way to the edges using overlapping strikes. Mastery Tip: The physics of the "bounce" is key. Let the hammer rebound naturally off the steel block. This creates "planishing" marks that compress the silver's surface, increasing its vickers hardness and creating those beautiful, light-catching facets.
6. The Final Burnish
To achieve a rustic look that still feels luxurious, use a burnishing tool or a 400-grit sanding stick to soften the edges of the hammer marks. You want the texture to be crisp but not sharp against the skin. Mastery Tip: Focus on the interior edges of the band. A slight "comfort fit" radius filed into the inside edge will make the ring feel significantly more ergonomic for daily wear.
THE TECHNICAL LEDGER
Maintenance & Longevity
Sterling silver reacts with sulfur in the air to create tarnish. To maintain the rustic depth of your hammered finish, avoid using chemical dips which strip the character from the recesses. Instead, use a polishing cloth to brighten the high points of the texture while leaving the deeper "valleys" dark. This enhances the three-dimensional quality of the hammer marks.
Material Variations
For a more sustainable studio practice, source recycled fine silver. It has a higher purity than sterling (99.9% vs 92.5%) and is softer to work with, though it requires more careful hammering to prevent over-thinning. For a premium variation, try "reticulation silver," which contains a higher copper content in the core, allowing you to create extreme, crinkled textures that look like volcanic rock.
The Correction
- The Gap: If your solder didn't flow, the join wasn't clean or flush. Fix: Re-file the ends until they touch perfectly and re-solder with fresh flux.
- The Melt: If you accidentally melted a section of the band, you overheated the silver. Fix: Cut out the melted section, add a small "bridge" of new wire, and solder two joins instead of one.
- The Distortion: If the ring is wavy, you hit it too hard without the support of the mandrel. Fix: Place it back on the mandrel and use the rawhide mallet to flatten the sides against the steel.
Studio Organization
Store your silver wire in airtight poly-bags with anti-tarnish strips to prevent oxidation before you even start. Keep your steel bench block lightly oiled with a machine lubricant to prevent rust. A rusted block will transfer pits and imperfections to your silver, ruining the intentionality of your rustic finish.
THE FINAL REVEAL
Look at that! You have successfully navigated the transition from raw wire to a finished piece of wearable art. The way those facets catch the light is a direct result of your precision and rhythmic force. Your Hammered Silver Rings carry the "soul" of the maker; every strike of the hammer is a signature of your unique energy. The rustic finish isn't just a style choice; it is a celebration of the making process itself. Slide it on, feel the weight, and appreciate the fact that you just turned physics into fashion.
STUDIO QUESTIONS
What is the best gauge for a standard hammered ring?
A 10 or 12 gauge wire is ideal for beginners. It provides enough tensile strength to withstand heavy hammering without becoming too thin or brittle, ensuring the ring maintains its structural integrity over years of daily wear.
Why does my silver turn black after heating?
This is "firescale," caused by oxygen reacting with the copper content in sterling silver at high temperatures. It is a surface oxidation that can be removed by "pickling" the ring in a mild acid bath after soldering is complete.
Can I hammer the ring while it is cold?
Yes, this is called "cold working." Silver is ductile enough to be textured at room temperature. However, as you hammer, the metal becomes "work-hardened." If it becomes too springy or difficult to shape, you must anneal it with heat.
How do I prevent the ring from getting stuck on the mandrel?
Always strike the metal at a slight downward angle toward the wider part of the mandrel. If it gets stuck, flip the mandrel over and tap the thick end on your workbench; the inertia will usually slide the ring right off.