Imagine the sensation of raw earth yielding under the heat of your palms. There is a specific, addictive resistance when you first wedge a fresh block of polymer or stoneware. We are diving deep into the world of Hand Sculpted Clay Beads today; it is a process where molecular friction meets high fashion. You are not just rolling balls of mud. You are manipulating mineral structures to create wearable art. The tactile feedback of the clay tells you everything about its moisture content and potential for structural failure. We want that perfect balance of plasticity and firmness. If the clay is too cold, the long-chain polymers wont bond. If it is too warm, you lose the crisp definition of your imprints. We are hunting for that sweet spot where the surface tension is high enough to hold a fingerprint but soft enough to take a microscopic impression. Grab your apron and clear your workbench. We are about to turn basic geology into a masterpiece of texture and form.
THE STUDIO KIT
THE STUDIO KIT
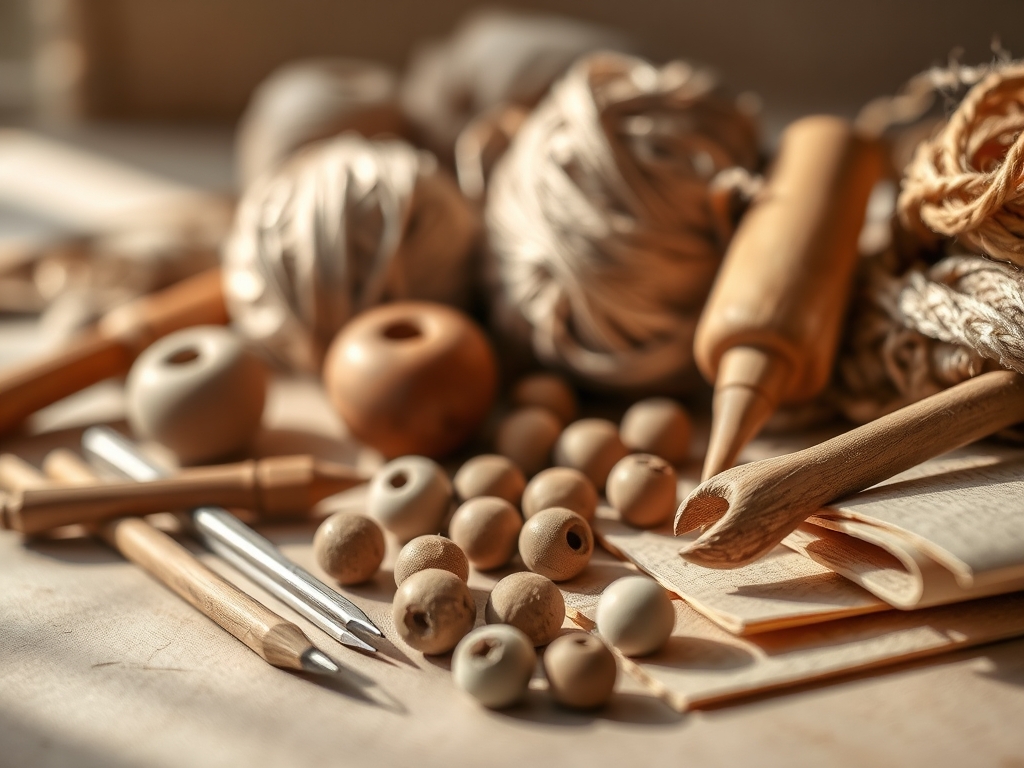
To master Hand Sculpted Clay Beads, your kit must prioritize precision and surface integrity. You need a high-density acrylic roller to ensure even compression without leaving ghost marks. A stainless steel needle tool or a fine-gauge awl is essential for piercing the bore holes without collapsing the internal walls. For shaping, silicone tipped color shapers allow for seamless blending at a microscopic level. You will also need a digital caliper to ensure uniformity across your necklace strand; consistency is the difference between "hobbyist" and "high-end boutique."
For the textures, look for stiff-bristled brass brushes, coarse-grit sandpaper, and natural sea sponges. The porous nature of the sponge creates a different topographical map than the linear strike of a brush. If you lack professional stamps, look for material substitutions in your junk drawer. A knurled metal bolt provides a perfect industrial diamond pattern. A discarded piece of lace offers intricate floral relief. Even a dried orange peel can be used as a stamp to mimic the organic, pitted texture of volcanic rock. Always keep a small vial of isopropyl alcohol nearby; a quick wipe with a lint-free cloth will dissolve stray oils and prep the surface for the final burnish.
THE TEMPO
The Maker's Rhythm is a three-act play of chemical and physical transitions. First is the Conditioning Phase (20 minutes). This is where you mechanically break down the clay's stiffness to align the internal particles, ensuring the tensile strength is uniform. Next is the Sculpting and Texturing Phase (1 to 3 hours). This is the flow state where you give each bead its soul. You must work quickly enough that the clay doesn't dry out or "leach" its plasticizers into your hands.
Finally, we reach the Thermal Set or Curing Phase. Depending on your medium, this could be a 30-minute bake or a 24-hour air-dry period. Do not rush this. The structural integrity of your Hand Sculpted Clay Beads depends on a slow, even change in temperature to prevent internal stress fractures. Respect the cooldown; skipping the "rest" period leads to brittle beads that will shatter under the pressure of a jeweler's cord.
THE CORE METHOD
1. The Spherical Foundation
Start by portioning your clay into equal masses using your calipers. Roll the clay between your palms using circular, rhythmic pressure to expel air pockets. Mastery Tip: This process relies on centripetal force to push any trapped air toward the center and then out through the surface. An air bubble is a structural liability that will expand and pop during the curing process.
2. The Linear Bore
Use your needle tool to find the exact center of the sphere. Rotate the bead onto the needle rather than pushing the needle into the bead. Mastery Tip: This utilizes rotational displacement to move the clay aside rather than compressing it, which prevents the bead from deforming into an oval shape.
3. The Stippled Bas-Relief
Take a stiff wire brush and perpendicularity tap the surface of the bead. This creates thousands of tiny craters that catch the light. Mastery Tip: This increases the surface area of the bead, which is functionally brilliant if you plan to apply a secondary glaze or mica powder, as it provides more "teeth" for the pigment to grab onto.
4. The Fabric Press
Wrap a piece of high-weave linen or burlap around the bead and squeeze firmly. This transfers the grid of the fibers onto the clay. Mastery Tip: This is an exercise in compressive stress. The density of the fabric weave determines the resolution of your texture; a higher thread count results in a more sophisticated, leather-like finish.
5. The Geometric Incision
Using a sharp craft blade or a jeweler's saw, carve shallow channels into the clay in a radial pattern. Mastery Tip: Pay attention to the depth of cut. If you exceed 25 percent of the bead's radius, you compromise the structural integrity, making the bead prone to shearing under the weight of the necklace.
6. The Salt Weathering
Roll a damp clay bead in coarse sea salt, then press the grains into the surface. After the bead is cured, wash the salt away with water. Mastery Tip: This is a "sacrificial mold" technique. The salt is water-soluble, leaving behind organic, cavernous pits that look like weathered limestone once the crystals dissolve.
7. The Agate Burnish
Wait until the clay is leather-hard, then rub the surface with a smooth bone folder or a polished stone. Mastery Tip: This process, known as mechanical burnishing, flattens the surface platelets of the clay, creating a high-gloss finish without the need for artificial glazes. It relies on friction to create a microscopic seal.
THE TECHNICAL LEDGER
Maintenance & Longevity: To keep your Hand Sculpted Clay Beads in gallery condition, avoid exposure to ultrasonic cleaners. The high-frequency vibrations can micro-crack the textured surfaces. Clean only with a soft microfiber cloth and pH-neutral distilled water.
Material Variations: For a sustainable approach, use earthenware clay sourced from local deposits, though this requires a high-temp kiln. For premium results, porcelain-infused polymer offers the highest tensile strength and the brightest color payoff.
The Correction:
- The Slump: If your beads flatten on the bottom while baking, use a bead baking rack or a bed of cornstarch to suspend them.
- The Crazing: If fine cracks appear, your cooling process was too rapid. Use a thermal buffer like a lidded ceramic dish during the cooldown.
- The Fingerprint: If you leave an unwanted mark, use a cotton swab dipped in 91 percent isopropyl alcohol to chemically melt and smooth the surface.
Studio Organization: Store raw clay in polypropylene containers to prevent plasticizer migration. Keep your textured beads in segmented "tackle boxes" lined with acid-free tissue paper to prevent the textures from abrading each other during storage.
THE FINAL REVEAL
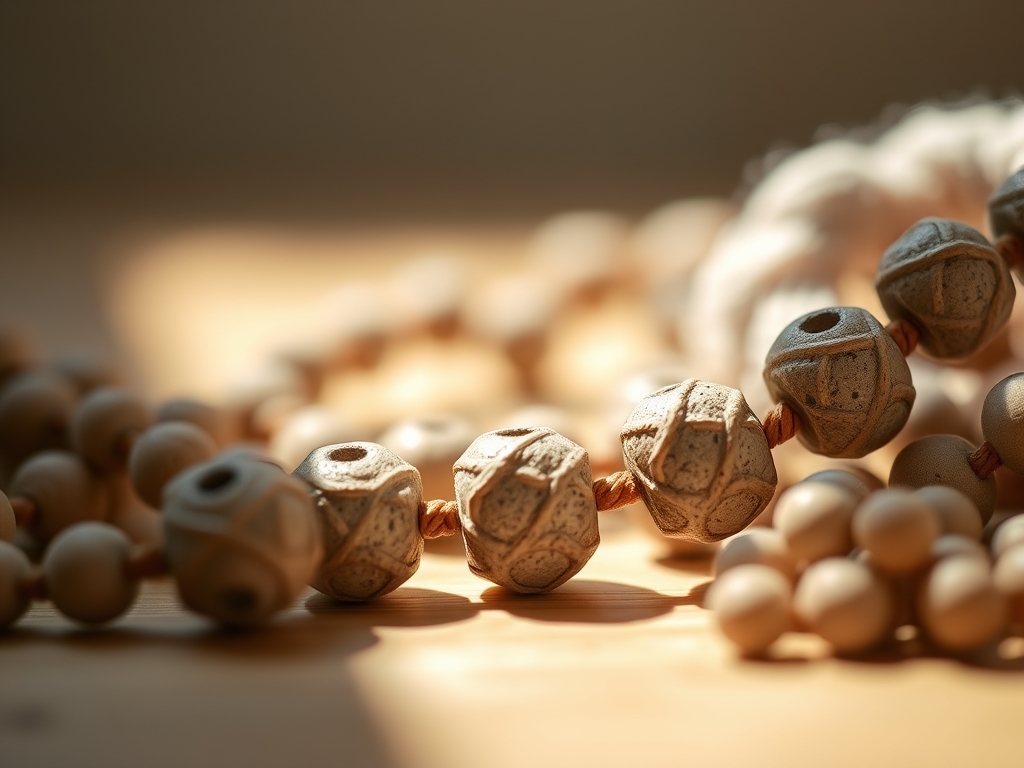
Look at that! You have successfully navigated the physics of Hand Sculpted Clay Beads. Each bead is a tiny monument to your precision. The way the light catches the stippled edges and the shadows settle into the fabric-pressed grooves creates a visual rhythm that no factory-made plastic could ever mimic. Your necklace isn't just an accessory; it is a tactile biography of the forces you applied in the studio. Wear it with the confidence of someone who knows exactly how the molecules are holding together.
STUDIO QUESTIONS
How do I prevent my clay beads from breaking?
Ensure you wedge the clay thoroughly to remove air pockets. Always bake or dry at the exact temperature recommended to ensure the molecular bonds fully cross-link, which maximizes the tensile strength of the finished bead.
What is the best way to clean textured beads?
Use a soft-bristled toothbrush and mild soapy water. The bristles reach into the micro-topography of the textures without scratching the surface. Avoid harsh chemicals that could degrade the polymer or mineral structure over time.
Can I mix different types of clay?
Generally, no. Different clays have varying shrinkage rates and curing temperatures. Mixing them can lead to internal delamination, where the layers pull apart during the drying or firing process, causing the bead to crumble.
How do I get a professional shine without glaze?
Use the burnishing technique with a bone folder or high-grit sanding pads (up to 10,000 grit). This physically aligns the surface particles to reflect light uniformly, creating a natural, durable luster that won't chip or peel.