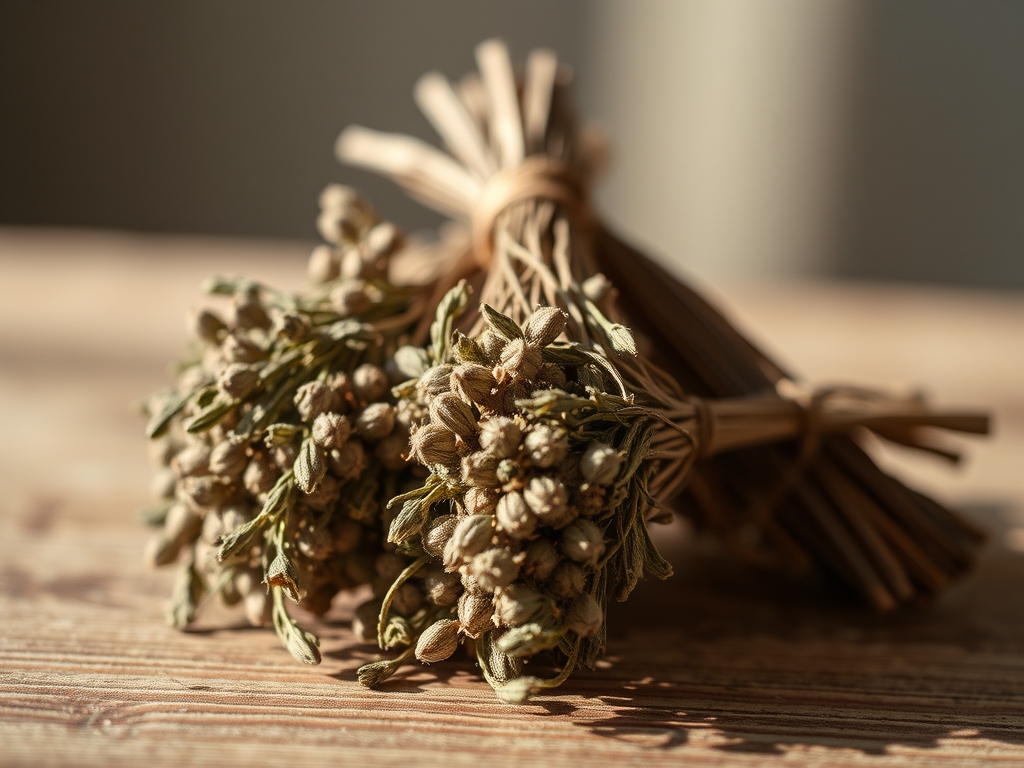
Grab your favorite apron and clear the workbench because we are about to transform your sunniest window into a suspended apothecary. There is something deeply primal about the snap of a dried stem and the immediate release of volatile oils into the air. When we talk about Dried Herb Bundles, we are not just hanging weeds in a window; we are mastering the physics of moisture evaporation and the preservation of cellular structures. You can feel the difference in your fingertips between a leaf that has been properly cured and one that has simply withered. A high-quality bundle feels like parchment; it has a specific tensile strength that resists crumbling while maintaining its structural integrity. As the sun hits these bundles, the heat triggers a slow-motion diffusion of aromatic compounds, turning your living space into a sensory lab. We are going to balance aesthetics with botanical science to ensure your window display remains vibrant and fragrant for months rather than days. Let us get into the grit of the greenery.
THE STUDIO KIT
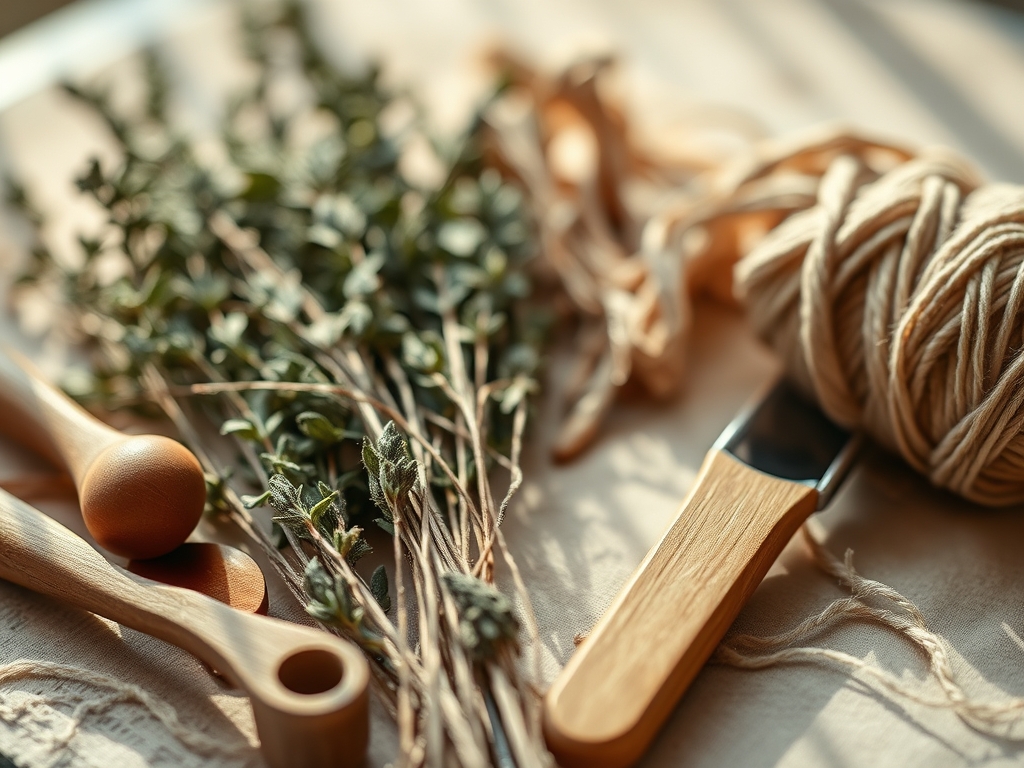
To execute this project with professional precision, you need more than just kitchen shears. We are looking for clean cuts that do not crush the vascular bundles of the plants. First, secure a pair of high-carbon steel snips or a sharp rotary cutter for clean terminal ends. You will need natural jute twine or unbleached cotton cord; avoid synthetic fibers as they lack the surface friction necessary to hold shrinking stems. For the hanging mechanism, a brass rod or a de-barked hardwood branch provides the necessary load-bearing support.
If you want to get technical, use a caliper to measure the diameter of your bundles to ensure uniformity across your window display. A bone folder can be surprisingly useful here for pressing down twine knots to ensure they sit flush against the stems. For material substitutions, if you cannot find jute, use waxed linen thread which offers incredible grip. If you lack a professional drying rack, a stainless steel S-hook system works perfectly to maintain airflow around the 360-degree surface area of the herbs.
THE TEMPO
The Maker's Rhythm for botanical drying is dictated by humidity and airflow. You cannot rush the desiccation process without risking mold or the loss of essential oils. The initial harvest and assembly phase takes approximately 60 to 90 minutes of focused studio time. This is where you focus on the ergonomic alignment of the stems. Once hung, the "Passive Phase" begins. This lasts between 10 to 14 days depending on the ambient moisture in your studio. You will know the rhythm is complete when the stems reach a "snap point," indicating that the internal moisture content has dropped below 10 percent.
THE CORE METHOD
1. The Selection of Aromatic Species
The first step is curating your five plants based on their oil density and leaf morphology. We are looking for Lavender (Lavandula angustifolia) for its linalool content; Rosemary (Salvia rosmarinus) for its woody structural integrity; Eucalyptus (Eucalyptus globulus) for its waxy cuticle; Peppermint (Mentha piperita) for its high menthol volatility; and Thyme (Thymus vulgaris) for its delicate, intricate branching.
Mastery Tip: Always harvest your herbs just after the morning dew has evaporated but before the midday sun hits. This ensures the maximum concentration of essential oils within the trichomes (microscopic hair-like structures) on the leaf surface.
2. Stripping and Stem Preparation
Clean the bottom two inches of every stem. This is not just for looks; it prevents moisture from being trapped between the twine and the plant material. Use your snips to create a 45-degree bevel cut at the base of each stem. This increases the surface area for the final stages of moisture release.
Mastery Tip: Removing the lower leaves reduces the risk of fungal growth. The science of capillary action means that any remaining moisture will move toward the leaves, so a clean stem base accelerates the drying of the foliage.
3. Calculating Bundle Density
Group your herbs into bundles no thicker than one inch in diameter at the base. If a bundle is too dense, the center will lack airflow, leading to anaerobic decomposition (rot). Use your calipers to check for consistency. This ensures that every bundle in your window dries at the same rate, maintaining a cohesive aesthetic.
Mastery Tip: The inverse square law applies to airflow; doubling the thickness of your bundle quadruples the time it takes for the center to dry. Keep them lean for a crisp, professional finish.
4. The Tension Knot Technique
Wrap your twine tightly around the base of the bundle. Use a constrictor knot or a series of clove hitches. Remember, as the plants dry, the stems will shrink. If your knot is loose, the bundle will slip out and crash to the floor.
Mastery Tip: This involves tensile compensation. Because plant tissues lose volume as water evaporates, you must tie your bundles tighter than you think is necessary to account for the eventual reduction in stem circumference.
5. Suspension and Light Calibration
Hang your Dried Herb Bundles in a window that receives bright but indirect light. Direct UV rays will bleach the chlorophyll and break down the delicate aromatic esters. Use your brass rod to create a level plane, ensuring each bundle has at least three inches of clearance from its neighbor.
Mastery Tip: Use the principles of convection. Hanging bundles upside down allows gravity to pull the remaining resins into the leaves, intensifying the scent profile as the plant cures.
THE TECHNICAL LEDGER
Maintenance & Longevity: To keep your bundles pristine, use a soft-bristled brush or a can of compressed air (held at a distance) to remove dust every two weeks. Avoid high-humidity zones like bathrooms, as the porous nature of dried herbs will cause them to reabsorb moisture and go limp.
Material Variations: For a premium look, use copper wire instead of twine; it adds a metallic sheen and provides a rigid structure. For a sustainable approach, use recycled leather strips or hemp cord.
The Correction:
- The Droop: If your herbs look wilted instead of crisp, your humidity is too high. Move them to a room with a dehumidifier for 48 hours.
- The Shatter: If the leaves fall off at a touch, they are over-dried. Lightly mist the air (not the plant) to introduce a tiny amount of flexibility.
- The Graying: This is caused by UV damage. Move the bundles further back from the glass to preserve the green pigment.
Studio Organization: Store your leftover dried materials in airtight borosilicate glass jars in a dark cabinet. This prevents the oxidation of the oils and keeps your workspace organized for your next botanical project.
THE FINAL REVEAL
Stand back and look at that! You have successfully merged botanical science with interior styling. Those Dried Herb Bundles look absolutely editorial against the glass. The way the light filters through the Eucalyptus leaves and the structural silhouette of the Rosemary creates a dynamic, living shadow box. It is high-energy, it is fragrant, and it is technically perfect. You have mastered the art of the cure, and your home is going to smell like a high-end spa for the foreseeable future.
STUDIO QUESTIONS
How long do dried herb bundles last?
When kept away from direct sunlight and high humidity, professional-grade bundles maintain their color and fragrance for six to nine months. Once the leaves become brittle or the scent fades significantly, it is time to compost them and start a new batch.
Which herbs are best for window hanging?
Woody perennials like Rosemary, Lavender, and Thyme are superior because their high cellulose content prevents them from shriveling excessively. Eucalyptus and Bay Laurel are also excellent choices due to their thick, waxy cuticles that preserve structural integrity during desiccation.
Can I dry herbs in a humid climate?
Yes, but you must increase airflow. Use a small oscillating fan in your studio to keep the air moving around the bundles. This prevents moisture from settling on the leaf surfaces, which is the primary cause of mold in humid environments.
Why are my dried herbs turning brown?
Browning is usually caused by enzymatic browning or excessive UV exposure. To prevent this, ensure the herbs dry quickly in a dark, well-ventilated area before moving them to the window. Speeding up the initial moisture loss preserves the green chlorophyll.
How do I secure bundles that keep shrinking?
Use a "slip knot" or a rubber band hidden under the twine. As the stems lose moisture and shrink, the elastic or the adjustable knot will maintain constant pressure, preventing the stems from sliding out of the bundle as they cure.