Close your eyes and listen to the snap of a dry stalk. That sharp, percussive crack is the sound of potential energy waiting to be tamed. When you handle raw seagrass or water hyacinth, you are feeling the literal architecture of a riverbed. These fibers are porous and cellular; they are designed by nature to be flexible yet incredibly resilient under tension. We are diving into the world of Woven Reed Placemats today because your organic table deserves more than mass-produced polyester. It deserves a functional piece of art that smells like sun-dried earth and feels like a masterclass in structural integrity. As we work, you will notice the tactile friction between the warp and the weft. This is not just "crafting." It is a calculated manipulation of cellulose and lignin. By the time we finish, you will understand how a simple over-under sequence creates a surface capable of withstanding the thermal shock of a ceramic plate while maintaining its geometric perfection. Let us get our hands messy and our patterns precise.
THE STUDIO KIT
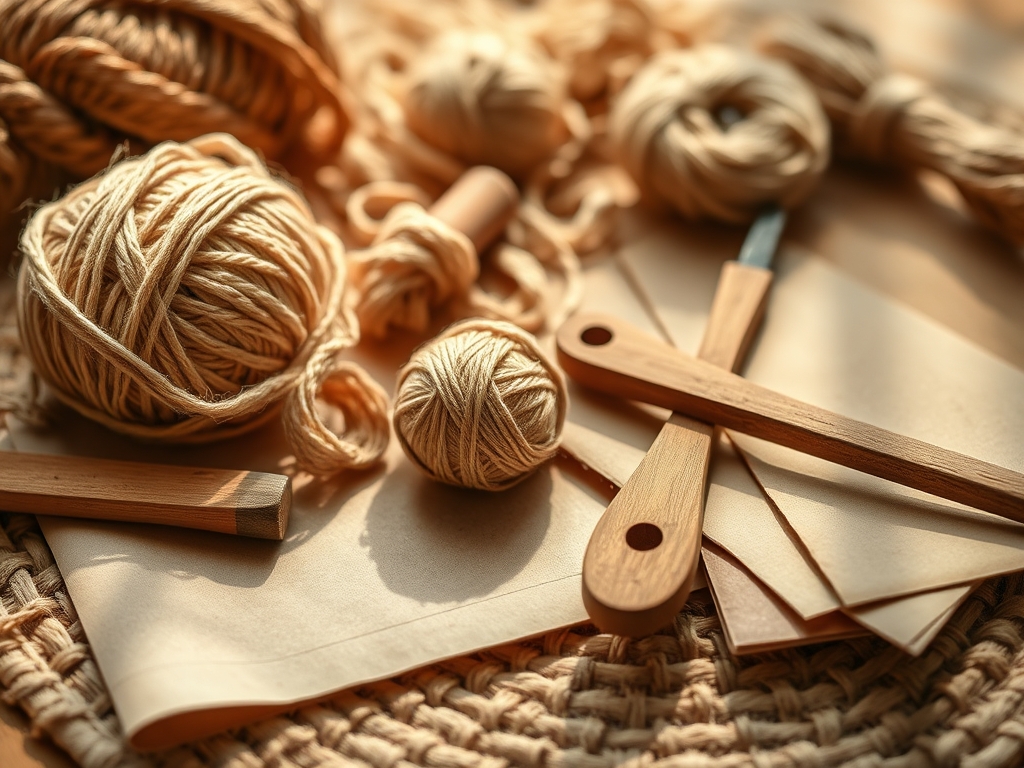
To achieve professional results, you need a kit that respects the tensile strength of your fibers. Start with high-quality round or flat reed, specifically a #2 or #3 gauge for the spokes to ensure a rigid skeleton. You will need a heavy-duty awl for opening tight weaves and a pair of spring-loaded shears to prevent hand fatigue during repetitive trimming. A stainless steel caliper is essential for maintaining uniform spacing between your radial spokes; even a two-millimeter deviation can cause the mat to "potato chip" or warp. For the finishing touches, keep a bone folder nearby to burnish the edges and lock the fibers into place.
Material Substitutions: If you cannot source traditional rattan reed, look for smoked flat reed for a darker, archival aesthetic. For a more sustainable twist, use recycled paper twine or twisted seagrass. Note that seagrass has a higher moisture content and lower elasticity than willow or rattan, so adjust your tension accordingly to prevent the centers from sagging.
THE TEMPO
The "Maker's Rhythm" is a psychological state where your muscle memory takes over the technical execution. For a standard 14-inch circular mat, expect a total production time of approximately four hours. The Hydration Phase takes 20 minutes; you must submerge your reeds in lukewarm water to reach the "glass transition point" where they become pliable without snapping. The Foundational Weave (the center "spider") requires 45 minutes of intense focus to ensure the cross-points are perfectly perpendicular. The Expansion Phase is the longest, taking about two hours of rhythmic weaving. Finally, the Border Lockdown and drying period require 24 hours of resting under a weighted board to ensure the fibers set in a perfectly flat plane.
THE CORE METHOD
1. The Radial Foundation
Begin by crossing four vertical reeds over four horizontal reeds to create a "plus" sign. This is the primary axis of your placemat. Use a thin #1 reed to perform a "twining" stitch around these bundles.
Mastery Tip: This step relies on frictional resistance. By crossing the thin weaver over itself between every spoke, you create a mechanical lock that prevents the center from unraveling as the material dries and shrinks.
2. The Twill Transition
Once the center is secure, separate the bundles into individual spokes. Switch to a 2×2 twill pattern, skipping two spokes and ducking under two. This creates a diagonal "staircase" visual effect that is structurally superior to a simple plain weave.
Mastery Tip: The science here is load distribution. A twill pattern allows for a higher thread count per square inch, which increases the density of the mat and provides better heat insulation for your table surface.
3. Tension Calibration
As you circle outward, use your calipers to check the distance between spokes every three rows. If the gap exceeds half an inch, you must "add a spoke" by inserting a new reed into the previous row's weave using your awl.
Mastery Tip: This manages the structural hoop stress. Without adding spokes, the outer edges of the mat become flimsy because the weave density drops as the circumference increases.
4. The Rolled Border Finish
To finish, soak the protruding spokes until they are hyper-flexible. Bend each spoke behind its neighbor and tuck it back into the body of the weave.
Mastery Tip: This utilizes capillary action. A wet reed can be bent at a sharp 180-degree angle because the water lubricates the internal cellular walls. Once dry, the reed "remembers" this shape, creating a permanent, hardware-free fastener.
THE TECHNICAL LEDGER
Maintenance & Longevity: Never submerge a finished reed mat in soapy water. Instead, use a damp microfiber cloth to wipe along the grain direction. If the fibers become brittle over time, a light application of food-grade mineral oil will restore the lipid barrier and prevent cracking.
Material Variations: For a premium organic table, incorporate dyed sisal for a pop of color or flat copper wire for a mixed-media industrial look. Sustainable enthusiasts should prioritize locally harvested willow, which offers incredible durability and a low carbon footprint.
The Correction:
- The Bowing Effect: If the mat curves upward, your tension is too tight. Fix this by misting the mat and placing it under a heavy stack of books for 12 hours.
- Spoke Splitting: This happens when the reed is too dry. Use a sponge to apply water directly to the stress point before bending.
- Loose Weave: If the rows move when touched, use your bone folder to pack the rows tighter toward the center, then add an extra row of twining.
Studio Organization: Store your raw reeds in a cool, dark place with a humidity-controlled environment. Avoid vertical storage, as the weight of the reeds can cause the bottom ends to fray or "broom." Lay them flat in a long canvas bag to protect the longitudinal fibers.
THE FINAL REVEAL
There is nothing quite like the moment you lift those heavy books and reveal a perfectly flat, geometrically balanced masterpiece. Your Woven Reed Placemats are more than just table protection; they are a celebration of organic geometry. The way the light catches the ridges of the twill and the earthy scent of the dried reeds creates an immediate sensory connection to the natural world. Your table is no longer just a piece of furniture; it is a curated experience of texture, strength, and sustainable design. You have successfully turned raw stalks into a sophisticated, high-performance textile.
STUDIO QUESTIONS
How do I prevent my reed from snapping during the weave?
Soak your material in lukewarm water for 15 to 20 minutes. This increases the flexibility of the cellulose fibers. If it feels brittle or makes a crunching sound, it needs more hydration to reach its optimal working state.
Can I use these placemats for hot cast iron pans?
Reed is an excellent natural insulator with low thermal conductivity. However, direct contact with a 400-degree pan may scorch the fibers. Use them for standard dinner plates and warm serving dishes to ensure the longevity of the organic material.
What is the best way to clean a food spill?
Act quickly using a soft-bristled brush and minimal water. Because reed is porous, it can absorb liquids which may lead to mold. Always air-dry the mat completely in a well-ventilated area before stacking or storing it away.
How do I make the edges look professional and neat?
Use a bone folder to compress the final rows tightly before tucking the spokes. This increases the density at the perimeter. Trimming the excess reed at a 45-degree angle with sharp shears ensures the ends tuck invisibly into the weave.
Why is my placemat wobbling on the table?
Wobbling is caused by uneven tension distribution. If one side is pulled tighter than the other, the mat will warp. To fix this, re-dampen the mat and dry it under a heavy, flat weight to reset the fiber memory.