
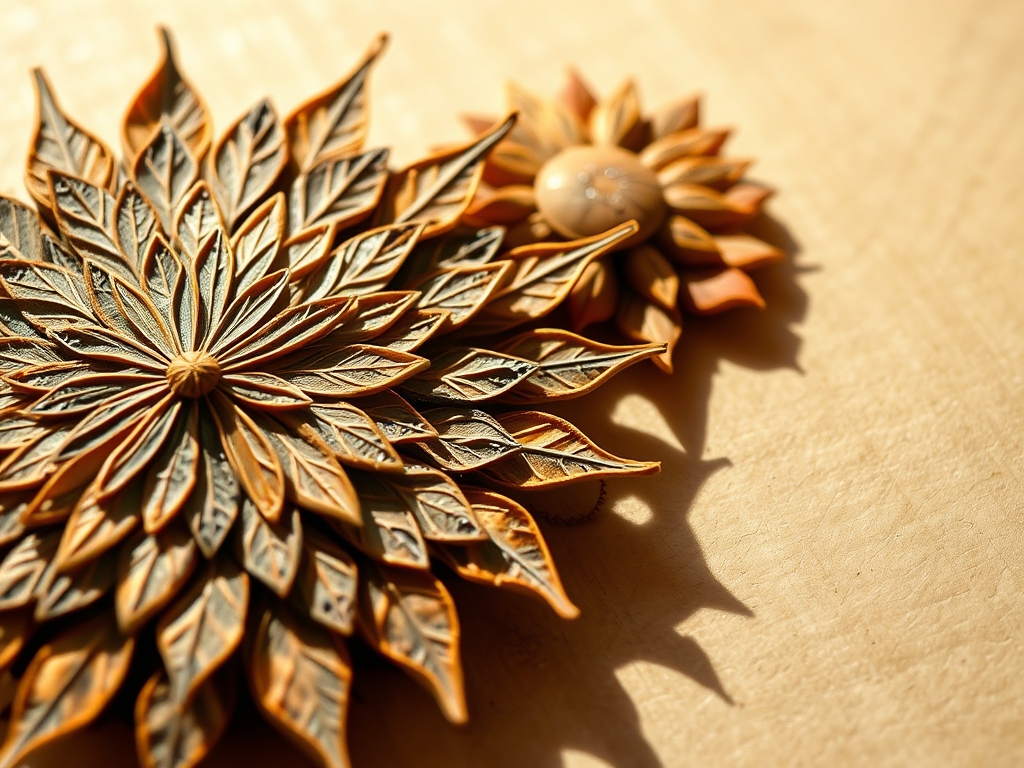
Grab your favorite mug of tea and clear the workbench because we are about to dive into the tactile physics of organic geometry. There is something profoundly grounding about the crunch of dried cellulose against the smooth, dense surface of a 300 GSM paper. Today, we are mastering Pressed Leaf Mandalas; an art form that blends botanical preservation with high-level structural design.
The secret to a successful layout is not just artistic flair. It is understanding the tensile strength of your foliage. When a leaf loses its moisture, its cellular walls become brittle and prone to shattering under uneven pressure. We are going to treat these delicate specimens like high-grade veneers. By the time we finish, you will understand how to manipulate the grain of a maple leaf just as easily as a master carpenter handles oak. We are looking for that perfect intersection of botanical science and meditative flow. Let us get our hands dirty, shall we?
THE STUDIO KIT
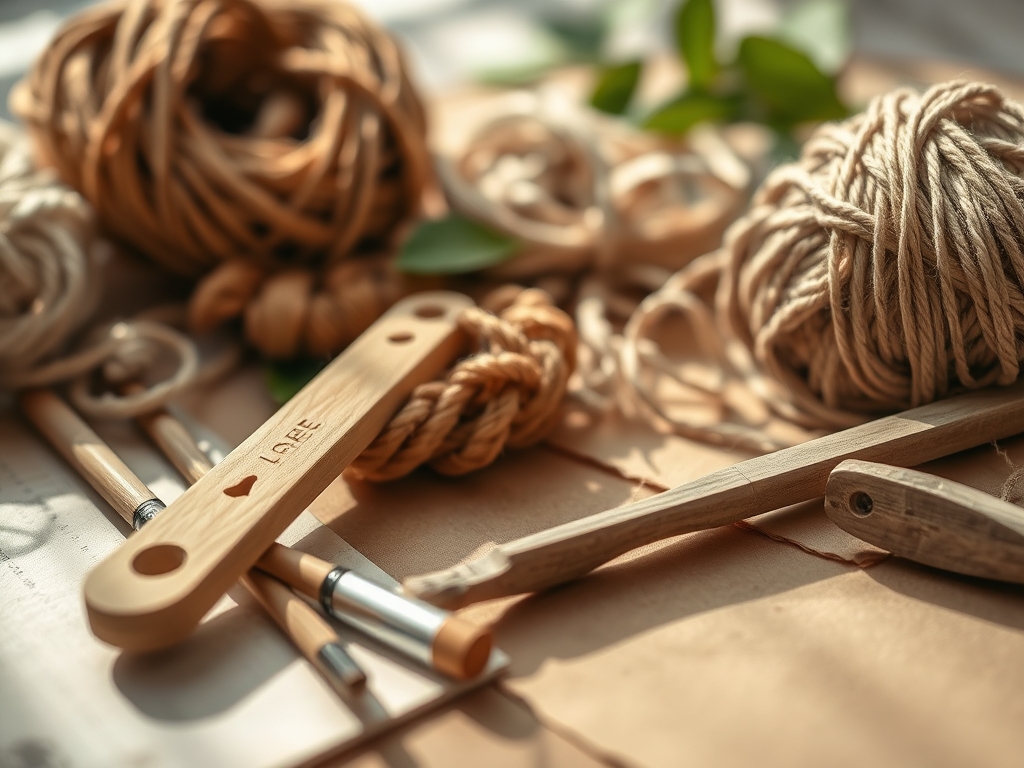
To execute these Pressed Leaf Mandalas with professional precision, you need a kit that respects the porous nature of your materials. Forget standard school glue; we are working with pH-neutral adhesives to prevent long-term acidic degradation.
- Heavyweight Cardstock: Minimum 140lb (300 GSM). The high ply count ensures the paper will not buckle when we apply our adhesive load.
- Precision Tweezers: Surgical grade or jeweler's style. These allow you to manipulate small specimens without transferring skin oils, which can cause premature browning.
- Bone Folder: This is essential for the burnishing process. It allows you to apply even pressure across the leaf surface to ensure a flush bond.
- Compass and Protractor: We are building radial symmetry. You need a solid geometric foundation before the first leaf touches the page.
- Acid-Free PVA Glue: This adhesive remains flexible once dry, which is vital because organic matter will continue to expand and contract slightly with humidity.
- Micro-Fine Mist Spray: For rehydrating overly brittle specimens just enough to prevent snapping.
Material Substitutions: If you cannot find high-weight cardstock, you can use cold-pressed watercolor paper. The tooth of the paper provides excellent mechanical grip for the glue. Instead of a bone folder, a clean silicone brayer works wonders for larger surface areas.
THE TEMPO
The "Maker's Rhythm" for Pressed Leaf Mandalas is split into three distinct phases. First is the Curation Phase (30 minutes), where you sort your leaves by size, color, and gauge. You want to group items with similar thickness to maintain a level surface. Next is the Drafting Phase (20 minutes), where you use your compass to lightly trace concentric circles. This creates the "skeleton" of your mandala. Finally, the Assembly Phase (1 to 2 hours) is the meditative core. This is where time slows down as you align the central axis of each leaf with your radial guides. Do not rush the drying time; a full 24-hour press under a heavy weight is required to ensure the structural integrity of the final piece.
THE CORE METHOD
1. The Geometric Foundation
Use your compass to mark a center point and draw six concentric circles. This creates a roadmap for your radial symmetry. By establishing these boundaries, you ensure that the visual weight of the mandala remains balanced.
Mastery Tip: Use a caliper to measure the width of your primary leaves. If your leaves vary by more than 0.5mm, your symmetry will drift. Consistency in material thickness prevents the "tilting" effect in the final layout.
2. The Central Anchor
Start from the center and work outward. Place your smallest, most vibrant specimen at the very heart of the design. This serves as the focal point and the structural anchor for all subsequent layers.
Mastery Tip: Apply glue using a "dotting" technique rather than a smear. This utilizes surface tension to hold the leaf in place without causing the paper fibers to swell and warp.
3. Radial Orientation
Align the midrib (the central vein) of each leaf with the pencil lines of your grid. This ensures that the grain direction of the organic matter points toward the perimeter, creating a sense of explosive movement.
Mastery Tip: Notice the capillary action when the glue touches the leaf. If the glue disappears too quickly, your leaf is overly desiccated. A light misting can restore the moisture balance for a better bond.
4. Layering and Overlapping
To create depth, overlap the tips of the outer leaves over the bases of the inner ones. This creates a "shingle" effect that adds physical stability to the entire composition.
Mastery Tip: Use your bone folder to gently burnish the overlapping sections. This mechanical pressure forces the air out and creates a vacuum-sealed bond between the two organic layers.
5. Perimeter Definition
The final ring should consist of your sturdiest leaves. These act as a protective "bumper" for the more delicate interior. Choose leaves with high lignin content, like oak or beech, for this outer boundary.
Mastery Tip: Check the tensile strength of your perimeter leaves by gently flexing them. If they snap, they are too dry for the outer ring where they might be bumped during framing.
6. The Final Compression
Once the layout is complete, place a sheet of parchment paper over the mandala followed by a heavy, flat board. This ensures that every leaf dries perfectly flat and flush with the cardstock.
Mastery Tip: This phase relies on even distribution of mass. If the weight is off-center, the adhesive will migrate to one side, potentially causing "ghosting" or staining on your premium cardstock.
THE TECHNICAL LEDGER
Maintenance & Longevity: Keep your finished mandala out of direct UV light. Organic pigments are highly susceptible to photodegradation. Using a UV-protective glass in your frame will significantly extend the vibrant life of the chlorophyll and anthocyanins.
Material Variations: For a premium look, use handmade mulberry paper. The long fibers provide incredible tensile strength. For a sustainable approach, harvest "skeleton leaves" from the forest floor which have already undergone natural decomposition, leaving only the cellulose structure.
The Correction:
- The Snap: If a leaf cracks during placement, do not pull it up. Use a tiny drop of glue and a "patch" leaf of the same species to bridge the fracture.
- The Warp: If the cardstock curls, you used too much water-based glue. Fix this by pressing the piece between two heated ceramic tiles for ten minutes.
- The Slide: If leaves shift during pressing, your adhesive was too wet. Use a repositionable mounting spray next time for the initial "tack."
Studio Organization: Store your pressed leaves in a "dry cabinet" or a sealed bin with silica gel packets. Maintaining a humidity level below 30 percent prevents mold growth and keeps the leaves in a "glassy" state, which is ideal for precision cutting with a rotary cutter.
THE FINAL REVEAL
There it is! Look at that crisp, radial perfection. Your Pressed Leaf Mandalas are more than just art; they are a sophisticated marriage of botanical geometry and structural engineering. The way the light catches the burnished surfaces of the leaves creates a 3D effect that you just cannot get with paint. You have successfully preserved a moment of nature using high-level crafting physics. It is energetic, it is precise, and it is absolutely stunning. Hang this in a place where you can appreciate the intricate vein patterns every single day.
STUDIO QUESTIONS
How do I prevent my leaves from turning brown?
Harvest leaves at their peak color and press them immediately using high-absorbency blotting paper. This locks in the pigments by removing moisture before enzymatic browning can occur. Store the finished Pressed Leaf Mandalas away from direct sunlight and humidity.
What is the best glue for heavy cardstock?
Use a pH-neutral, acid-free PVA glue. It provides a strong mechanical bond without degrading the organic fibers of the leaf or the paper. Its flexibility prevents the leaves from popping off when the temperature shifts in your studio.
Can I use fresh leaves for a mandala?
No, fresh leaves contain too much moisture. As they dry on the paper, they will shrink and curl, causing the cardstock to warp and the adhesive bond to fail. Always use fully desiccated specimens for structural stability.
How do I clean a dusty leaf mandala?
Use a soft, anti-static brush or a low-pressure air canister. Never use liquids or damp cloths, as the porous cellulose will absorb the moisture, leading to mold growth or structural softening of the delicate leaf layers.

