
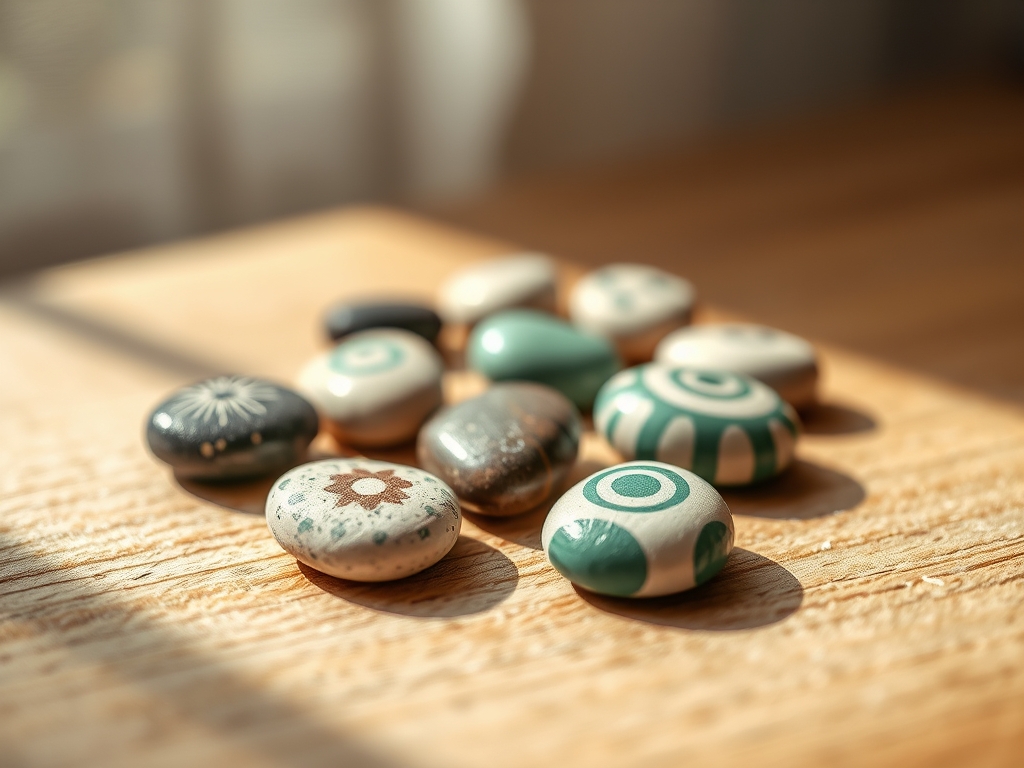
The cold, smooth weight of a river stone in your palm is the ultimate tactile baseline for any maker. It is dense, ancient, and surprisingly porous, acting as a natural canvas that demands respect for its mineral composition. When we dive into the world of Hand Painted Pebbles, we are not just doodling; we are engaging in a high stakes game of surface tension and pigment suspension. You can feel the micro-texture of the siltstone or basalt under your fingertips, a grit that will either grab your paint or send it sliding into a muddy mess. To master this, you need to understand how fluid dynamics interact with a non-uniform, curved substrate. We are looking for that perfect "snap" of the brush and the rhythmic, percussive tap of a stylus hitting stone. It is about the friction between the synthetic fiber and the igneous surface. Grab your favorite apron and clear the workbench, because we are about to turn literal heavy lifting into fine art through the magic of geometry and high-pigment acrylics.
THE STUDIO KIT
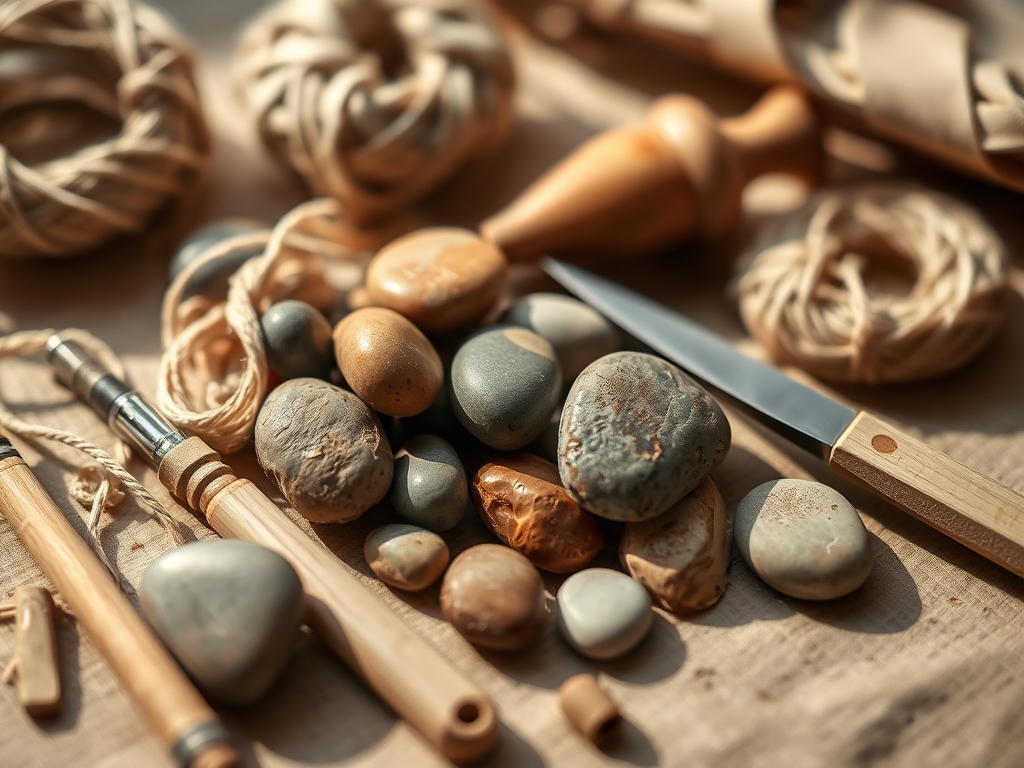
To execute professional-grade dot art mandalas, your kit must be curated with mechanical precision. You need a set of stainless steel ball styluses ranging from 0.5mm to 8mm in diameter; these provide the consistent displacement of paint required for perfect concentricity. For the intricate linework between dots, a 000-gauge synthetic liner brush is non-negotiable. Synthetic fibers like Taklon are preferred here because they offer higher tensile strength and better "spring" than natural sable when dragging heavy-body acrylics across a rough surface. You will also need a digital caliper to ensure your radial symmetry is mathematically sound.
Material Substitutions: If you lack professional dotting tools, an awl or the flat end of a drill bit can serve as a high-density substitute. For the base coat, use a gesso with a high calcium carbonate content to tooth the surface. Always keep a bone folder nearby to burnish any stencil edges if you are using guides. The goal is to minimize the coefficient of friction so your paint flows with zero resistance.
THE TEMPO
The "Maker's Rhythm" is a biological metronome. You cannot rush the curing process of stone. Phase one is the hydration and cleaning phase, which takes roughly 20 minutes of active scrubbing followed by a two-hour desiccating period to ensure no moisture is trapped in the stone's pores. Phase two is the base-mapping, taking 30 minutes to calculate your polar coordinates with a pencil.
The actual painting—the "flow state"—is a slow, meditative tempo. Each dot requires a three-second "dwell time" to allow the paint to release from the tool via capillary action. Expect a medium-sized pebble to take four to six hours of active labor. Finally, the polymerization phase (drying) requires a full 24 to 48 hours before sealing. If you interrupt the rhythm, you risk "slumping," where the peaks of your dots collapse before they skin over.
THE CORE METHOD
1. Surface Preparation and Degreasing
Scrub your stones in a solution of trisodium phosphate or mild detergent to remove organic oils. Even a fingerprint can alter the surface energy of the rock, causing paint to bead up rather than bond. Use a lint-free microfiber cloth to dry.
Mastery Tip: The science of adhesion relies on "mechanical tooth." If the stone is too glassy, use a 400-grit sandpaper to lightly abrade the surface, increasing the surface area for the primer to grip.
2. The Radial Grid Layout
Using your calipers and a white charcoal pencil, find the absolute center of the stone. Draw a vertical and horizontal axis, then bisect those with 45-degree angles. This creates the structural skeleton of your mandala.
Mastery Tip: Use a protractor to ensure your angles are exact. In mandala physics, a deviation of even one degree at the center will result in a massive structural misalignment by the time you reach the outer "equator" of the pebble.
3. Loading the Reservoir
Dip your stylus vertically into the paint. You are looking for a "bead" that clings to the tip without dripping. This is governed by viscosity and cohesion. The paint should have the consistency of warm honey.
Mastery Tip: If your paint is too thick, use a flow improver rather than water. Water breaks down the acrylic polymer chain, reducing the tensile strength of the dried paint film and leading to cracking.
4. The Primary Drop
Hold the tool at a 90-degree angle to the stone. Lower it until the paint bead touches the surface, then lift straight up. Do not press the tool into the stone; let the surface tension of the paint pull it onto the rock.
Mastery Tip: This is "displacement theory." The size of your dot is determined by the volume of paint on the tool and the speed of the withdrawal. A fast "snap" lift creates a crisp, peaked dot.
5. Walking the Dots
To create graduating sizes, dip the tool once and touch the stone multiple times in a row. Each successive dot will be smaller as the volume of paint in the tool's "reservoir" diminishes.
Mastery Tip: This utilizes the depletion rate of the medium. To keep dots uniform, you must re-load after every single strike. To create a "taper," use the depletion method.
THE TECHNICAL LEDGER
Maintenance & Longevity: Clean your brushes with a specialized alkaline soap to prevent acrylic buildup in the ferrule, which can splay the bristles and ruin your point geometry. Store styluses in a padded roll to prevent the metal tips from pitting.
Material Variations:
- Sustainable: Use earth pigments and linseed oil-based primers for a lower VOC profile.
- Premium: Utilize interference acrylics that contain mica flakes; these refract light differently based on the angle of the stone's curve.
The Correction:
- The Smudge: If you smear a wet dot, do not wipe it. Let it dry, then use a jeweler's saw or a sharp hobby knife to flake the mistake off without disturbing the base coat.
- The Runny Dot: If the paint is too thin, it will "bleed." Increase the thixotropy by adding a tiny amount of modeling paste.
- The Air Bubble: If a bubble appears in a large dot, use a fine sewing needle to pop it while wet to prevent a "crater" once cured.
Studio Organization: Store your finished pebbles in a felt-lined drawer or a humidity-controlled cabinet. Direct UV exposure can degrade the pigment over time, so ensure you use a sealant with UVLS (Ultra Violet Light Stabilizers).
THE FINAL REVEAL
Look at that! Your Hand Painted Pebbles are no longer just rocks; they are engineered masterpieces of symmetry and color. The way those dots catch the light creates a 3D topographical map of your creativity. The heavy-body acrylics should stand proud of the surface, giving the stone a beaded, jewelry-like texture that feels incredible to the touch. You have successfully balanced the raw, chaotic nature of geology with the rigid, beautiful laws of geometry. It is a total studio win.
STUDIO QUESTIONS
What is the best paint for Hand Painted Pebbles?
Use multi-surface satin acrylics or heavy-body acrylics. These have a high pigment load and the necessary viscosity to maintain a "domed" shape without flattening out as they dry on the porous stone surface.
How do I stop my dots from cracking?
Cracking, or "crazing," happens when the outer layer dries too fast. Avoid fans or direct sunlight during the first four hours of drying. Ensure you haven't thinned your paint with too much water, which weakens the acrylic binder.
Can I use stones from the beach?
Yes, but they must be boiled or soaked in vinegar to remove salt deposits. Residual salt is hygroscopic; it will pull moisture from the air and cause your paint to peel or "effloresce" over time.
What sealer gives the best shine?
A high-gloss resin or a brush-on polyurethane provides the best depth. For a professional finish, apply two thin coats rather than one thick one to avoid "pooling" at the base of your raised dots.

