
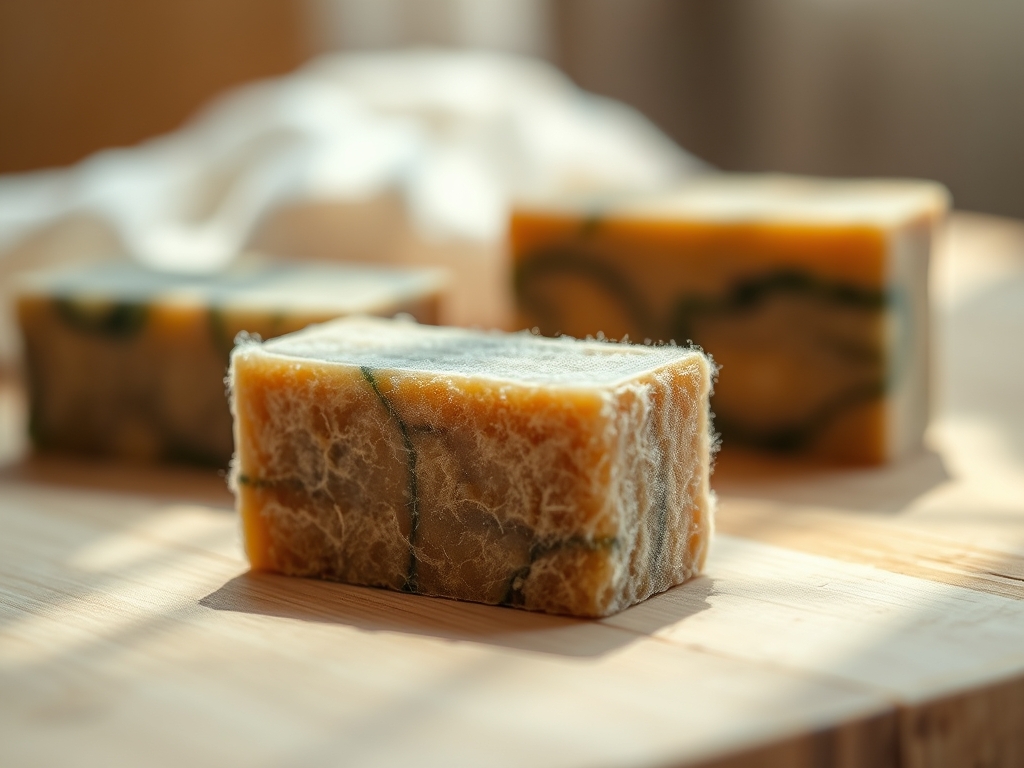
Imagine the tactile sensation of raw alpaca fiber sliding through your fingers. It is not just soft; it is a structural marvel of nature. Unlike sheep wool, alpaca fibers lack the heavy lanolin oils and have a lower scale height, which creates a silky, hypoallergenic surface. When we combine this premium fiber with the chemical alkalinity of soap, we are essentially performing a microscopic engineering feat. We are building Felted Soap Bars, a self-contained exfoliating system that replaces the plastic loofah with a biodegradable, antimicrobial sleeve. This project is the perfect marriage of organic chemistry and mechanical friction. You are not just wrapping a bar; you are creating a composite material that will shrink in tandem with the soap core. The result is a dense, felted jacket that provides a gentle scrub while extending the lifespan of your soap by preventing it from turning into a soggy mess in the dish. Grab your materials; we are about to turn a simple bar of soap into a high-performance skincare tool.
THE STUDIO KIT
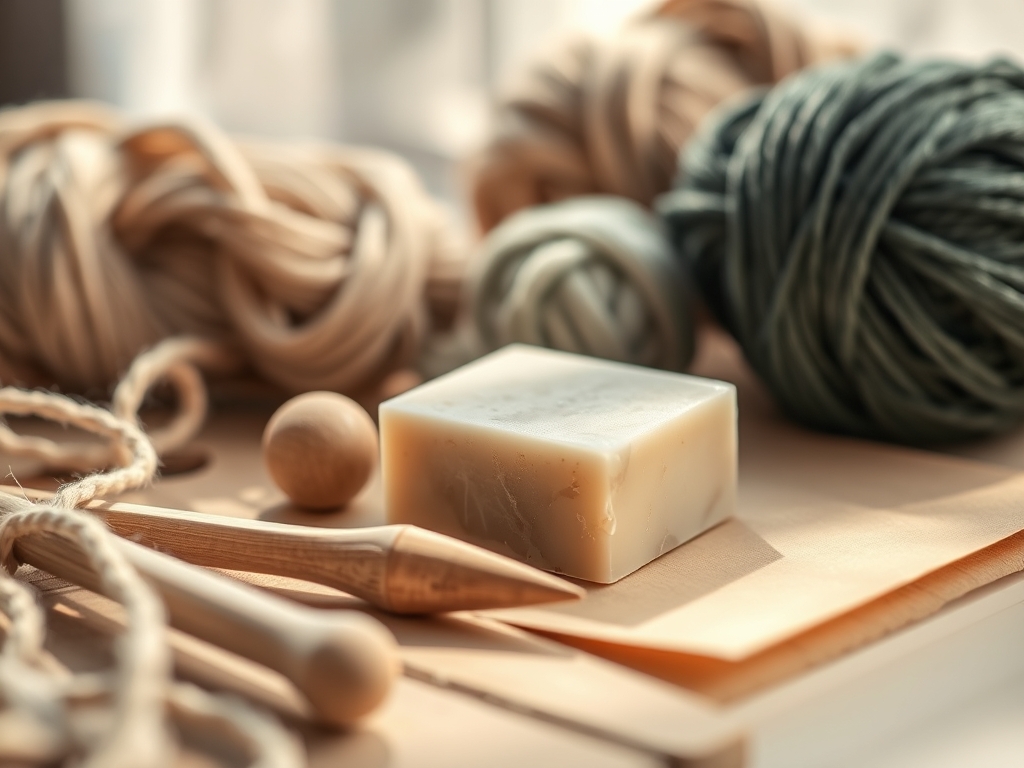
To engineer the perfect Felted Soap Bars, you need a kit that respects the tensile strength of the wool. First, select a high-quality bar of triple-milled soap. Cheap soaps with high water content will dissolve too quickly during the agitation phase. You will need roughly 0.5 ounces of alpaca roving per bar. Alpaca is prized for its thermal properties and moisture-wicking capabilities, making it the ultimate choice for a bathroom environment.
Essential tools include a fine-mesh laundry bag or a pair of nylon stockings to act as a compression sleeve during the initial wet-felting stage. You will also need a bowl of hot water (approximately 120 degrees Fahrenheit to open the fiber scales) and a splash of cold water for the shocking phase. For precision, keep a pair of stainless steel fabric shears nearby to trim any stray guard hairs.
Material Substitutions: If you cannot source alpaca, Merino wool is a viable alternative due to its high crimp frequency, which aids in faster interlocking. If you prefer a more aggressive exfoliation, you can blend in a small amount of tussah silk or flax fibers. Avoid using synthetic acrylic fibers; they lack the microscopic scales necessary for the fibers to migrate and lock together, meaning your felt will simply fall apart under pressure.
THE TEMPO
The "Maker's Rhythm" for this project is dictated by the hygroscopic nature of the wool. You cannot rush the migration of the fibers. Expect to spend about 10 minutes on the dry-wrapping phase, where precision in fiber direction is paramount. The wet-felting agitation phase takes another 15 to 20 minutes of consistent, rhythmic rubbing. Finally, the curing phase is the longest; the bars require 24 to 48 hours to dry completely in a well-ventilated area. If you attempt to use the soap before the felt has fully dehydrated, the structural integrity of the bond will be compromised, leading to "pilling" or premature thinning of the wool jacket.
THE CORE METHOD
1. Longitudinal Fiber Alignment
Begin by pulling thin, wispy tufts of alpaca roving. Do not cut the wool; pull it to maintain the tapered ends of the fibers, which helps them blend seamlessly. Lay the fibers vertically across the soap bar, ensuring they wrap around the sides. This creates the initial warp of your textile.
Mastery Tip: This step relies on capillary action. By laying the fibers in a consistent direction, you create channels that will later draw soapy water through the wool, facilitating the felting process.
2. Latitudinal Cross-Hatching
Rotate the bar 90 degrees and apply a second layer of roving horizontally. This creates a "grid" similar to a woven fabric. You want the soap to be completely obscured with no "bald" spots. The thickness should be uniform to ensure an even shrinkage rate.
Mastery Tip: The cross-hatching technique increases the structural integrity of the felt. By crisscrossing the fibers, you ensure that as they shrink, they pull from all directions, creating a tight, ergonomic fit.
3. The Compression Wrap
Carefully slide your wrapped soap into the nylon stocking or mesh bag. This acts as a temporary exoskeleton, holding the dry fibers in place against the soap before they have a chance to bond. Tie a knot close to the bar to maintain high surface tension.
Mastery Tip: Compression is the catalyst for felting. Without this external pressure, the fibers would simply float away from the soap surface when submerged in water.
4. Thermal Shock Agitation
Dip the bundled bar into hot water. The heat causes the protein scales on the alpaca fiber to stand up. Begin rubbing the bar vigorously between your palms. You are using mechanical energy to force those open scales to hook into one another.
Mastery Tip: This is a matter of thermodynamics. The hot water expands the fibers, while the soap acts as a lubricant, allowing the fibers to migrate deeper into the mass before they lock.
5. The Cold Shock Rinse
Once the wool feels firm and "skin-like" through the nylon, plunge it into a bowl of ice-cold water. This sudden temperature drop causes the fibers to contract instantly, locking the scales in their new, tangled positions.
Mastery Tip: This process, known as fulling, permanently alters the density of the wool. The cold shock ensures the felt remains tight and does not loosen during future use.
6. Sculpting and Burnishing
Remove the bar from the nylon. Use your thumbs to burnish the edges, smoothing out any lumps or uneven sections. If you notice any loose fibers, you can use a felting needle (a specialized tool with tiny barbs) to manually tuck them back into the surface.
Mastery Tip: Burnishing aligns the surface fibers, creating a smoother tactile experience and reducing the likelihood of the wool catching on rough skin.
7. The Dehydration Phase
Place your finished Felted Soap Bars on a wire rack. It is vital that air can circulate around all sides, including the bottom. Do not place them on a flat towel, as this will trap moisture and cause the soap to soften.
Mastery Tip: Proper airflow prevents the growth of bacteria and ensures the porous nature of the wool is preserved, allowing the soap to dry between uses.
THE TECHNICAL LEDGER
Maintenance & Longevity: To maximize the lifespan of your bar, always store it on a self-draining soap dish. If the felt begins to look "fuzzy" after several weeks, you can use a rotary cutter or a simple sweater shaver to trim the surface and restore its smooth texture.
Material Variations: For a premium version, use "baby alpaca" grade fiber, which has a lower micron count (usually under 20 microns), resulting in an incredibly soft felt. For a sustainable approach, save the "waste" fibers from other spinning or weaving projects to create a variegated, recycled wool jacket.
The Correction:
- The Loose Jacket: If the felt is baggy, you didn't agitate long enough. Fix: Re-wet with hot water and rub vigorously for another 10 minutes.
- The Lumpy Surface: This happens when fibers are applied too thickly in one spot. Fix: Use a needle felting tool to compress the lump.
- Soap Seepage: If the soap suds are too aggressive during felting, it can prevent the wool from locking. Fix: Rinse the wool more frequently in clean water during the agitation phase.
Studio Organization: Store your raw alpaca roving in airtight containers with cedar blocks. Alpaca is a protein fiber, making it a target for moths. Keeping your "library" of fibers organized by gauge and color will streamline your production flow.
THE FINAL REVEAL
Look at that masterpiece! You have successfully engineered a functional piece of fiber art. These Felted Soap Bars are dense, durable, and possess a sophisticated matte finish that looks stunning on any vanity. The alpaca wool has transformed from a loose cloud of fiber into a rugged, exfoliating skin that will shrink perfectly alongside the soap. It is a high-energy upgrade to your daily ritual; sustainable, beautiful, and technically superior to any store-bought sponge. You have officially mastered the physics of the felt!
STUDIO QUESTIONS
Why is alpaca better than sheep wool for soap?
Alpaca fibers lack lanolin and have smoother scales. This makes the felt softer on sensitive skin and significantly less likely to cause allergic reactions while maintaining high tensile strength and durability in wet conditions.
How do I know when the felting is finished?
Perform the "pinch test." Try to pinch a bit of wool off the surface. If the fibers stay put and the entire jacket moves as one solid unit, the interlocking process is complete.
Can I use liquid soap for this?
No, this technique requires a solid substrate. The soap bar acts as the internal mold for the felt. Liquid soap lacks the structural density needed to provide resistance during the mechanical agitation phase.
Will the wool get moldy?
Alpaca is naturally antimicrobial and moisture-wicking. As long as the bar is allowed to dry on a porous surface between uses, the wool will remain fresh and structural throughout the life of the soap.
What happens when the soap runs out?
You are left with a small, flat "scrubby" of pure alpaca felt. You can compost it, or use it as a high-friction cleaning pad for delicate surfaces like jewelry or fine china.

