
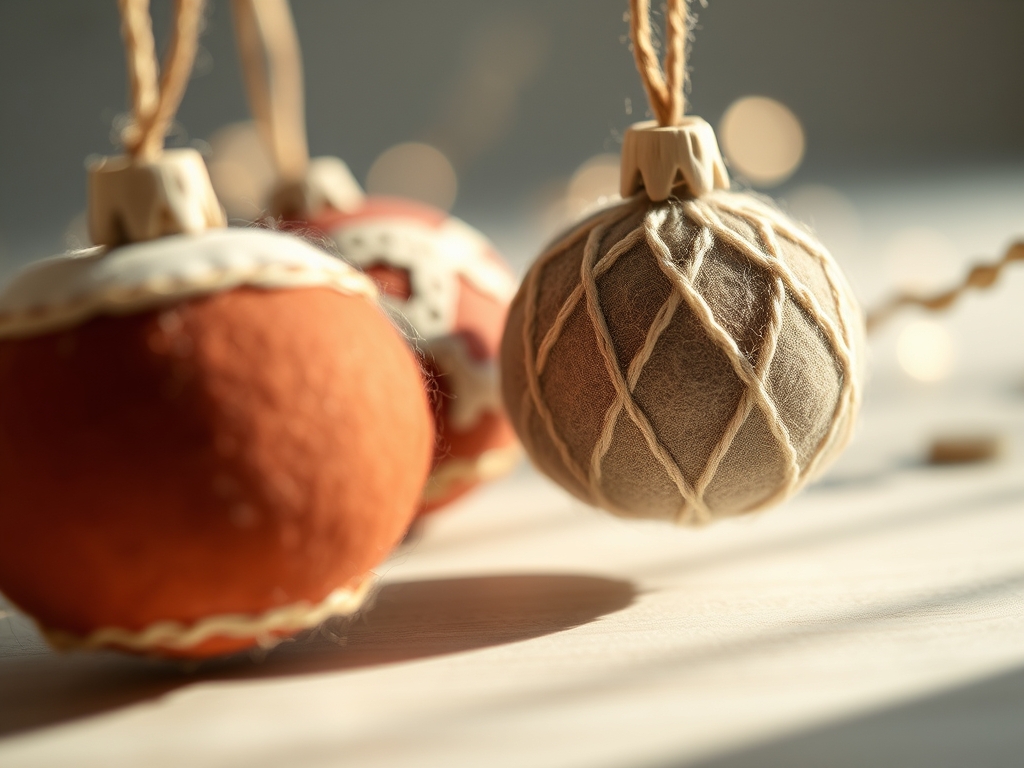
Imagine the crisp, tactile resistance of high quality wool as your shears glide through the fibers. There is a specific, muffled snip that only occurs when the blade meets a high density blend. We are diving deep into the world of hand sewn felt ornaments today. It is more than just a craft; it is an exploration of structural integrity and the delightful physics of soft sculpture. When you press your thumb against a finished piece, you feel the tension of the polyester fill pushing back against the interlocking loops of your blanket stitch. That resistance is the hallmark of a professional build. We are going to transform flat, two dimensional sheets into whimsical holiday icons that boast serious shelf life and impeccable geometry. Grab your favorite mug of tea because we are about to balance aesthetic charm with the cold, hard science of textile manipulation.
THE STUDIO KIT
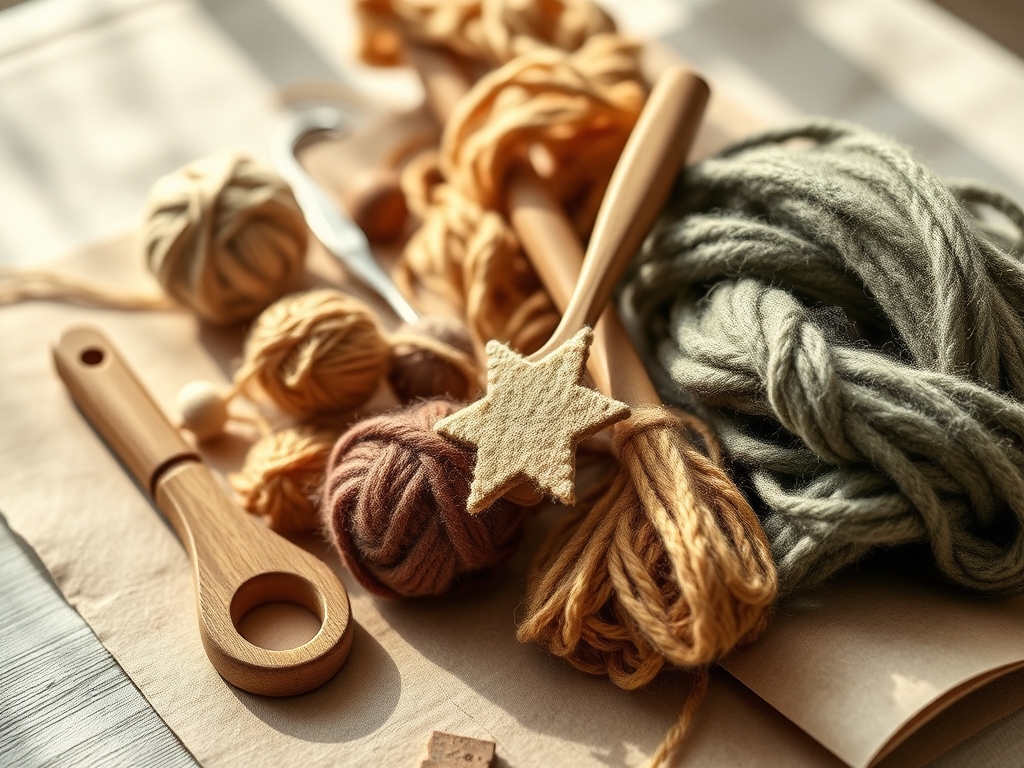
To achieve professional results, your inventory must go beyond the basic craft aisle. Start with Merino wool felt, which offers superior tensile strength compared to synthetic acrylic versions. Synthetic fibers often suffer from pillage and lack the structural memory required for crisp edges. You will need a size 10 embroidery needle, which provides the perfect gauge to pierce the dense fibers without leaving gaping exit wounds. For the thread, select a six strand cotton floss or a high tenacity polyester thread if you want a subtle sheen.
Precision is non negotiable. Use a rotary cutter with a fresh 45mm blade for straight edges and micro serrated fabric shears for the intricate curves of your whimsical shapes. A bone folder is surprisingly useful here for burnishing seams and ensuring the stuffing is distributed into the tightest radii of your design. For material substitutions, if you cannot source pure wool, look for a rayon blend. It maintains the matte finish but offers a slightly softer hand feel. Avoid low density "eco-felt" for these projects, as the loose fiber matrix will distort under the stress of the stuffing process.
THE TEMPO
The maker's rhythm is a three act play. First is the Architectural Phase, which takes roughly twenty minutes. This involves templating and precision cutting. Do not rush this; the symmetry of your final ornament depends entirely on the accuracy of your initial silhouettes. Second is the Assembly Phase, the longest stretch at forty to sixty minutes per piece. This is where you establish a steady cadence with your needle, maintaining consistent stitch length to ensure even tension across the seam. Finally, the Refinement Phase takes ten minutes. This involves the "sculpting" of the internal fill and the final burnishing of the edges. Total time per ornament averages ninety minutes, but as your muscle memory develops, your velocity will naturally increase without sacrificing the integrity of the stitch.
THE CORE METHOD
1. Template Calibration
Trace your shapes onto cardstock first. Use a caliper to ensure that your seam allowances are uniform across all nine shapes. Whether you are cutting a geometric star or a rounded mushroom, the distance from the edge to your stitch line must be mathematically consistent to prevent puckering.
Mastery Tip: This step relies on dimensional stability. By using a rigid template, you prevent the felt from stretching during the tracing process, ensuring that the front and back panels are perfect mirror images.
2. The Anchor Stitch
Begin by burying your knot between the two layers of felt. This hides the mechanical start of your work and protects the thread from friction. Use a tailor's awl to pre poke holes if you are working with exceptionally thick, five millimeter felt.
Mastery Tip: This utilizes friction anchoring. The dense fiber matrix of the wool grips the knot, preventing it from pulling through the porous surface when tension is applied during the first few structural stitches.
3. Executing the Blanket Stitch
Work from left to right, or right to left if you are a lefty, but stay consistent. Loop the thread under the needle before pulling it taut. This creates a "shelf" of thread along the edge of the felt, which protects the raw edge from fraying and adds a decorative, architectural border.
Mastery Tip: This stitch creates lateral reinforcement. The perpendicular orientation of the thread relative to the fabric edge distributes the stress of the internal stuffing across a wider surface area, preventing the felt from tearing.
4. Volumetric Stuffing
When you have about an inch of the seam remaining, begin inserting your fill. Use small, marble sized tufts rather than one large clump. Use the blunt end of a crochet hook or a specialized stuffing tool to push the material into the furthest extremities of the shape.
Mastery Tip: This is an exercise in internal pressure distribution. By using small increments of fill, you avoid "lumping" and ensure that the outward force is equal at every point of the ornament's radius.
5. The Invisible Closure
Finish the seam with a series of tiny, overlapping stitches. Pass the needle through the center of the ornament and out the back before clipping the thread. This allows the "tail" of the thread to retract into the stuffing, where it is held in place by the internal fibers.
Mastery Tip: This relies on fiber entanglement. The polyester fill acts as a secondary mechanical lock, snagging the thread tail and preventing the final knot from unraveling over time.
THE TECHNICAL LEDGER
Maintenance & Longevity: Wool is naturally resilient, but it is susceptible to moths and dust. Store your hand sewn felt ornaments in an airtight polypropylene container. Avoid vacuum sealing, as this can permanently crush the structural fibers and ruin the three dimensional loft you worked so hard to achieve.
Material Variations: For a sustainable approach, look for recycled PET felt, which is made from plastic bottles. It has a higher stiffness than wool, which is excellent for sharp, angular shapes like stars or snowflakes. For a premium finish, incorporate metallic silk threads which offer high tensile strength and a sophisticated light reflection.
The Correction:
- Puckering Seams: This happens when your tension is too high. Fix it by using a blunt needle to gently lift and redistribute the thread loops.
- Fiber Migration: If stuffing starts poking through the felt, your needle gauge was too large. Use a smaller needle and tighter stitches.
- Asymmetry: If the shape looks wonky after stuffing, use a bone folder to manually shift the internal fill toward the compressed side.
Studio Organization: Keep your felt flat. Storing it in rolls creates a "set" in the fibers that is difficult to iron out. Use a vertical filing system for your scraps, categorized by weight and fiber content.
THE FINAL REVEAL
There is nothing quite like the moment you snip that final thread and hold a finished piece in your hand. These hand sewn felt ornaments are more than just decor; they are tiny triumphs of engineering and art. The way the light catches the rhythmic stitches and the soft, matte finish of the wool creates a visual warmth that plastic ornaments simply cannot replicate. You have taken raw, flat materials and given them soul and structure. Your tree is about to look like a high end boutique display, and you get the bragging rights of a master maker.
STUDIO QUESTIONS
What is the best felt for hand sewing?
A 100% wool or wool rayon blend is superior. These materials offer high fiber density and excellent tensile strength, ensuring your stitches do not pull through the fabric during the stuffing process.
How do I stop my thread from tangling?
Run your thread through a puck of beeswax or thread conditioner. This coats the fibers, reducing the static electricity and friction that cause knots during long stretches of hand sewing.
Can I wash these ornaments?
Spot clean only with a damp cloth. Submerging wool felt in water can cause agitation and shrinkage, which will warp the shape and ruin the structural integrity of your hand sewn seams.
Why are my stitches uneven?
Uneven stitches usually result from inconsistent needle angles. Ensure your needle enters the felt at a perfect 90 degree angle every time to maintain a uniform stitch length and professional appearance.

