
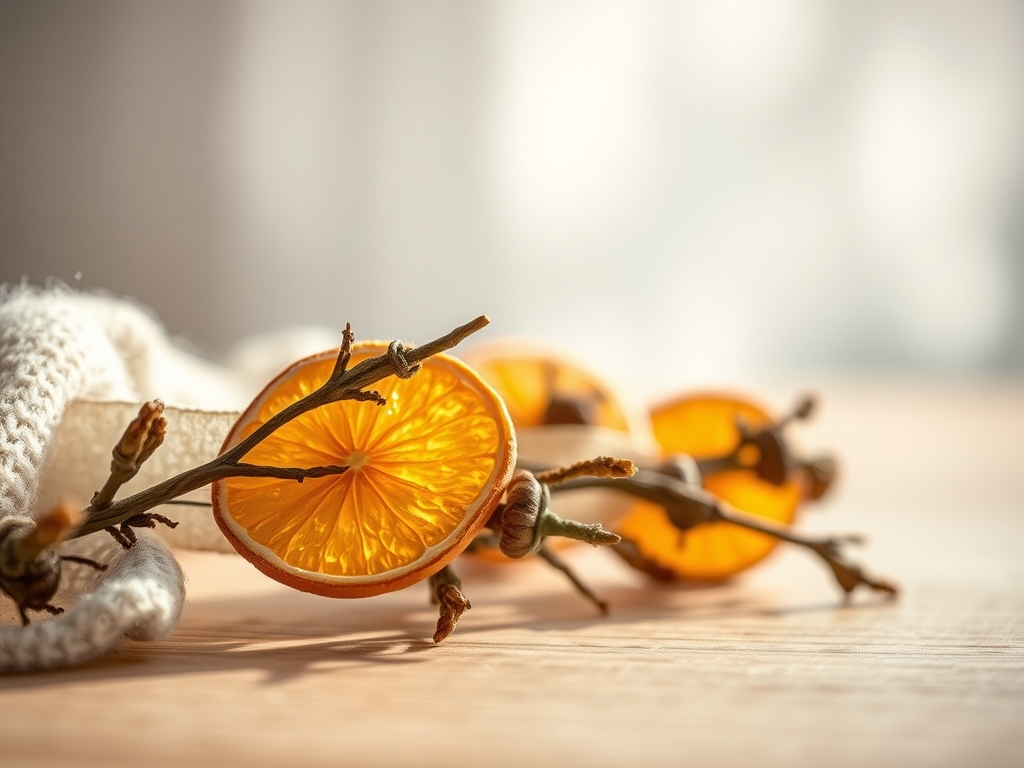
Close your eyes and imagine the sharp, acidic snap of a fresh navel orange meeting the cold steel of a chef knife. The air fills with a fine mist of essential oils; those tiny aromatic sacs in the zest are literally exploding under the pressure of your blade. We are not just making decorations here; we are engineering light. Dried Citrus Garlands are the ultimate fusion of organic geometry and structural preservation. When you hold a dehydrated lemon slice up to the sun, you are looking at a stained-glass window made of cellulose and crystallized fructose. The texture is no longer squishy and volatile; it is parched, translucent, and surprisingly rigid. This project is about capturing the fleeting vibrancy of fruit and locking it into a durable, tactile string of joy. We are going to manipulate moisture content and fiber density to create something that feels like a vintage heirloom but smells like a Mediterranean summer. Grab your apron and clear the workbench, because we are about to turn a grocery bag of fruit into a high-end architectural accent.
THE STUDIO KIT
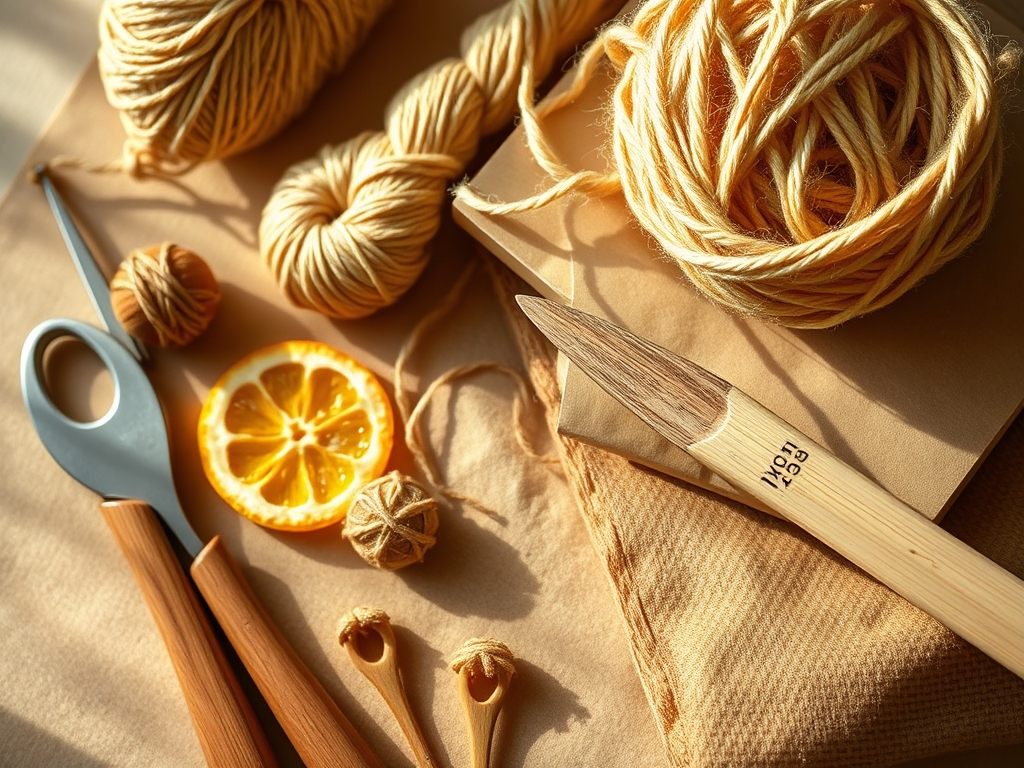
To achieve professional-grade results, you need more than just a kitchen oven. We are looking for precision and consistency. First, gather your citrus: blood oranges for deep crimson hues, lemons for high-contrast yellow, and limes for a moody, translucent green. You will need a mandoline slicer set to exactly 1/8 inch. Using a knife is fine for amateurs, but a mandoline ensures a uniform gauge, which is critical for even dehydration.
For the assembly phase, procure a spool of waxed linen thread or high-tensile hemp twine. The wax coating provides the necessary friction to hold your knots without slipping. You will also need a heavy-duty tapestry needle or a small jeweler's awl to puncture the tough rinds without fracturing the delicate interior membranes.
Material Substitutions: If you cannot find waxed linen, a 20-pound test fishing line offers incredible "invisible" strength, though it lacks the rustic aesthetic. Instead of an oven, a dedicated food dehydrator with stackable trays is the gold standard; it uses a constant flow of low-heat air to prevent the sugars from browning, preserving the "true" color of the fruit.
THE TEMPO
Every maker knows that the "rhythm of the craft" is what keeps you from rushing the finish. This project operates on a slow-burn timeline. The preparation phase (slicing and patting dry) takes about 30 minutes of high-focus tactile work. The dehydration phase is the long game; expect 6 to 12 hours depending on your local humidity levels. Finally, the assembly is a meditative 45-minute flow state where you find your Maker's Rhythm, threading and spacing each disc with mathematical precision. Do not try to speed this up with high heat; you will scorch the sugars and end up with bitter, brown circles instead of glowing jewels.
THE CORE METHOD
1. Precision Slicing and Moisture Extraction
Set your mandoline to a consistent thickness. As you slice, place each round onto a lint-free flour sack towel. Use a second towel to press firmly down on the slices. This is the Capillary Action phase; by removing surface moisture manually, you reduce the workload of the oven and prevent the fruit from steaming itself, which would result in a mushy texture.
Mastery Tip: The science of surface tension dictates that moisture will cling to the pulp. By blotting the fruit, you break that tension, allowing the dry air to penetrate the cellular walls of the fruit more efficiently.
2. The Low-Heat Cure
Arrange your slices on a wire cooling rack placed inside a baking sheet. This allows for 360-degree airflow. Set your oven to its lowest possible setting, ideally 150 to 170 degrees Fahrenheit. If your oven runs hot, prop the door open with a wooden spoon to allow excess moisture to escape.
Mastery Tip: This is a process of evaporative cooling. As the water leaves the fruit, the temperature of the slice stays lower than the oven air. Once the water is gone, the temperature of the slice rises, which is when burning occurs. Watch for the transition from "pliable" to "brittle."
3. Structural Puncturing
Once the slices are cool and rigid, use your jeweler's awl or tapestry needle to create two pilot holes near the top of each slice, just below the pith. Do not go through the center pulp; the structural integrity is highest in the white pith (the mesocarp), which is a dense network of cellulose fibers.
Mastery Tip: Using an awl prevents radial fracturing. If you force a blunt needle through a brittle slice, the pressure can cause the slice to snap along the segment lines. A sharp, rotating puncture preserves the grain.
4. Calibrating the String
Measure out your waxed linen thread, adding an extra 12 inches on each end for hanging loops. Thread your needle and pull it through the first hole of your citrus slice from back to front, then down through the second hole from front to back. This creates a "staple" stitch that keeps the slice from spinning on the cord.
Mastery Tip: The coefficient of friction in waxed thread is your best friend here. It grips the rind, ensuring that your spacing remains consistent even when the garland is draped at an angle.
5. Integrating Texture
To elevate the aesthetic, intersperse your citrus with bay leaves, cinnamon sticks, or wooden beads. Use a clove hitch knot to secure heavier items like cinnamon sticks. This prevents them from sliding into the citrus and crushing the delicate edges.
Mastery Tip: Consider the tensile strength of your twine. As you add weight, the line will stretch. Pre-stretching your twine by hanging it with a small weight overnight can prevent your garland from sagging once it is installed.
6. The Burnished Finish
Once all elements are strung, use a bone folder or your thumbnail to burnish the knots, flattening them against the fruit for a clean, professional look. Trim any excess thread with sharp embroidery scissors to prevent fraying.
Mastery Tip: Burnishing the knots increases the surface contact area between the thread and the wax, effectively "locking" the knot in place without the need for messy adhesives.
THE TECHNICAL LEDGER
Maintenance & Longevity: Dried Citrus Garlands are organic materials. To prevent rehydration, keep them away from bathrooms or kitchens with high steam. If they become dusty, use a soft-bristled makeup brush to gently whisk away debris; never use liquid cleaners.
Material Variations: For a "Premium" version, use Cara Cara oranges for their unique pink interior. For a "Sustainable" version, repurpose the leftover citrus ends into a stovetop potpourri so there is zero biomass waste in your studio.
The Correction:
- The Browning Fix: If your fruit turns brown, your heat was too high. Next time, use a fan to increase airflow rather than increasing temperature.
- The Sticky Residue: If the slices feel tacky, they still contain internal moisture. Return them to the heat; otherwise, they will develop mold within 48 hours.
- The Sagging Line: If the garland droops, your thread gauge was too thin. Double-ply your thread for a more robust "backbone."
Studio Organization: Store your garlands in a breathable cardboard box lined with parchment paper. Avoid plastic bins, which can trap residual moisture and trigger fungal growth.
THE FINAL REVEAL
Look at that! You have successfully transformed a pile of perishable fruit into a high-density, light-catching masterpiece. The way the light filters through the dehydrated pulp creates a warm, amber glow that can make even the coldest room feel like a cozy sanctuary. These Dried Citrus Garlands are a testament to your patience and your understanding of material physics. They are tactile, fragrant, and mathematically balanced. Hang them over a mantle, drape them across a window, or coil them into a centerpiece. You have mastered the art of the "slow make," and the results are absolutely luminous.
STUDIO QUESTIONS
How long do dried citrus garlands actually last?
If kept in a low-humidity environment away from direct moisture, these garlands can last for two to three years. The color may mellow into deeper ochre tones over time due to natural oxidation, but the structural integrity remains solid.
Why did my citrus slices turn brown instead of bright?
Browning is caused by the caramelization of natural sugars. This occurs when the oven temperature is too high or there is insufficient airflow. To maintain vibrant colors, keep the temperature below 175 degrees and use a wire rack for circulation.
Can I use a microwave to speed up the process?
Microwaves heat water molecules rapidly, which often leads to uneven drying and scorched centers. While possible in 30-second bursts, it lacks the precision of a low-heat oven and often results in brittle, distorted slices with poor visual clarity.
What is the best way to prevent mold on the fruit?
Ensure the fruit is "snap-dry" before stringing. If there is any pliability or stickiness, moisture remains. Total dehydration is the only way to prevent fungal spores from colonizing the porous fibers of the citrus pulp and rind.
What thread gauge is best for heavy garlands?
For garlands exceeding four feet or those featuring heavy elements like cinnamon, use a 4-ply waxed linen or a 1mm hemp cord. This provides the necessary tensile strength to support the weight without snapping or excessive stretching over time.

