
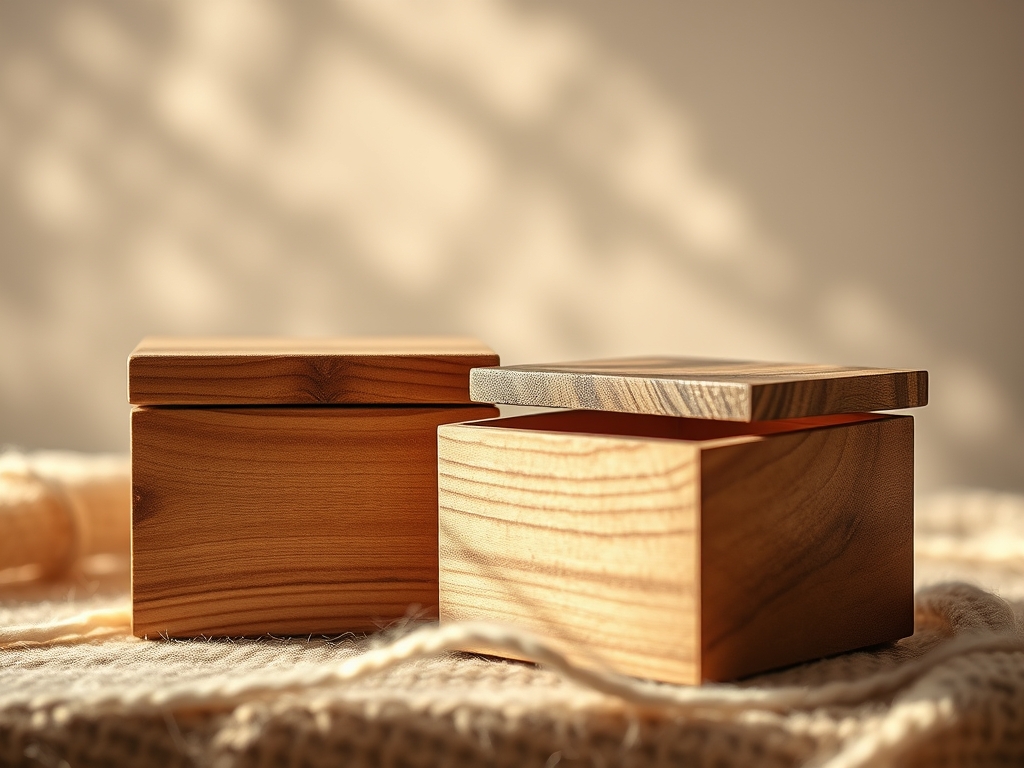
The scent of freshly planed black walnut is more than just a fragrance; it is a chemical invitation to create something permanent. When you run your thumb across a raw board, you are feeling the cellular structure of the xylem, sensing the exact moment the moisture content stabilizes for precision work. We are diving deep into the architecture of Hand Crafted Wood Boxes today, because your jewelry deserves a sanctuary that respects the laws of physics as much as it does aesthetics. This is not just about gluing sticks together. We are manipulating tensile strength and grain orientation to ensure your heirlooms are protected by joints that fight back against seasonal expansion. Grab your safety glasses and a double espresso. We are about to transform a slab of timber into a mechanical masterpiece that snaps shut with a vacuum seal click. It is tactile, it is technical, and honestly, it is the most satisfying way to spend a Saturday in the studio.
THE STUDIO KIT
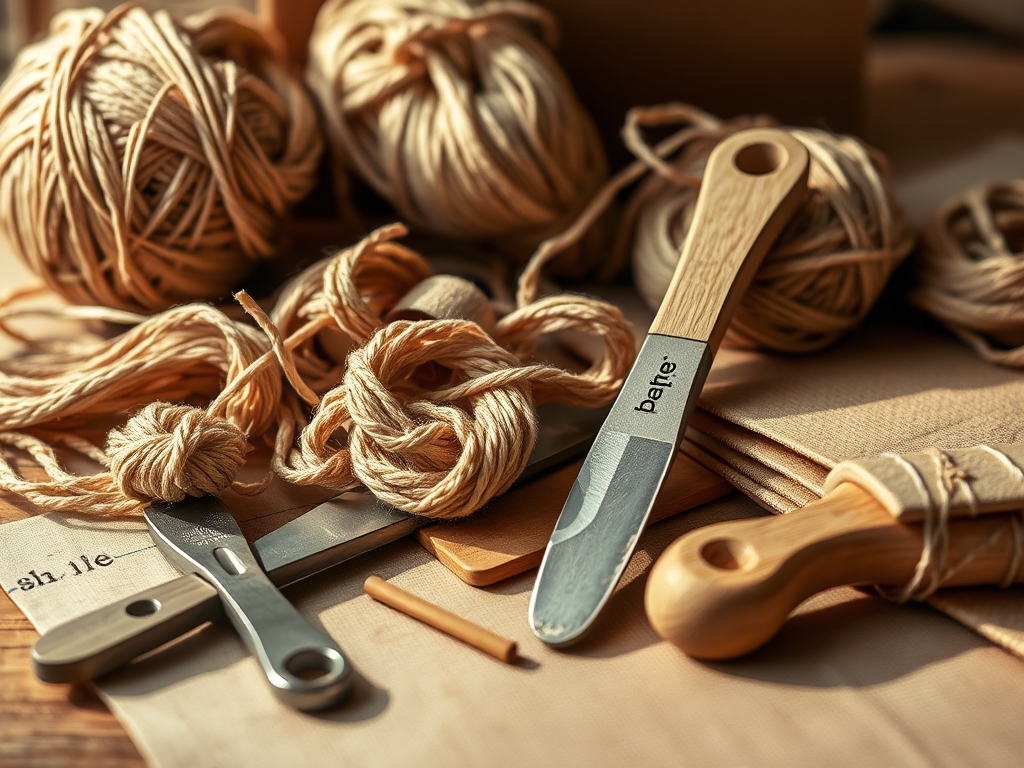
THE STUDIO KIT
To execute these high-precision joints, your toolkit must prioritize accuracy over brute force. You will need a marking gauge to score fibers rather than just drawing lines; this prevents the wood from "tearing out" during the cut. A high-carbon steel jeweler's saw is essential for the tight radiuses of decorative inlays, while a set of bench chisels honed to a 25-degree primary bevel will handle the heavy lifting. We also require digital calipers to measure thickness down to the thousandth of an inch, ensuring your lid fits with a piston-like tolerance.
For materials, we are looking for hardwoods with high Janka hardness ratings like Cherry, Maple, or Walnut. These species offer the fiber density required to hold a sharp edge without crumbling under the pressure of a dovetail saw. If you are looking for Material Substitutions, consider using high-density bamboo for a sustainable twist, or aircraft-grade birch plywood if you want to experiment with exposed ply aesthetics. Avoid softwoods like pine for these specific joints; the porous cell structure is too spongy to maintain the crisp geometry needed for luxury jewelry storage.
THE TEMPO
The "Maker's Rhythm" is a three-act play governed by the hygroscopic nature of wood. Phase one is the Milling and Acclimation period, which takes roughly 48 hours. You must allow your lumber to sit in your studio environment so its internal moisture levels reach equilibrium with the room. Attempting to cut joints in "green" or unsettled wood will result in a box that warps before the hinges are even installed.
Phase two is the Precision Joinery stage, spanning 6 to 8 hours of focused bench time. This is where the tempo slows down; you are working with the grain, not against it. Finally, phase three is the Curing and Finishing stage. Glue-ups require at least 12 hours under clamp pressure to ensure the polyvinyl acetate bonds at a molecular level, followed by another 24 hours for oil finishes to polymerize into a protective resin.
THE CORE METHOD
1. The Variable Space Dovetail
This is the gold standard for Hand Crafted Wood Boxes. Unlike machine-cut dovetails, variable spacing allows you to play with the visual weight of the box. By using a marking awl to layout pins of varying widths, you create a mechanical interlock that is physically impossible to pull apart once the glue sets.
Mastery Tip: Always cut on the "waste side" of your line. The kerf of your saw blade occupies physical space; ignoring this leads to loose joints that lack structural integrity.
2. The Mitered Spline
For a sleek, modern look, the mitered spline is unbeatable. You cut 45-degree angles at the corners and then "stitch" them together with a contrasting wood insert. This adds lateral stability to a joint that would otherwise rely on weak end-grain adhesion.
Mastery Tip: The spline increases the surface area for bonding, utilizing capillary action to pull the adhesive deep into the wood fibers for a permanent hold.
3. The Hidden Lapped Dovetail
This joint is for the true minimalist. From the front, it looks like a simple miter, but inside, a hidden dovetail provides massive tensile strength. It is the "secret handshake" of the woodworking world.
Mastery Tip: Use a bone folder to burnish the edges of your pins before assembly; this slightly compresses the fibers, allowing for a snug fit that expands back to "lock" once the glue moisture hits.
4. The Box Joint (Finger Joint)
Perfect for those who love geometric repetition. These interlocking "fingers" maximize the glue surface area, making the corner virtually indestructible. It requires a precise jig and a sharp dado blade.
Mastery Tip: Check your blade runout with a dial indicator. Even a microscopic wobble will create gaps that ruin the "seamless" look of the jewelry chest.
5. The Keyed Miter
Similar to the spline, but the "key" is inserted at an angle. This creates a decorative wedge that prevents the box from racking or twisting over time.
Mastery Tip: Ensure the grain of your key runs perpendicular to the miter seam to counteract the natural expansion and contraction of the box walls.
6. The Rabbet and Dado
A classic for drawer construction within your jewelry box. The dado provides a "shelf" for the bottom panel to sit in, allowing it to float freely so it doesn't crack during humidity shifts.
Mastery Tip: Leave a 1/16th inch expansion gap at the back of the dado. Wood moves across the grain, and giving it room to breathe prevents the box from "exploding" in summer.
7. The Half-Blind Dovetail
Used primarily for the front of jewelry drawers, this joint hides the joinery from the face of the piece while providing incredible pull-strength.
Mastery Tip: Use a marking gauge to set a consistent depth; if your "lap" is too thin, the face of the drawer will become fragile and prone to splitting.
8. The Through-Mortise and Tenon
Usually reserved for larger furniture, a scaled-down version adds a "craftsman" feel to jewelry box lids. The tenon passes completely through the mortise, exposing the end grain as a design element.
Mastery Tip: Use a wedged tenon for extra security. Driving a small wedge into the end of the tenon creates a mechanical flare that makes the joint impossible to withdraw.
9. The Tongue and Groove Lid
This ensures your Hand Crafted Wood Boxes have a dust-proof seal. The "tongue" on the lid fits perfectly into a "groove" on the base, creating a labyrinth seal that protects delicate silver from oxidation.
Mastery Tip: Use paraffin wax on the contact points. This reduces friction and prevents the wood-on-wood "sticking" that occurs in high humidity.
THE TECHNICAL LEDGER
Maintenance & Longevity: To keep your box in heirloom condition, apply a high-quality microcrystalline wax every six months. This creates a pH-neutral barrier against fingerprints and atmospheric moisture. Avoid aerosol sprays which contain silicones that can degrade the wood's natural resins.
Material Variations: For a premium feel, line the interior with acid-free ultra-suede. If you are using recycled timber, ensure you scan the wood with a metal detector to avoid hitting hidden nails with your carbide-tipped tools.
The Correction:
- Gap in the Miter: Fix by rubbing a mixture of sawdust and wood glue into the crack, then sanding while wet to create a custom filler.
- Proud Joinery: If a dovetail sticks out, do not hammer it. Use a flush-cut saw and a sharp chisel to pare it back to the surface.
- Splitting Grain: If the wood splits during a cut, use cyanoacrylate (CA) glue and a catalyst spray to "freeze" the crack instantly before continuing.
Studio Organization: Store your unfinished box components in a flat-stack configuration with "stickers" (small wood spacers) between layers. This ensures even airflow and prevents the wood from "cupping" or "bowing" before final assembly.
THE FINAL REVEAL
Look at that finish! When you run your hand over these Hand Crafted Wood Boxes, you aren't just feeling smooth wood; you are feeling the result of perfectly balanced geometry. The way the light catches the chatoyancy of the grain and the way the joints lock together with zero daylight visible is a testament to your technical prowess. You have successfully navigated the physics of timber to create a vessel that will hold memories for generations. It is heavy, it is solid, and it smells like pure accomplishment.
STUDIO QUESTIONS
What is the best wood for a jewelry box?
Dense hardwoods like Black Walnut or Hard Maple are superior. Their high fiber density allows for crisp joinery and resists the wear and tear of daily use, ensuring the box remains structurally sound for decades.
How do I prevent my wood box from warping?
Always use quartersawn lumber when possible, as it is the most dimensionally stable. Additionally, finish both the inside and outside of the box equally to ensure moisture absorption happens at a uniform rate across the material.
Can I make a jewelry box without a table saw?
Absolutely. You can achieve professional results using a Japanese pull saw and a set of sharp chisels. Hand-tool joinery often results in tighter fits and a more "soulful" aesthetic that power tools cannot replicate.
Why are my miters showing gaps?
This is usually due to blade deflection or an inaccurate miter gauge. Ensure your saw is calibrated to exactly 45 degrees using a digital angle finder, and use a "sacrificial fence" to prevent the wood from sliding.

