
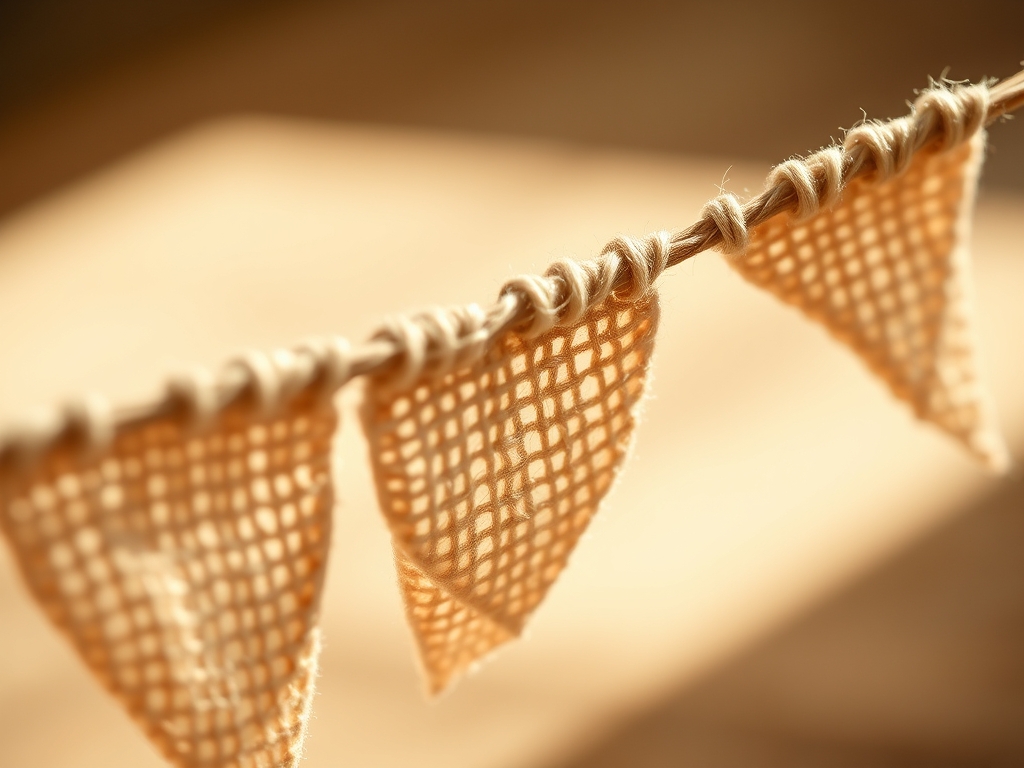
Grab your heaviest shears and clear the workbench because we are about to turn a pile of chaotic remnants into a masterpiece of structural textile engineering. There is something intoxicating about the tactile resistance of a high-density weave under a sharp blade. When you handle these eight fabric scraps, you are not just looking at colors; you are assessing the tensile strength and fiber orientation of the material. We are crafting Hand Stitched Bunting that can withstand a cross-breeze without fraying into oblivion. Forget those flimsy, store-bought plastic triangles that snap at the first sign of a gust. We are building something with weight, drape, and professional-grade integrity. As you run your thumb along the grainline of a stiff linen or a sturdy cotton canvas, you can feel the potential energy waiting to be harnessed. This project is the ultimate marriage of aesthetic whimsy and technical precision. We are going to manipulate these fibers using traditional joinery techniques to ensure your garden party decor survives the elements while looking effortlessly chic.
THE STUDIO KIT
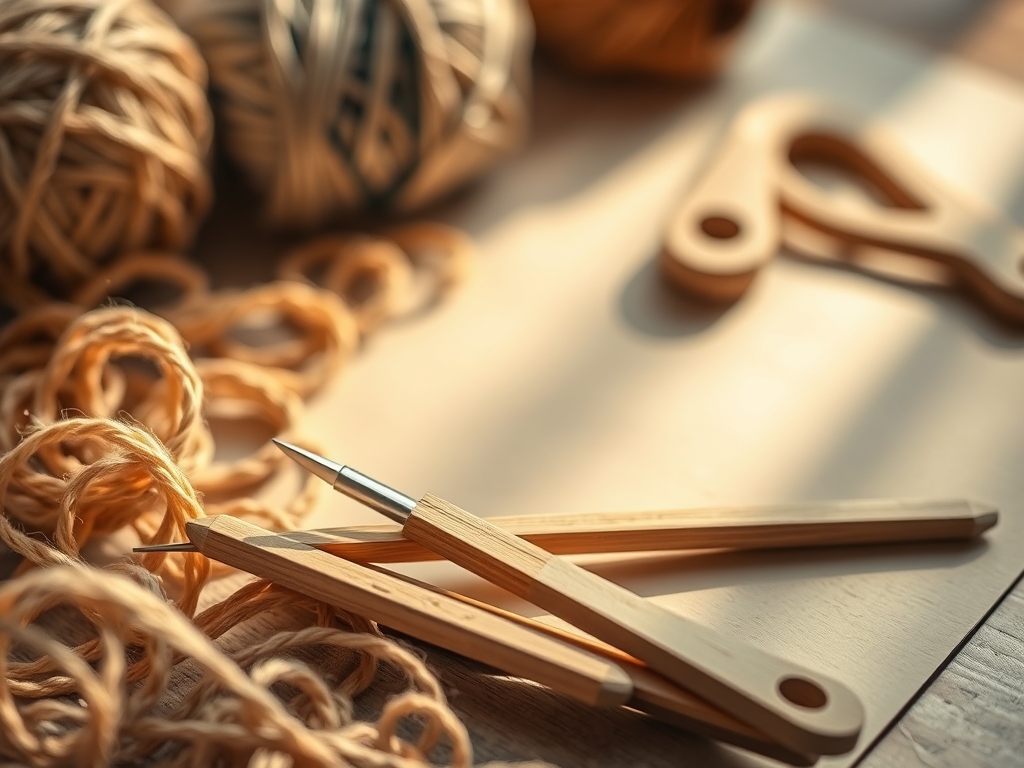
To execute this project with professional accuracy, your tool kit must be curated for precision and ergonomic efficiency. You will need a rotary cutter with a 45mm tungsten carbide blade to ensure clean, non-jagged edges across the bias. A self-healing cutting mat with a grid is non-negotiable for maintaining geometric symmetry. For the stitching phase, select a size 8 embroidery needle; its eye is large enough for perle cotton but thin enough to glide through dense weaves without leaving gaping permanent apertures.
Your primary materials include eight distinct fabric scraps, preferably in varying weights like mid-weight linen, cotton drill, and upcycled denim. You will also need 5 yards of 1/2-inch double-fold bias tape to act as the structural spine. For the thread, use a high-ply mercerized cotton for its superior luster and resistance to UV degradation.
Material Substitutions: If you lack cotton drill, heavy-duty hemp fabric offers excellent UV resistance and a high tensile modulus. If you do not have a rotary cutter, a pair of offset tailor shears will suffice, provided you maintain a consistent shear angle to prevent jagged edges. Instead of bias tape, you can use a length of twill tape, which offers a rugged, utilitarian aesthetic and high dimensional stability.
THE TEMPO
The "Maker's Rhythm" is all about balancing the kinetic energy of cutting with the meditative, slow-burn precision of the stitch. Expect to spend approximately 30 minutes on the Geometric Mapping phase, where you calculate the yield of your scraps and execute the initial cuts. The Assembly phase, involving the pinning and alignment of the triangles, takes about 20 minutes.
The heart of the project is the Manual Stitching phase, which requires roughly 10 to 15 minutes per flag. For an eight-flag strand, budget at least two hours for the handwork. This is where the physics of the "Flow State" kicks in; as you establish a consistent stitch length, your muscle memory takes over, and the repetitive motion reduces cortisol while increasing the structural uniformity of the seam.
THE CORE METHOD
1. Geometric Templating and Grain Alignment
Begin by creating a rigid cardboard template for your triangle. Align the long side of the template with the warp threads of your fabric scraps. This ensures that the flags have minimal vertical stretch when hanging. Use a fabric chalk or a silver marking pen to trace the perimeter.
Mastery Tip: Aligning with the grainline is vital because it utilizes the fabric's inherent structural integrity. If you cut on the true bias (a 45-degree angle), the fabric becomes highly elastic and prone to warping under its own weight, which ruins the crisp triangular silhouette.
2. Precision Shearing and Edge Sealing
Using your rotary cutter and a metal-edged ruler, cut the triangles with a single, continuous stroke. For fabrics with a loose weave, consider using a pinking shear to create a serrated edge. This increases the surface area of the fiber ends, which mechanically inhibits the unraveling process.
Mastery Tip: This technique relies on mechanical friction. By creating a zigzag edge, you interrupt the long, continuous paths that individual threads need to slide out of the weave, effectively locking them in place without the need for chemical adhesives.
3. Bias Tape Integration and Spacing
Open your double-fold bias tape and sandwich the top edge of your first flag inside the fold. Leave 12 inches of "tail" at the start for hanging. Space each flag exactly 4 inches apart. Use stainless steel glass-head pins to secure the fabric, as they will not snag the fibers or leave oxidation marks on the textile.
Mastery Tip: Maintaining a consistent 4-inch gap is about load distribution. If the flags are too close, the bunting will sag unevenly; if they are too far apart, the tension on the bias tape becomes excessive, potentially causing the tape to snap or the stitches to pop under high wind loads.
4. The Structural Running Stitch
Thread your needle with a single ply of heavy-duty thread. Begin stitching through all layers of the bias tape and the flag. Aim for 6 to 8 stitches per inch. Ensure your tension is firm but not so tight that it puckers the tape.
Mastery Tip: This is an exercise in capillary action and friction. A well-tensioned stitch creates a compression seal between the bias tape and the flag. If the stitch is too loose, moisture from the garden air can seep into the gaps, leading to fiber swelling and eventual mold growth in the hidden layers.
THE TECHNICAL LEDGER
Maintenance & Longevity: To preserve the vibrant hues of your Hand Stitched Bunting, avoid prolonged exposure to direct noon-day sun, which causes photodegradation of the dyes. If the bunting gets damp, hang it in a well-ventilated area immediately. Do not machine wash; instead, spot clean with a damp microfiber cloth to avoid agitating the raw edges.
Material Variations: For a premium version, use Liberty of London Tana Lawn cotton, which has an incredibly high thread count and a silk-like hand. For a sustainable approach, use scraps of organic hemp or recycled PET felt, which offers high durability and a modern, architectural look.
The Correction:
- The Sagging Flag: If a flag is drooping, your grain alignment was likely off. Fix this by adding a small weighted bead to the bottom point of the triangle to pull it taut.
- The Fraying Edge: If the edges are shedding, apply a thin bead of cyanoacrylate-free fabric sealant or clear nail polish to the very tip of the fibers.
- The Twisted Tape: If the bias tape is twisting, you have uneven tension in your stitches. Snip the offending stitches and re-sew while the bunting is pinned flat to a table.
Studio Organization: Store your finished bunting by wrapping it around a heavy-gauge cardboard tube or a wooden dowel. This prevents "crease memory" in the fibers and ensures the bunting unrolls perfectly flat for your next event.
THE FINAL REVEAL
Step back and admire that geometry! Your Hand Stitched Bunting is no longer just a collection of leftovers; it is a high-performance decorative installation. The way the light hits the varied textures of the linen and cotton creates a sophisticated, multi-dimensional aesthetic that store-bought items simply cannot replicate. Each flag hangs with a deliberate weight, swaying in the wind with a rhythmic grace that proves your technical precision paid off. Your garden party just leveled up from "cute" to "curated studio masterpiece."
STUDIO QUESTIONS
What is the best fabric for outdoor bunting?
Mid-weight cotton canvas or treated polyester works best because they possess high tensile strength and resistance to environmental stressors like UV rays and moisture. These materials maintain their structural shape even when subjected to high wind speeds in a garden setting.
How do I prevent my bunting from fraying?
Using a pinking shear to cut the edges creates a zigzag pattern that mechanically locks the fibers. Additionally, choosing fabrics with a tight, dense weave reduces the likelihood of threads sliding out of the matrix during handling or hanging.
Can I use a sewing machine instead?
Yes, a sewing machine is faster, but hand stitching allows for superior tension control and a unique, artisanal aesthetic. Handwork also allows you to adjust the needle placement precisely around thick seams where a machine might skip or jam.
How long should my bunting be?
A standard decorative length is 10 to 12 feet, which usually accommodates 8 to 10 flags. This length ensures the load-bearing capacity of the bias tape is not exceeded while providing enough visual impact to define a garden space effectively.

