
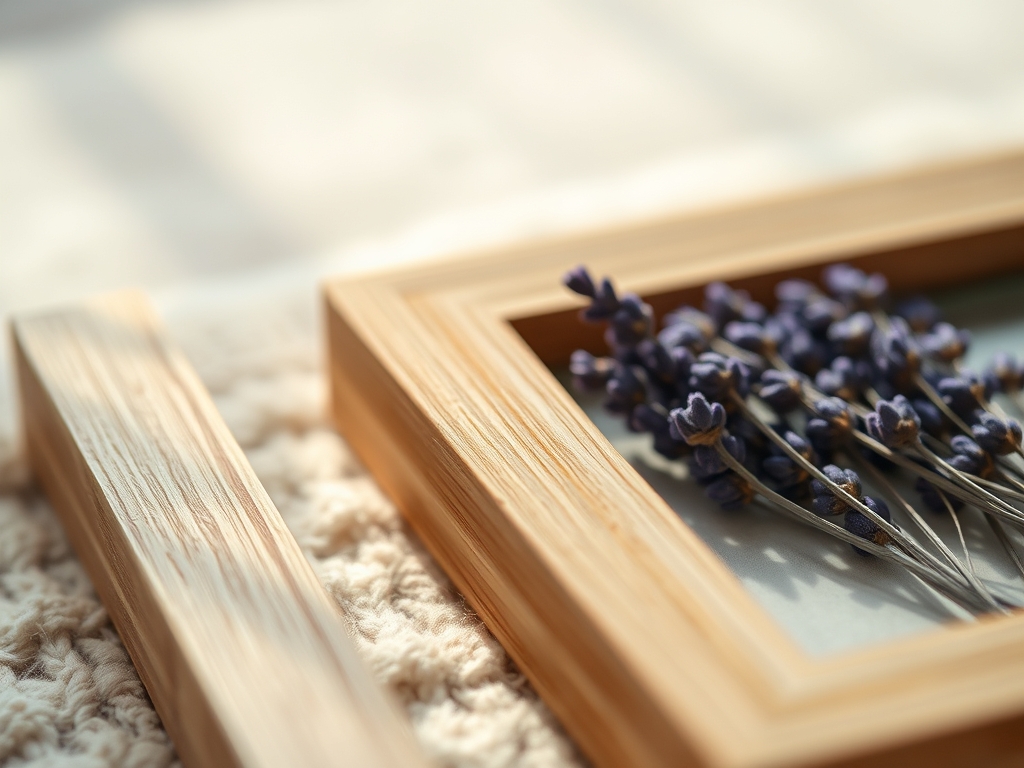
Close your eyes and imagine the sharp, herbaceous scent of a high altitude meadow hitting your lungs while your fingers brush against the cool, brittle stems of dried flora. We are not just making decor today; we are engineering botanical snapshots that capture the volatile oils of the Mediterranean. Pressed Lavender Frames are the ultimate fusion of organic chemistry and minimalist design. When you press a flower, you are essentially performing a controlled dehydration process that locks the cellular structure into a two dimensional plane. If you do it right, the anthocyanins that give lavender its iconic purple hue remain vibrant instead of turning a muddy brown. We are looking for that perfect tactile snap of the stem and the grainy texture of handmade paper. It is about the tension between the fragile, desiccated bloom and the rigid, industrial glass that protects it. This project is high energy, high reward, and honestly, it is the smartest way to make your studio smell like a spa while you flex your engineering muscles. Let us get into the grit of the grain.
THE STUDIO KIT
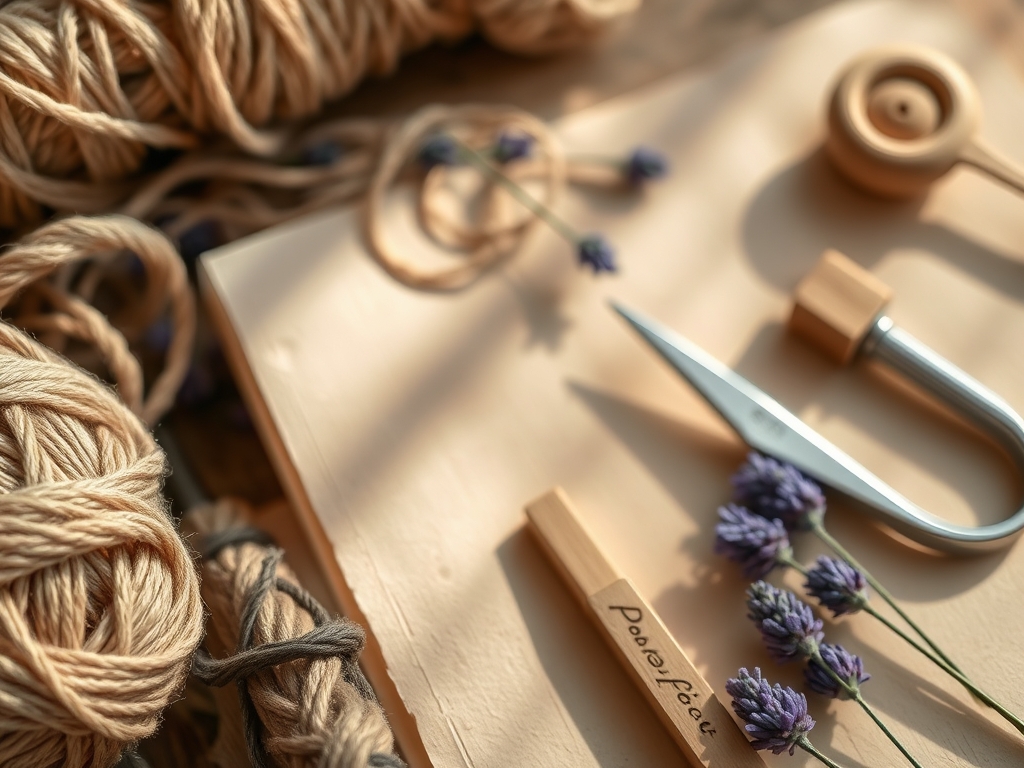
To execute these Pressed Lavender Frames with professional precision, you need a kit that respects the tensile strength of the plant fibers. You will need a high quality wooden flower press or two heavy architectural volumes to apply even pressure. Grab a pair of precision tweezers to handle the delicate calyxes without crushing them. You will also need double pane glass frames; look for ones with a sturdy brass or black zinc finish. For the adhesive, a neutral pH acid free glue is non negotiable to prevent long term yellowing.
Material Substitutions: If you cannot find a traditional press, use two sheets of unglazed ceramic tile held together by heavy duty rubber bands. This mimics the porous nature of blotting paper by wicking moisture away from the stems. Instead of standard glass, you can use UV resistant acrylic if you are worried about the weight or shipping durability, though glass provides a superior refractive index for showing off those tiny lavender hairs. Keep a bone folder nearby to burnish the edges of any paper backings for a crisp, professional crease.
THE TEMPO
The maker's rhythm for this project is a game of patience followed by a sprint of precision. The initial pressing phase is the slowest, requiring roughly seven to fourteen days depending on the ambient humidity of your studio. You are waiting for the moisture content to drop below ten percent. Once the lavender is cured, the assembly phase moves quickly. Budget about thirty minutes per frame for the layout and sealing. Think of it like a heartbeat: a long, slow draw followed by a quick, sharp beat. Do not rush the drying; if you seal moisture into the glass, you are creating a terrarium for mold, not a piece of art.
THE CORE METHOD
1. The Botanical Selection
Choose stems that are just beginning to bloom. The structural integrity of the lavender is highest when the buds are tight. Use a sharp pair of floral snips to make a clean diagonal cut, which prevents the vascular system from collapsing.
Mastery Tip: Understand capillary action. If you pick lavender after a rain, the cells are turgid with water, which increases the risk of browning during the press. Always harvest at midday when the dew has evaporated.
2. The Pressure Application
Layer your lavender between sheets of acid free blotting paper. Place them in your press and tighten the wing nuts evenly. You want to apply enough pressure to flatten the cellulose walls without obliterating the three dimensional shape of the flower head.
Mastery Tip: Use a caliper to measure the thickness of your press before and after tightening. Even distribution of force ensures that the stems do not "ghost" or create uneven gaps when placed between the glass panes.
3. The Composition Layout
Slide your glass out of the frame and clean it with an ammonia free solution to avoid streaks. Use your tweezers to place the lavender. For a minimalist look, use a single, tall stem or a geometric cluster of three.
Mastery Tip: Consider the golden ratio. Placing your focal point slightly off center creates a dynamic visual tension that feels more professional than a simple centered alignment.
4. The Adhesive Anchor
Apply a microscopic dot of glue to the back of the thickest part of the stem using a fine tip awl. You only need enough to prevent the specimen from sliding due to gravity once the frame is upright.
Mastery Tip: This is about surface tension. A tiny drop creates a bond that is strong enough to hold the weight but small enough to remain invisible through the glass.
5. The Glass Seal
Carefully lower the top pane of glass onto the specimen. If you are using a floating frame, ensure the spacers are clean. The pressure of the two panes will do most of the work to keep the lavender in place.
Mastery Tip: Watch for Newton's rings, those oily looking rainbow patterns that happen when two glass surfaces touch. Ensure your lavender is dry enough to act as a natural spacer to prevent this optical distortion.
6. The Frame Closure
Secure the locking mechanism of your frame. If you are using a wooden frame, use a point driver to secure the glass tightly. The goal is an airtight fit to minimize the lavender's exposure to oxygen, which causes scent and color degradation.
Mastery Tip: Check the ergonomic balance of the frame. If it is a hanging model, ensure the weight of the glass is supported by the chain's gauge to prevent the frame from warping over time.
THE TECHNICAL LEDGER
Maintenance & Longevity: To keep your Pressed Lavender Frames looking sharp, keep them out of direct sunlight. UV rays break down the chemical bonds of the pigments. Dust the glass with a microfiber cloth to avoid micro scratches that dull the clarity.
Material Variations: For a premium look, use museum grade glass which has an anti reflective coating. If you want a sustainable twist, use reclaimed wood frames and handmade recycled cotton rag paper as a backdrop to highlight the tactile grain of the materials.
The Correction:
- The Brown Out: If your lavender turns brown, you pressed it too slowly or it was too wet. Fix: Use a microwave flower press for a five second burst to "flash dry" the enzymes.
- The Slide: If the lavender slips, your glue dot was too small or the glass is too loose. Fix: Add a tiny sliver of clear mounting tape behind the thickest part of the stem.
- The Fog: If the glass mists up, there is trapped moisture. Fix: Open the frame immediately and let the specimen sit in a silica gel desiccant box for twenty four hours.
Studio Organization: Store your extra pressed lavender in a dark, climate controlled drawer. Use interleaving tissue between specimens to prevent the delicate buds from snagging on each other. Label your folders by harvest date and species for easy retrieval.
THE FINAL REVEAL
There is nothing quite like the moment you flip that frame over and see a perfectly preserved piece of nature looking back at you. These Pressed Lavender Frames are more than just a craft; they are a sophisticated exercise in botanical preservation. The minimalist aesthetic allows the complex geometry of the lavender to shine, while the scent remains trapped, waiting for the slight heat of a room to release its calming molecules. It is clean, it is smart, and it is a total vibe for any modern studio space.
STUDIO QUESTIONS
How do I keep the lavender purple?
Harvest the stems before the buds fully open. This ensures the pigment density is at its peak. Use a rapid drying method like a microwave press or fresh blotting paper changed every two days to lock in the color.
What is the best glass for pressing?
Use double strength float glass for the best clarity and weight. If the frame will be in a bright room, opt for UV filtered glass to prevent the organic compounds from breaking down over time.
Can I use fresh lavender in the frame?
No, fresh lavender contains too much moisture. Placing it directly in a frame will lead to condensation and mold growth within days. Always ensure the botanical material is fully desiccated before sealing it between glass panes.
How do I clean the glass without moving the flowers?
Clean each pane of glass thoroughly with a lint free cloth before assembly. Once the frame is sealed, only clean the exterior. If you must open it, use precision tweezers to avoid disturbing the delicate, brittle stems.
Why did my lavender lose its scent?
Scent comes from volatile oils. While pressing preserves the shape, it can diminish the aroma over time. To fix this, ensure the frame seal is tight to prevent the oils from evaporating into the open air.

